Photoshop制作超酷的金色锈迹315立体字教程
平面设计 发布日期:2026/5/6 浏览次数:1
正在浏览:Photoshop制作超酷的金色锈迹315立体字教程
效果图主要由两部分构成:表面字及立体面;表面由多个图层叠加得到,每个图层分别用不同的图层样式加上纹理、颜色、浮雕等;立体面直接用表面字等比例复制得到。
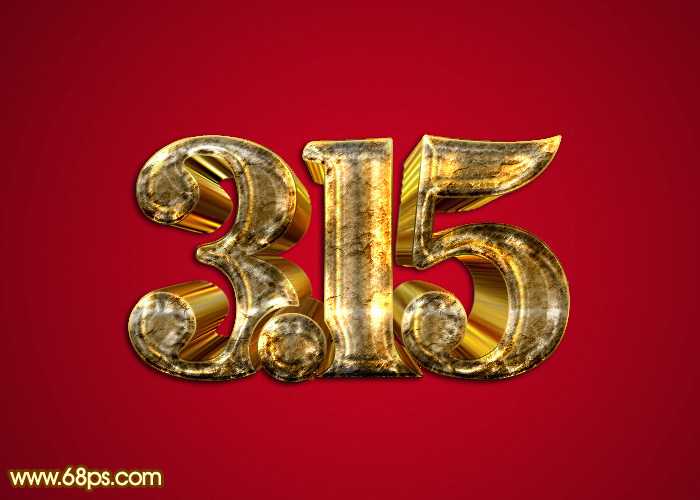
最终效果
1、新建一个1000 * 700像素,分辨率为72的画布,选择渐变工具,颜色设置如图1,然后由中心向边角拉出图2所示的径向渐变作为背景。
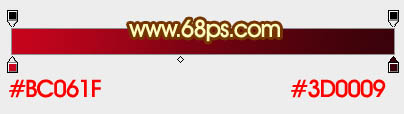
<图1>
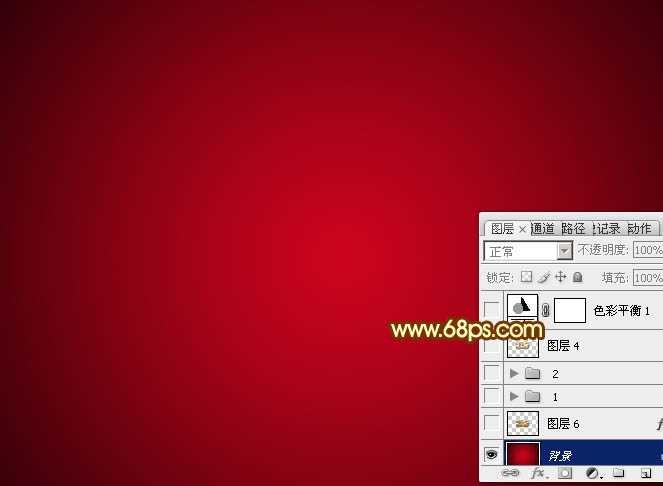
<图2>
2、把图3保存到本机,然后用PS打开,拖到新建的画布里面,并放好位置。

<图3>
3、新建一个图层,把文字拖到组里面,把颜色设置为白色,如下图。
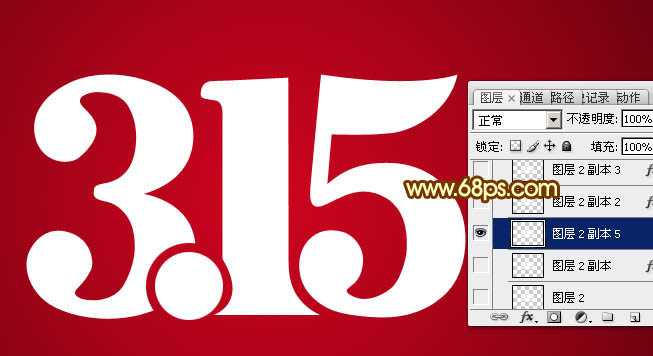
<图4>
4、给文字增加图层样式之前,先来定义一款图案。同样把下图的纹理素材保持到本机,再用PS打开,然后选择菜单:编辑 > 定义图案,名称自定。
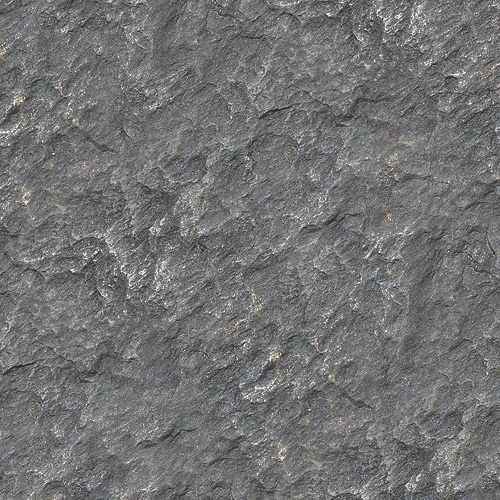
<图5>
5、双击图层面板文字缩略图载入图层样式:
内阴影:颜色为暗红色:#010101。
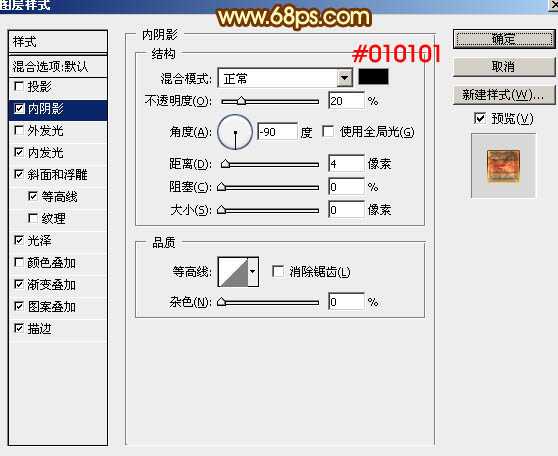
<图6>
内发光:颜色为暗红色:#ffb400。
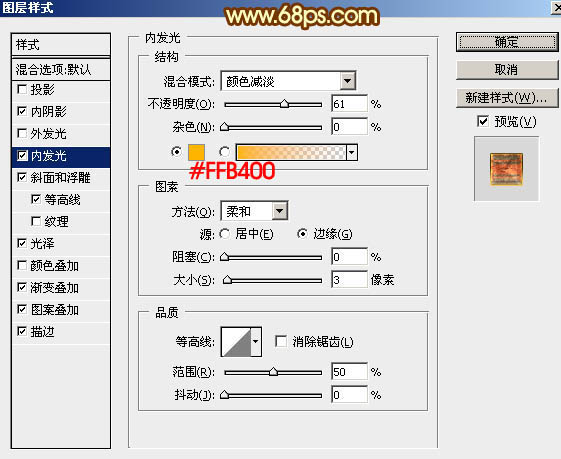
<图7>
斜面和浮雕:勾选“使用全局光”,高光颜色:#发f9d714,阴影颜色:#973b0c。
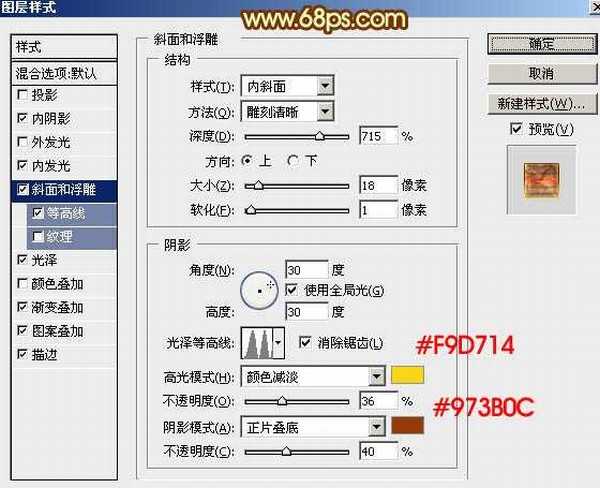
<图8>
等高线:选择波浪曲线。

<图9>
光泽:颜色:#ff4800。

<图10>
渐变叠加:点击渐变栏编辑渐变色,如图12。
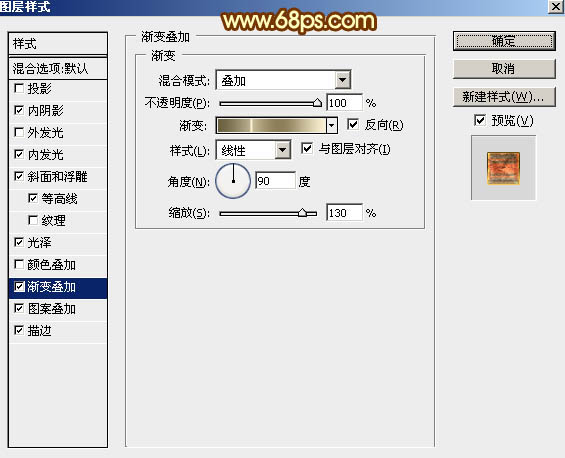
<图11>
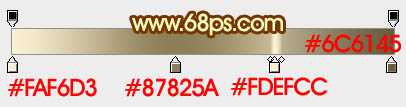
<图12>
图案叠加:选择之前定义的图案。
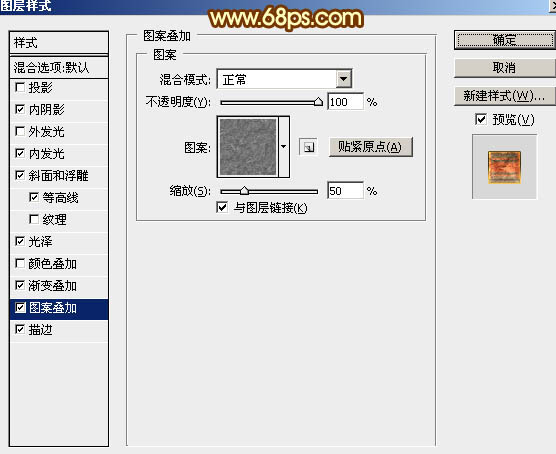
<图13>
描边可以不用,确定后效果如下图。
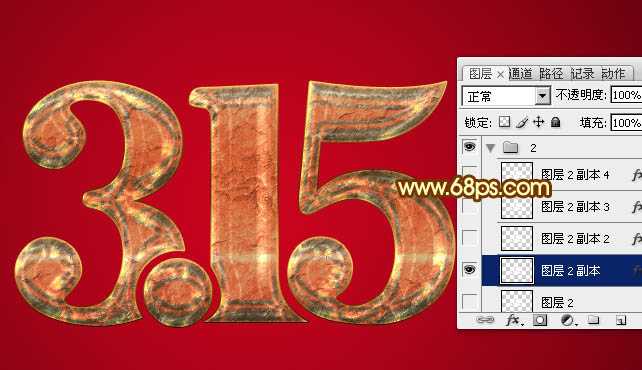
<图14>
6、按Ctrl + J 把当前文字图层复制一层,在缩略图上右键选择“清除图层样式”,然后再重新设置图层样式:
颜色叠加:颜色为:#ff9000,混合模式为“色相”,如下图。
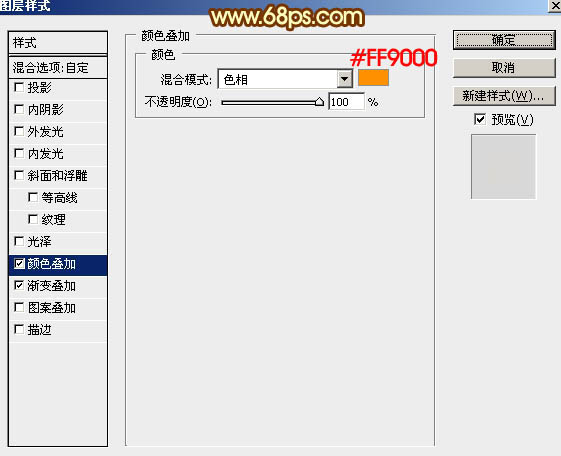
<图15> 上一页12 下一页 阅读全文
最终效果
1、新建一个1000 * 700像素,分辨率为72的画布,选择渐变工具,颜色设置如图1,然后由中心向边角拉出图2所示的径向渐变作为背景。
<图1>
<图2>
2、把图3保存到本机,然后用PS打开,拖到新建的画布里面,并放好位置。
<图3>
3、新建一个图层,把文字拖到组里面,把颜色设置为白色,如下图。
<图4>
4、给文字增加图层样式之前,先来定义一款图案。同样把下图的纹理素材保持到本机,再用PS打开,然后选择菜单:编辑 > 定义图案,名称自定。
<图5>
5、双击图层面板文字缩略图载入图层样式:
内阴影:颜色为暗红色:#010101。
<图6>
内发光:颜色为暗红色:#ffb400。
<图7>
斜面和浮雕:勾选“使用全局光”,高光颜色:#发f9d714,阴影颜色:#973b0c。
<图8>
等高线:选择波浪曲线。
<图9>
光泽:颜色:#ff4800。
<图10>
渐变叠加:点击渐变栏编辑渐变色,如图12。
<图11>
<图12>
图案叠加:选择之前定义的图案。
<图13>
描边可以不用,确定后效果如下图。
<图14>
6、按Ctrl + J 把当前文字图层复制一层,在缩略图上右键选择“清除图层样式”,然后再重新设置图层样式:
颜色叠加:颜色为:#ff9000,混合模式为“色相”,如下图。
<图15> 上一页12 下一页 阅读全文
上一篇:PS制作超逼真黑板和粉笔字效果
下一篇:ps制作卡通风格的破损文字效果