Photoshop制作富有科技感的蓝色发光浮雕字
平面设计 发布日期:2025/12/31 浏览次数:1
正在浏览:Photoshop制作富有科技感的蓝色发光浮雕字
发光字制作之前需要找一些较暗的背景素材。字体部分制作也不难,先输入想要的文字,加上发光图层样式,然后增加一点立体效果,再增强高光,后期用烟雾及高光素材装饰一下即可。
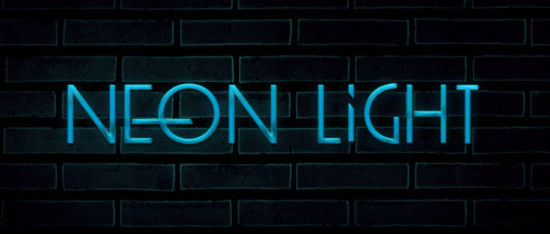
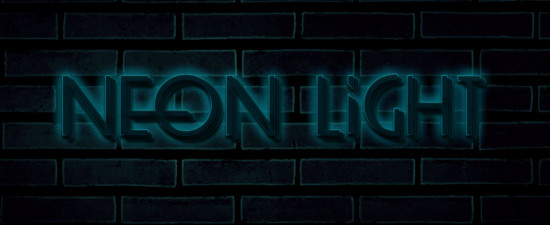
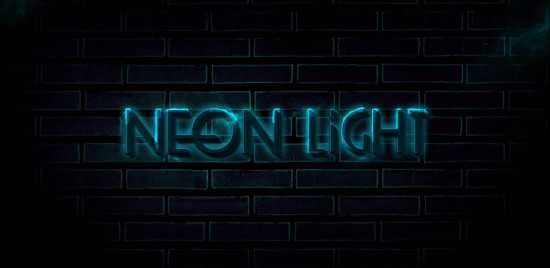
最终效果

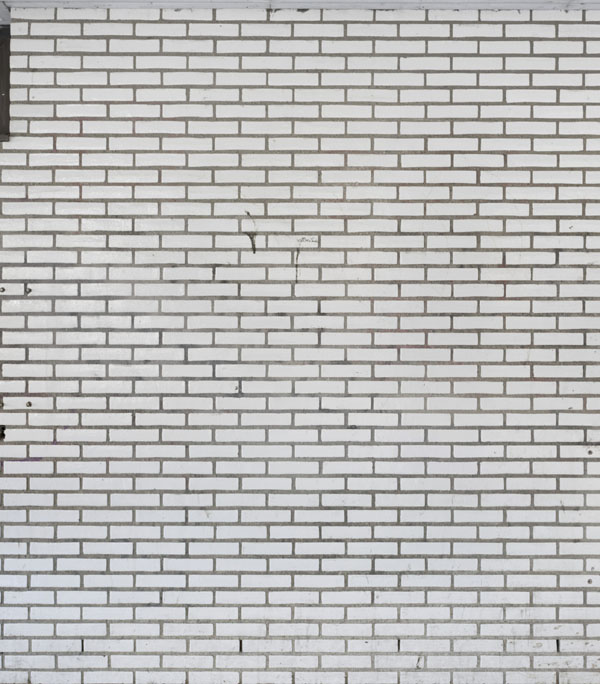
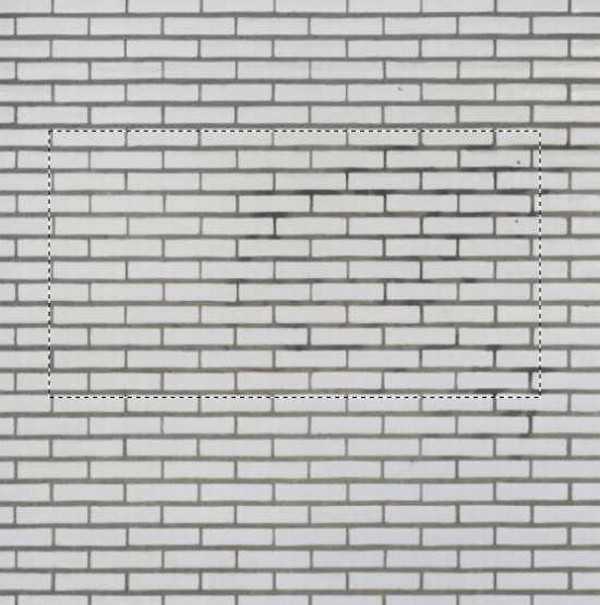
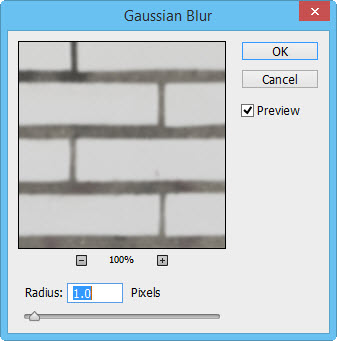
1、新建画布1400px * 782px,填充黑色,打开纹理素材,用矩形选框工具选出一部分纹理放到原始的文档中来,调整大小作为背景,高斯模糊之。
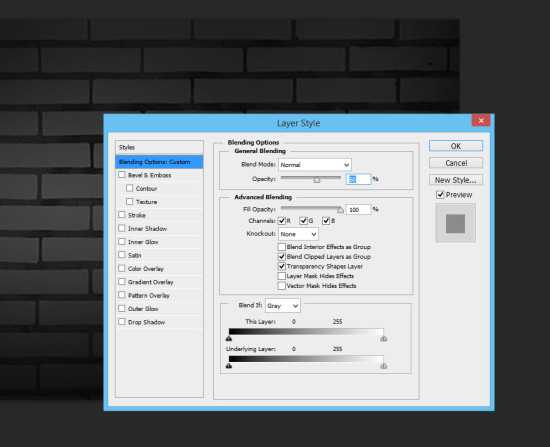
2、设置图层的不透明度为60%。
3、使用如下图所示的蒙版图层来遮掉部分内容。

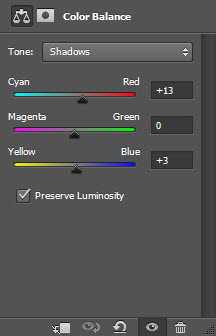
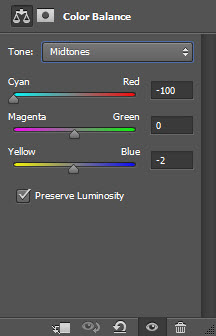
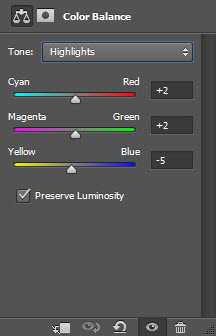
4、使用如下的色彩平衡调整图层来为纹理图层添加一些色彩。

5、现在使用本文开头下载过来的字体写入一串文本,颜色如下图黄色便签里面所示。

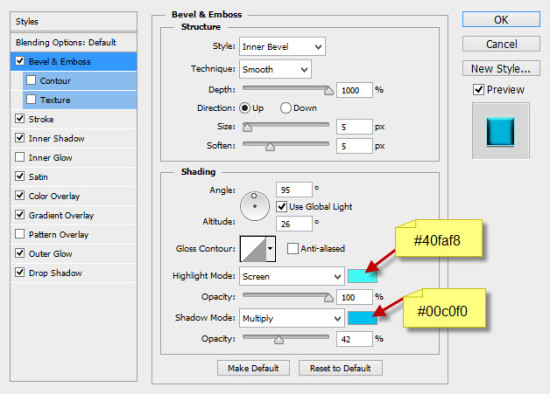
6、给文本添加如下混合样式。
斜面和浮雕:
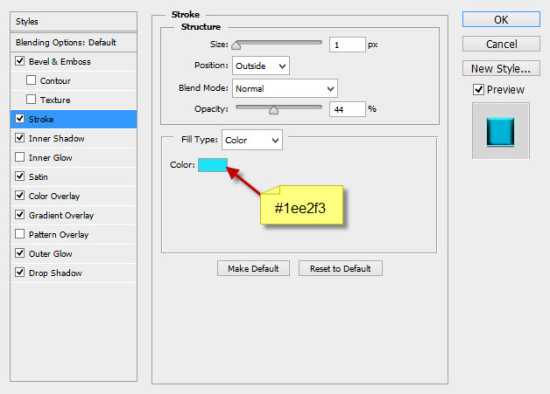
描边:
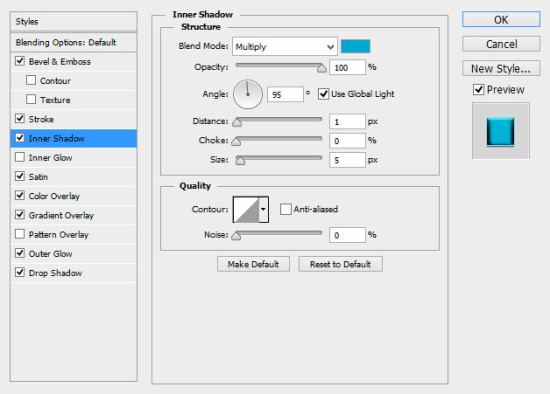
内阴影:
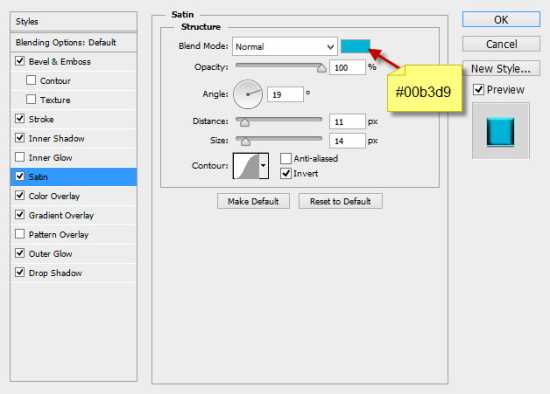
光泽:
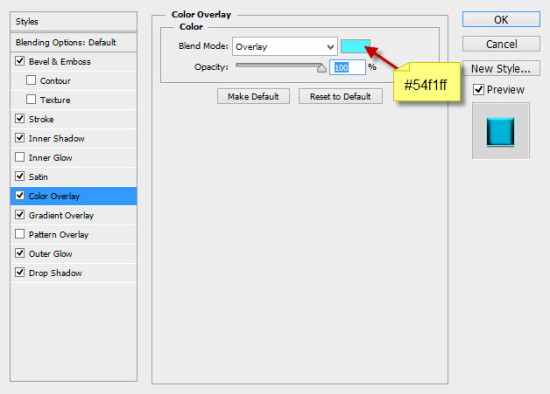
颜色叠加:
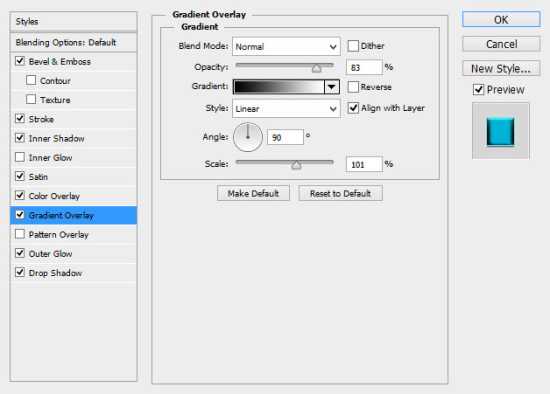
渐变叠加:
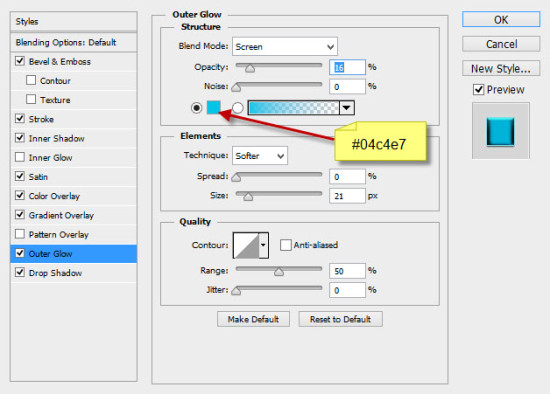
外发光:
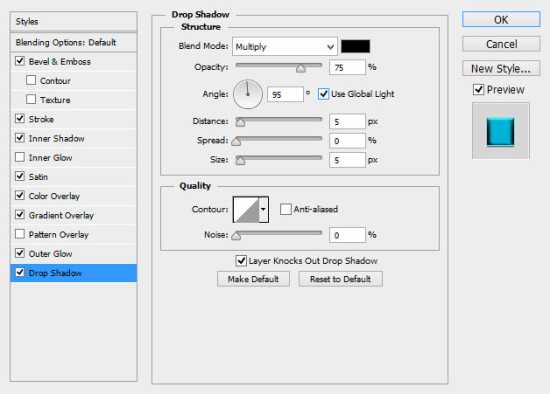
投影:
效果如下:
7、复制一层该文本,按照图示将复制层轻微移动到边角处。

8、重复以上复制移动的步骤,多复制几层,直到效果如下。

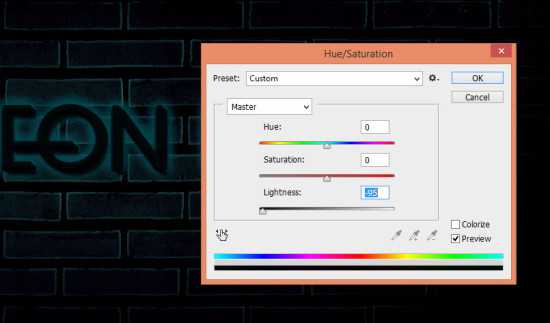
9、在复制的最后一个图层上应用如下色相/饱和度调整选项同时把文本变暗。
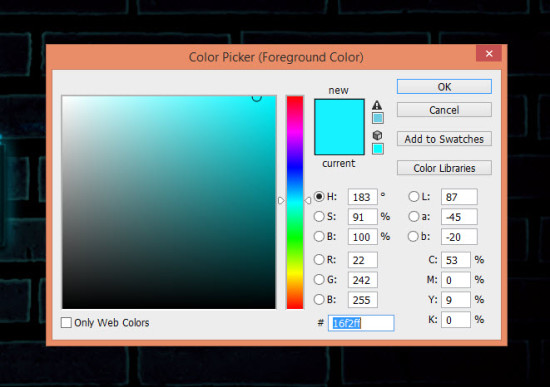
10、现在需要给文本添加一定的高光。选择画笔工具,设置如下。
大小和硬度:

画笔的颜色:
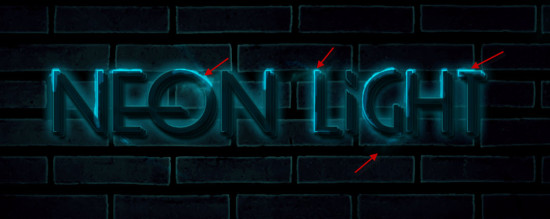
11、在所有图层的上方新建图层,叠加模式设置为“叠加(overlay)”,使用设置好的画笔按照下图添加高光部分。

12、我们还可以使用烟雾笔刷为文本添加一点烟雾效果。
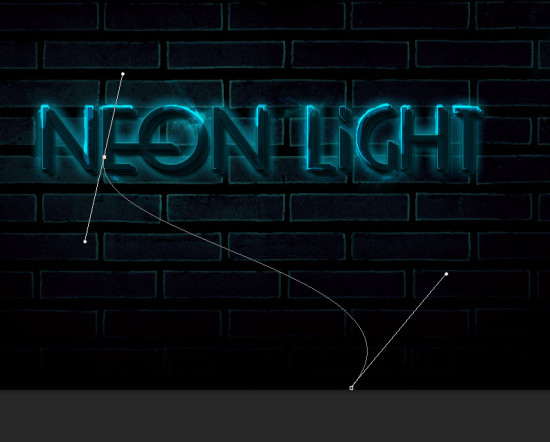
13、现在要添加一些电线。使用钢笔工具勾勒如下路径。
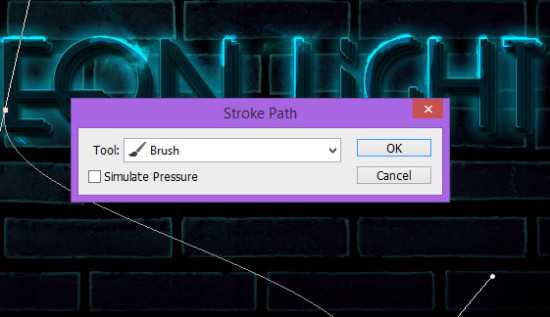
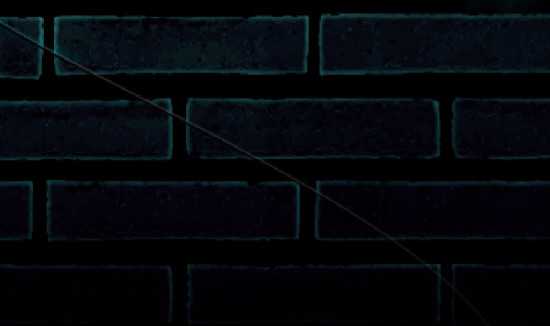
14、使用5 px硬边的画笔为路径做描边处理。
15、做如下斜面和浮雕混合样式的调整。

16、为了实现电线缠绕着文本的状态,需要复制该电线多次,然后按照下图做一个位置和大小的调整。

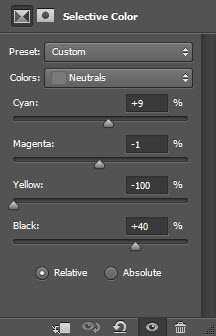
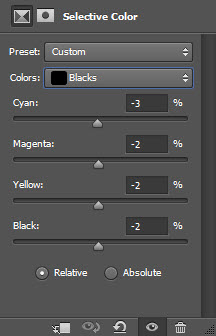
17、就快完成了!现在需要做点使文本更优雅的小调整。添加如下调整图层: 可选颜色:
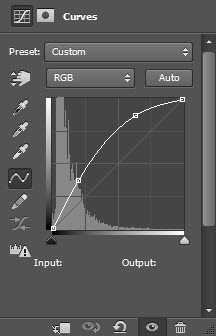
曲线:
最终效果:

最终效果
1、新建画布1400px * 782px,填充黑色,打开纹理素材,用矩形选框工具选出一部分纹理放到原始的文档中来,调整大小作为背景,高斯模糊之。
2、设置图层的不透明度为60%。
3、使用如下图所示的蒙版图层来遮掉部分内容。
4、使用如下的色彩平衡调整图层来为纹理图层添加一些色彩。
5、现在使用本文开头下载过来的字体写入一串文本,颜色如下图黄色便签里面所示。
6、给文本添加如下混合样式。
斜面和浮雕:
描边:
内阴影:
光泽:
颜色叠加:
渐变叠加:
外发光:
投影:
效果如下:
7、复制一层该文本,按照图示将复制层轻微移动到边角处。
8、重复以上复制移动的步骤,多复制几层,直到效果如下。
9、在复制的最后一个图层上应用如下色相/饱和度调整选项同时把文本变暗。
10、现在需要给文本添加一定的高光。选择画笔工具,设置如下。
大小和硬度:
画笔的颜色:
11、在所有图层的上方新建图层,叠加模式设置为“叠加(overlay)”,使用设置好的画笔按照下图添加高光部分。
12、我们还可以使用烟雾笔刷为文本添加一点烟雾效果。
13、现在要添加一些电线。使用钢笔工具勾勒如下路径。
14、使用5 px硬边的画笔为路径做描边处理。
15、做如下斜面和浮雕混合样式的调整。
16、为了实现电线缠绕着文本的状态,需要复制该电线多次,然后按照下图做一个位置和大小的调整。
17、就快完成了!现在需要做点使文本更优雅的小调整。添加如下调整图层: 可选颜色:
曲线:
最终效果: