Photoshop快速制作带裂纹的霜冻字
平面设计 发布日期:2026/4/13 浏览次数:1
正在浏览:Photoshop快速制作带裂纹的霜冻字
霜冻字最快的制作方法就是直接使用冰冻纹理素材,只需给文字增加一点浮雕效果,把冰冻纹理直接加到文字里面,初步的效果就出来了。后期用蒙版等增加裂纹及雪花细节等即可。
最终效果

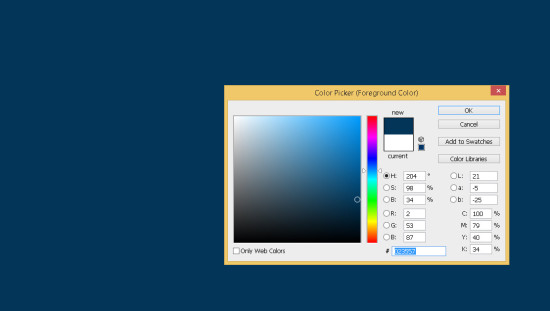
1、新建一个文件,大小为1400*900px,背景为蓝黑色,具体数据如下图。
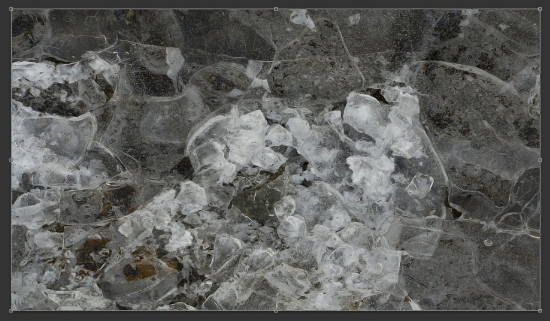
2、将先前下载好的图片“ice texture”置入,适当调整其大小。

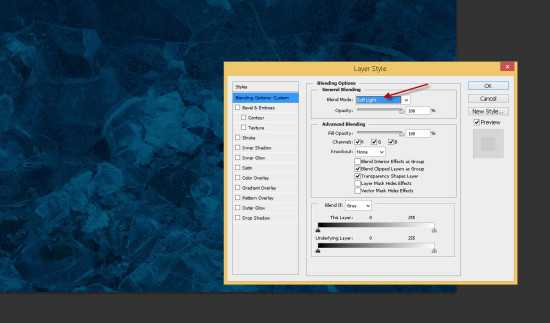
3、将其混合模式改为柔光。
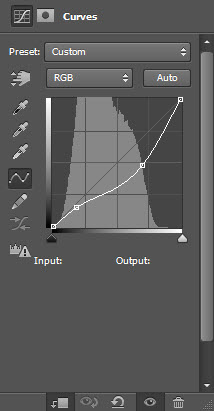
4、打开曲线调整,对ice texture图层进行调整,数据如下。
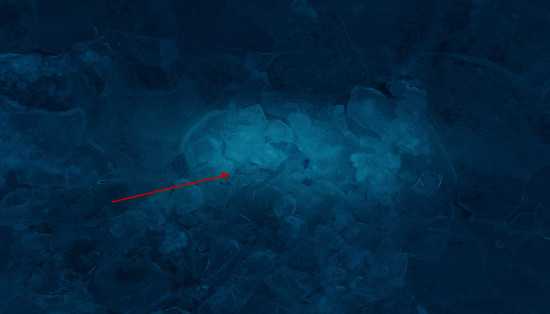
5、新建一个图层,混合模式调整为柔光,用一个半径较大、软的白色的笔刷涂抹图层中间部分,效果如下。
6、选择一个你喜欢的字体,输入一些文字。

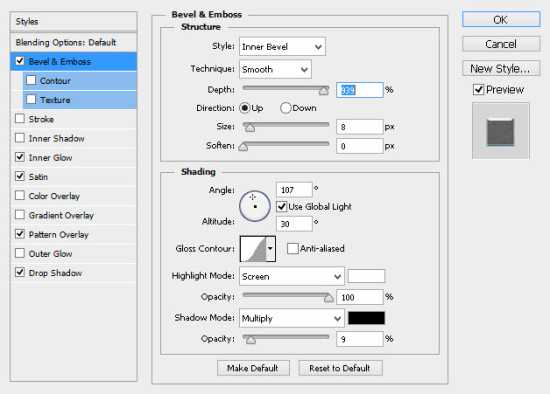
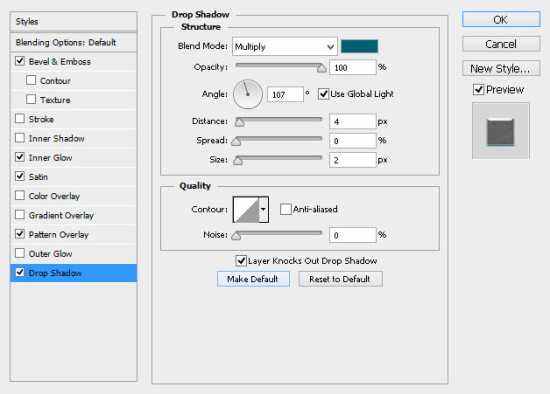
7、打开文字图层的混合模式,调整如下: 斜面和浮雕:
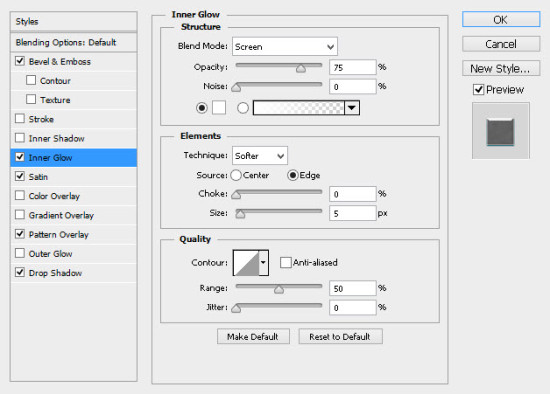
内发光:
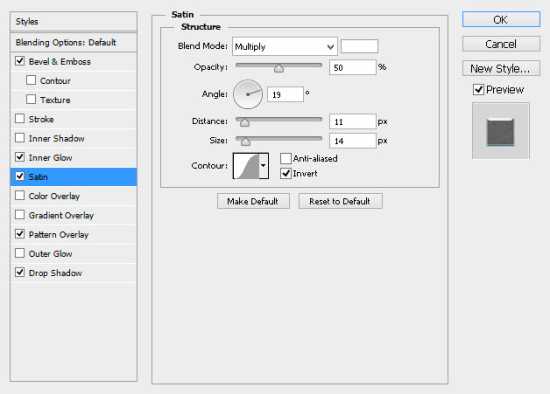
光泽:
图案叠加:

投影:
上一页12 下一页 阅读全文
最终效果
1、新建一个文件,大小为1400*900px,背景为蓝黑色,具体数据如下图。
2、将先前下载好的图片“ice texture”置入,适当调整其大小。
3、将其混合模式改为柔光。
4、打开曲线调整,对ice texture图层进行调整,数据如下。
5、新建一个图层,混合模式调整为柔光,用一个半径较大、软的白色的笔刷涂抹图层中间部分,效果如下。
6、选择一个你喜欢的字体,输入一些文字。
7、打开文字图层的混合模式,调整如下: 斜面和浮雕:
内发光:
光泽:
图案叠加:
投影:
上一页12 下一页 阅读全文