Photoshop打造出创意的2014马年生肖立体字
平面设计 发布日期:2026/5/24 浏览次数:1
正在浏览:Photoshop打造出创意的2014马年生肖立体字
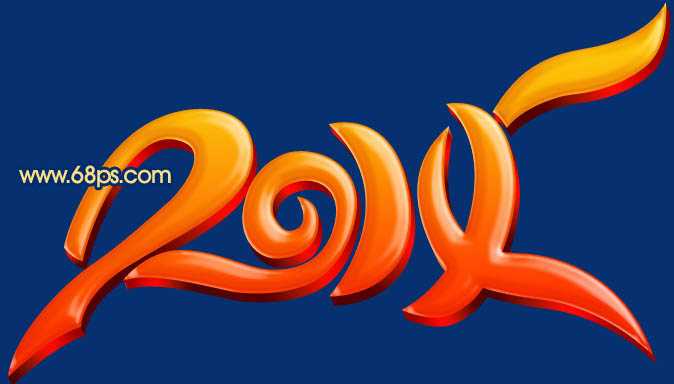
最终效果
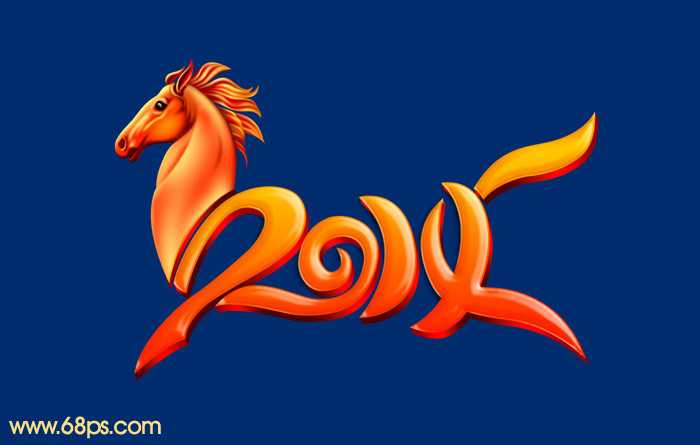
1、首先我们把整体拆分为马头及文字,如下图。马头部分的教程请点这里查看。
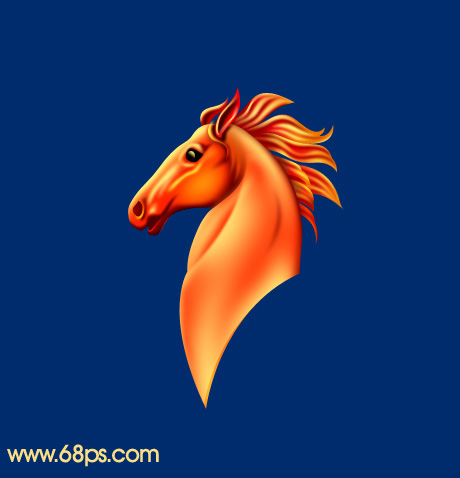
<图1>
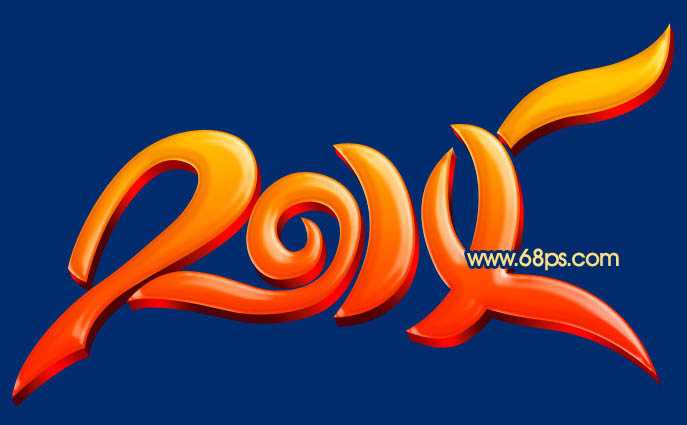
<图2>
2、保存下图所示的图片素材,新建一个1024 * 700像素的文件,背景填充黑色。打开保存的素材(PNG透明格式),用鼠标拖到新建的文件里面。
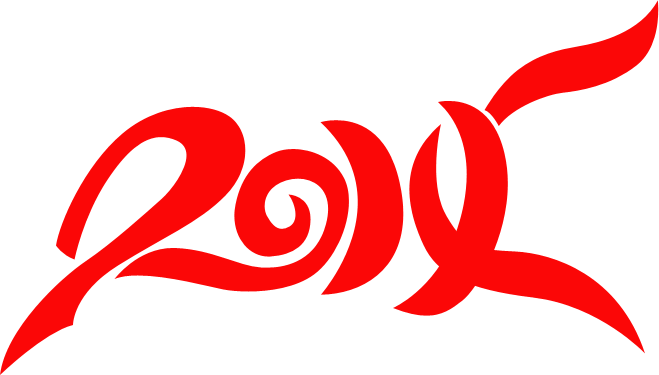
<图3>
3、把拖进来的文字解锁,是的移动位置,与马头拼接好。然后锁定图层像素区域,如下图。
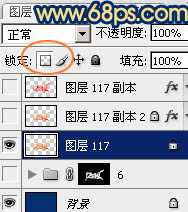
<图4>
4、选择渐变工具,颜色设置如图5,在属性栏选择径向渐变,然后由下至上拉出土6所示的渐变色。
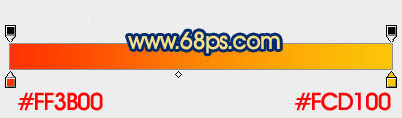
<图5>

<图6>
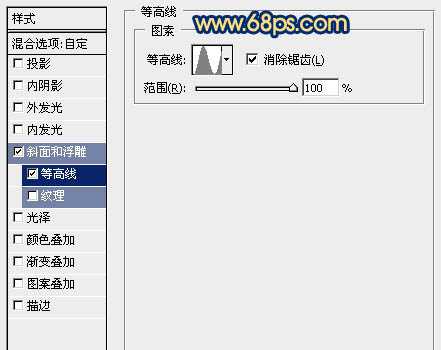
5、双击图层面板文字缩略图后的蓝色区域调出图层样式,设置斜面与浮雕及等高线,参数设置如图7,8,效果如图9。

<图7>
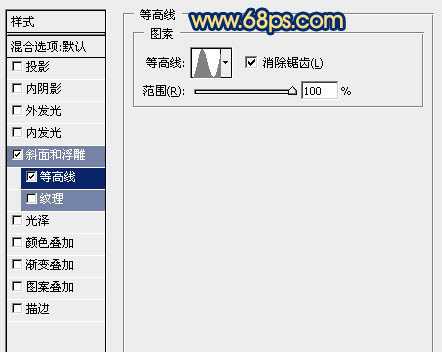
<图8>
<图9>
6、按Ctrl + J 把文字图层复制一层,如下图。
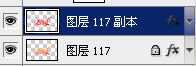
<图10>
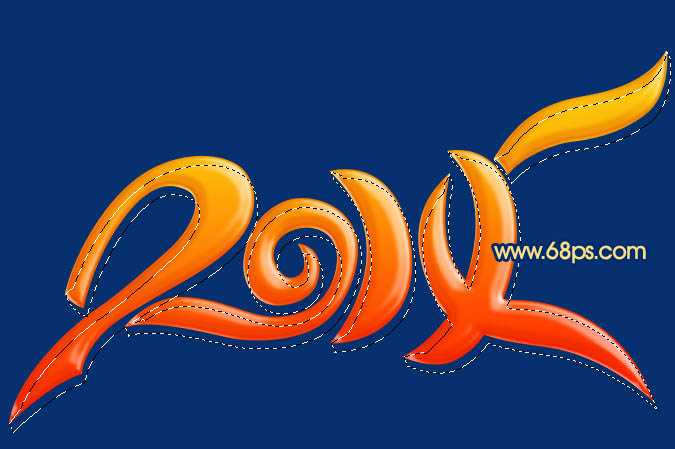
7、双击文字副本后面的蓝色区域调出图层样式,修改一下斜面和浮雕及等高线的数值,如图11,12。确定好把图层填充改为:0%,不透明度改为:70%,效果如图13。

<图11>
<图12>

<图13>
8、安装Ctrl键点击图层面板文字缩略图载入文字选区,选择矩形选框工具,把选区往右下方移动移动距离,如下图。
<图14>
9、在背景图层上面新建一个组,给组添加图层蒙版,如下图。
<图15>
10、在组里新建一个图层,填充任意一种颜色作为参考,效果如下图。文字初步的立体效果出来了。
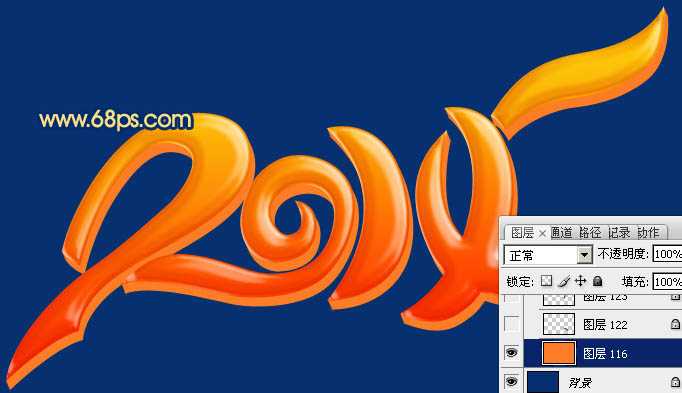
<图16>
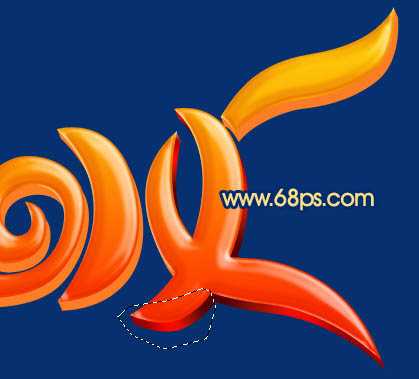
11、在组里新建一个图层,现在开始渲染立体面的各个面的质感。用套索工具勾出下图所示的选区,选择渐变工具,颜色设置如图18,拉出土19所示的线性渐变。
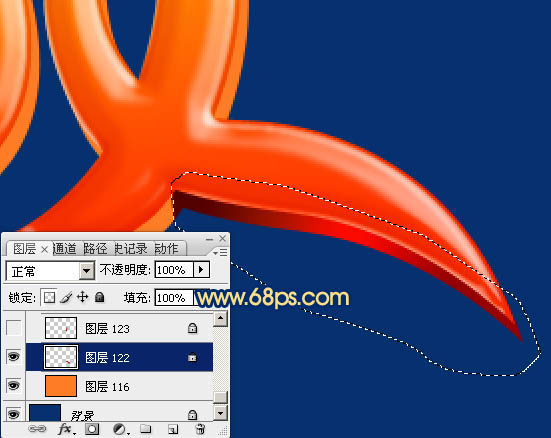
<图17>
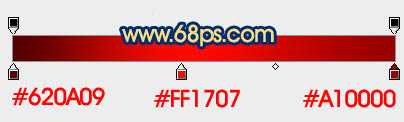
<图18>

<图19>
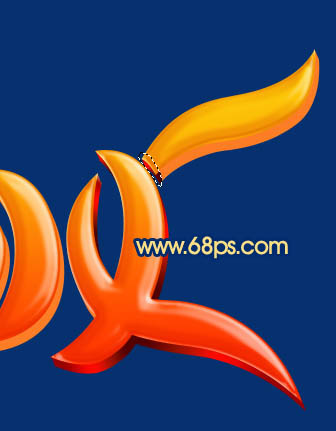
12、新建一个图层,同上的方法再制作一个面,渐变色相同,如下图。
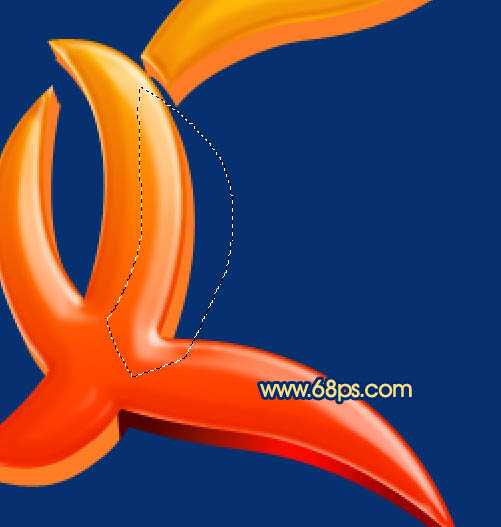
<图20>

<图21>
13、新建图层,同上的方法制作其他的面,过程如图22 - 28。没有简便方法,得逐个渲染。

<图22>

<图23>
<图24>
<图25>

<图26>

<图27>
<图28>
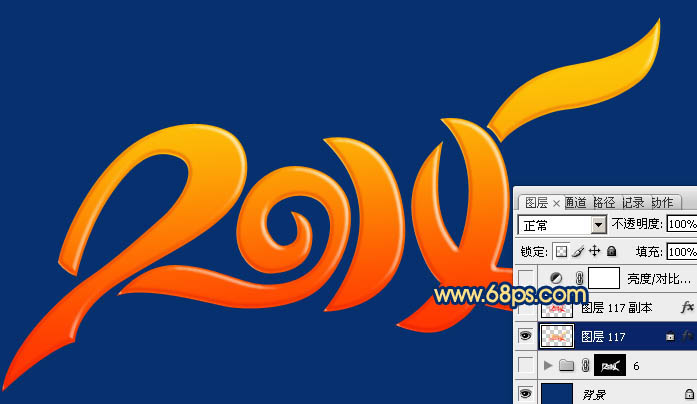
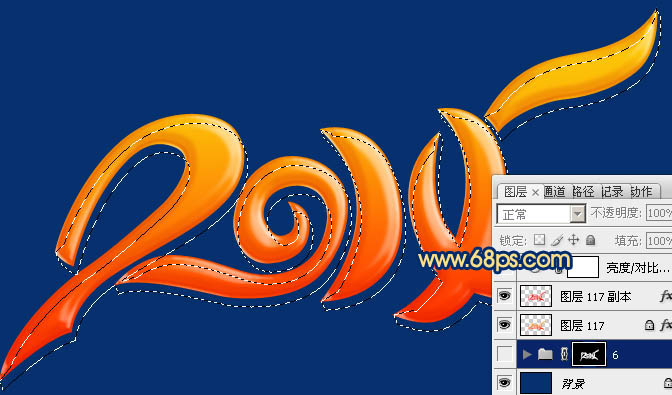
14、在图层的最上面创建亮度/对比度调整图层,适当增加对比度,参数及效果如下图。

<图29>
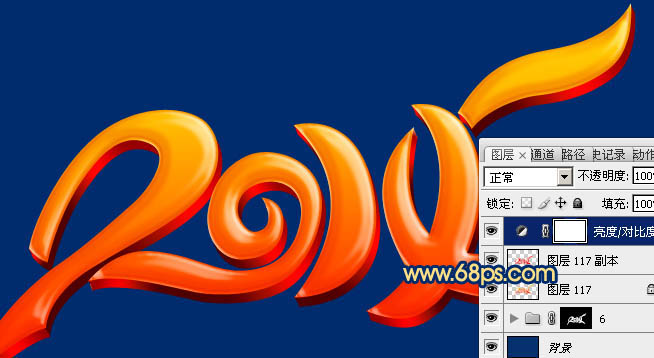
<图30>
再调整一下细节,完成最终效果。
1、首先我们把整体拆分为马头及文字,如下图。马头部分的教程请点这里查看。
<图1>
<图2>
2、保存下图所示的图片素材,新建一个1024 * 700像素的文件,背景填充黑色。打开保存的素材(PNG透明格式),用鼠标拖到新建的文件里面。
<图3>
3、把拖进来的文字解锁,是的移动位置,与马头拼接好。然后锁定图层像素区域,如下图。
<图4>
4、选择渐变工具,颜色设置如图5,在属性栏选择径向渐变,然后由下至上拉出土6所示的渐变色。
<图5>
<图6>
5、双击图层面板文字缩略图后的蓝色区域调出图层样式,设置斜面与浮雕及等高线,参数设置如图7,8,效果如图9。
<图7>
<图8>
<图9>
6、按Ctrl + J 把文字图层复制一层,如下图。
<图10>
7、双击文字副本后面的蓝色区域调出图层样式,修改一下斜面和浮雕及等高线的数值,如图11,12。确定好把图层填充改为:0%,不透明度改为:70%,效果如图13。
<图11>
<图12>
<图13>
8、安装Ctrl键点击图层面板文字缩略图载入文字选区,选择矩形选框工具,把选区往右下方移动移动距离,如下图。
<图14>
9、在背景图层上面新建一个组,给组添加图层蒙版,如下图。
<图15>
10、在组里新建一个图层,填充任意一种颜色作为参考,效果如下图。文字初步的立体效果出来了。
<图16>
11、在组里新建一个图层,现在开始渲染立体面的各个面的质感。用套索工具勾出下图所示的选区,选择渐变工具,颜色设置如图18,拉出土19所示的线性渐变。
<图17>
<图18>
<图19>
12、新建一个图层,同上的方法再制作一个面,渐变色相同,如下图。
<图20>
<图21>
13、新建图层,同上的方法制作其他的面,过程如图22 - 28。没有简便方法,得逐个渲染。
<图22>
<图23>
<图24>
<图25>
<图26>
<图27>
<图28>
14、在图层的最上面创建亮度/对比度调整图层,适当增加对比度,参数及效果如下图。
<图29>
<图30>
再调整一下细节,完成最终效果。