ps制作古墙上的浮雕文字特效
平面设计 发布日期:2025/12/30 浏览次数:1
正在浏览:ps制作古墙上的浮雕文字特效
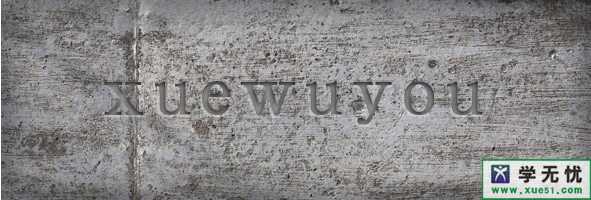
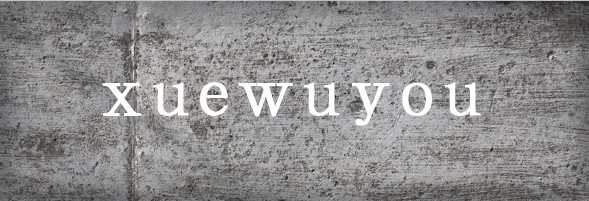
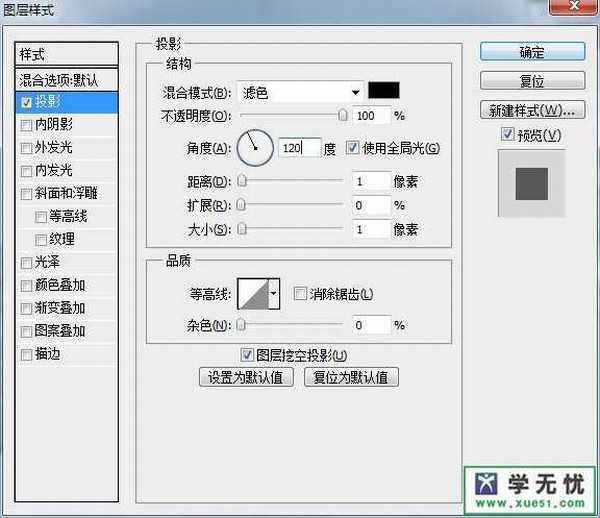
这里给大家提供了一个背景效果图,通过在背景效果图来制作一个浮雕文字的特效。如图所示:

步骤一、先打开这张背景图,如图所示:
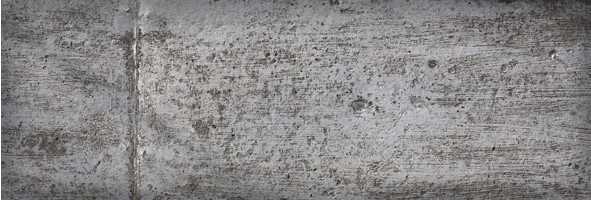
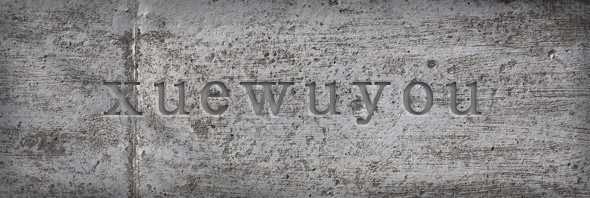
步骤一、先打开这张背景图,如图所示:
下一篇:PS制作3D炫彩扭曲的立体字