Photoshop制作超酷的金属钢板浮雕字特效
平面设计 发布日期:2025/12/30 浏览次数:1
正在浏览:Photoshop制作超酷的金属钢板浮雕字特效
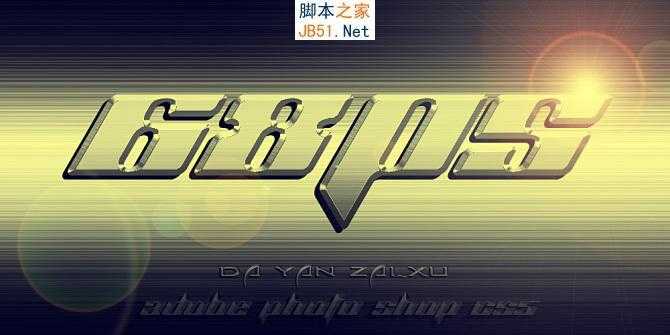
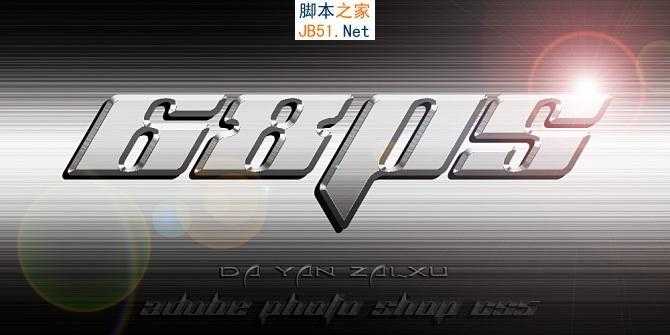
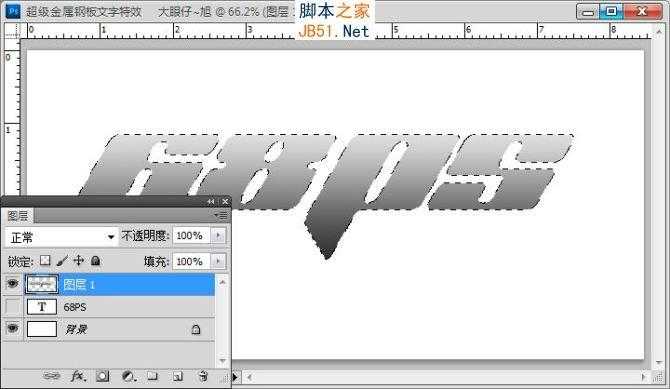
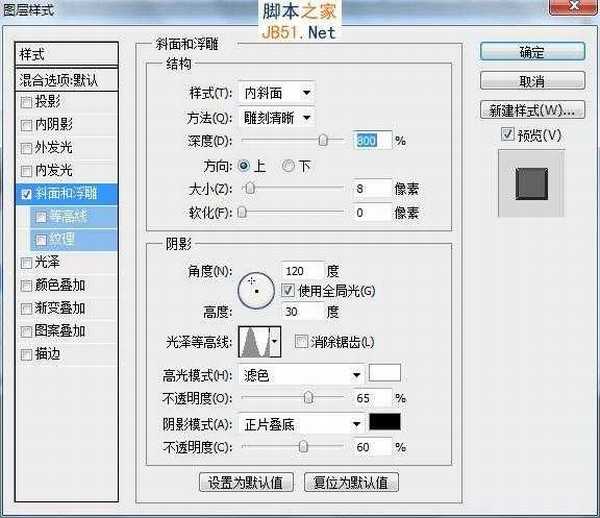
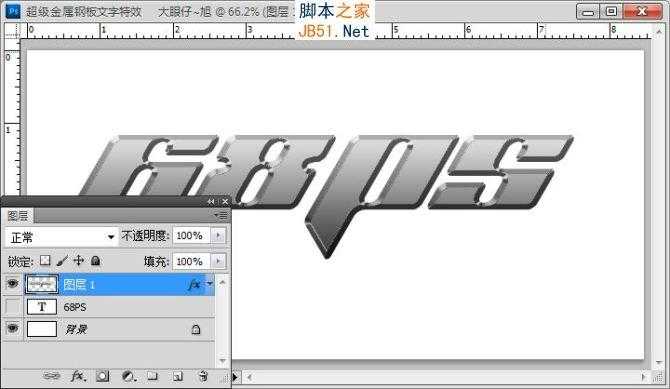
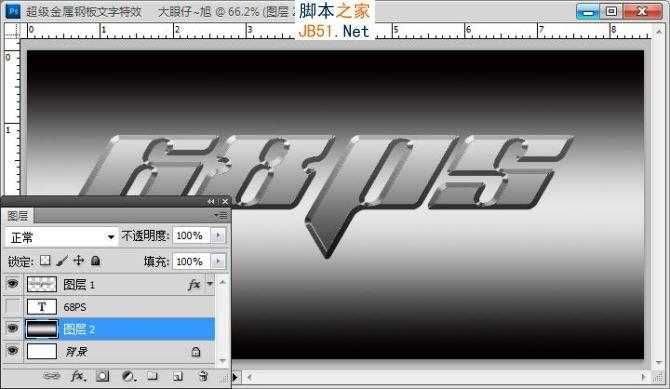
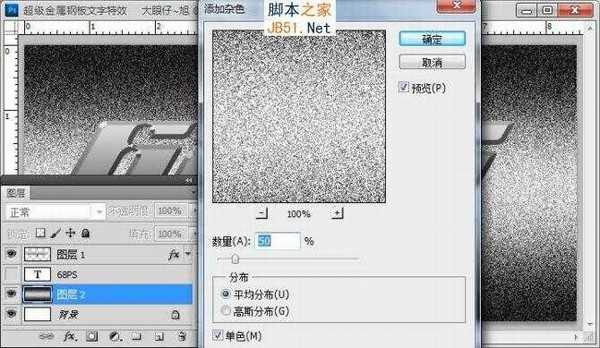
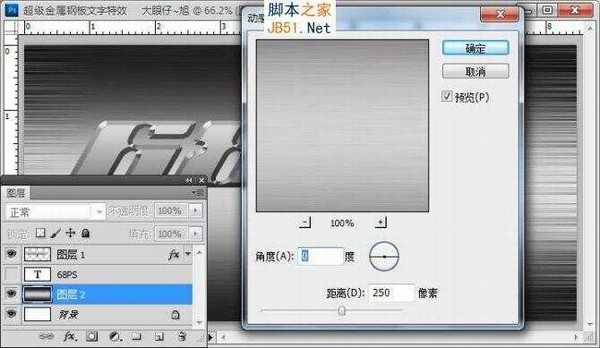
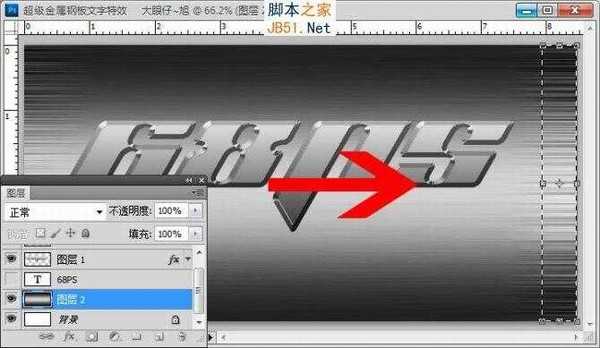
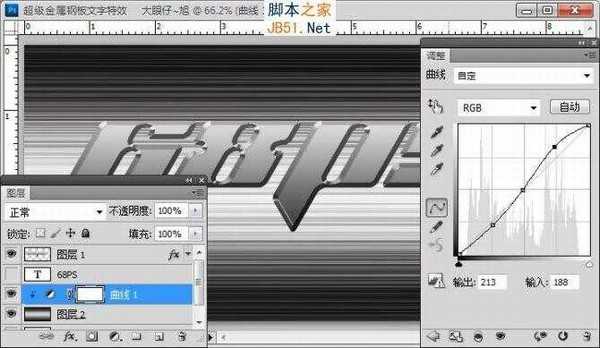
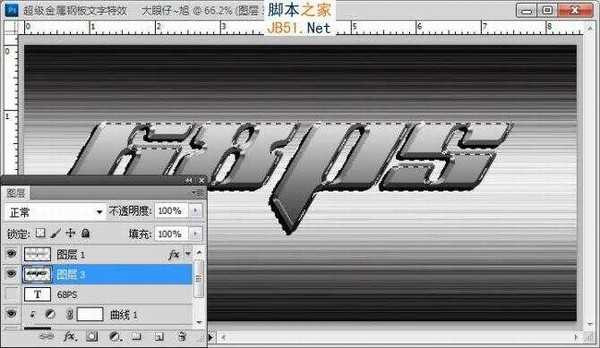
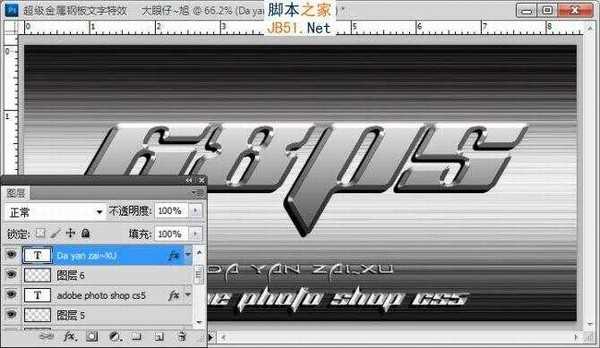
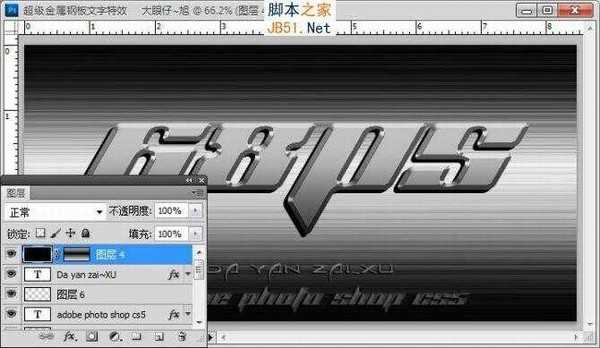
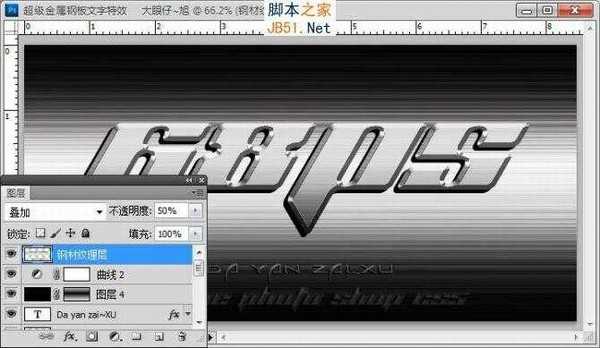
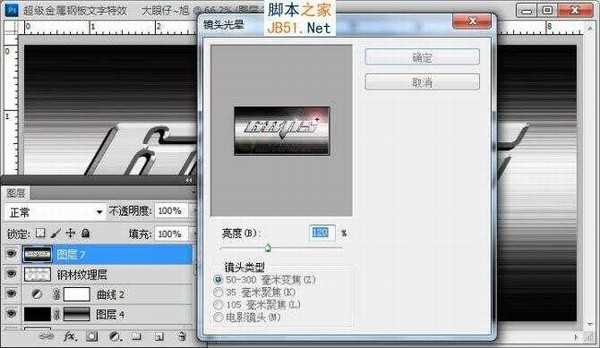
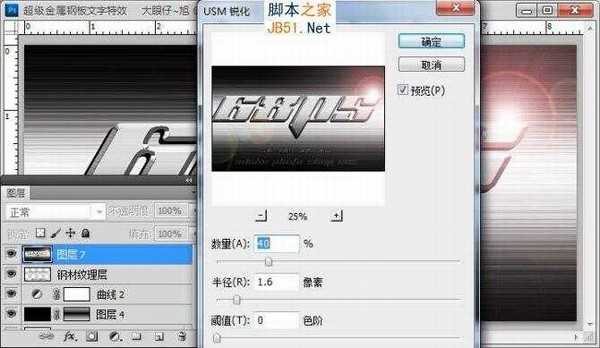
该字体特效运用的只是一些平常常用的图层样式及渐变,一及一些杂色滤镜,我们制作时要对文字进行慢慢的渲染处理,直到制作出我们想要的效果即可,文字效果有两种一种是加了暖色调,另一种是“素颜”版的,更多文字特效还希望大家能多多给论坛的友友们分享哦!
最终效果:
1.
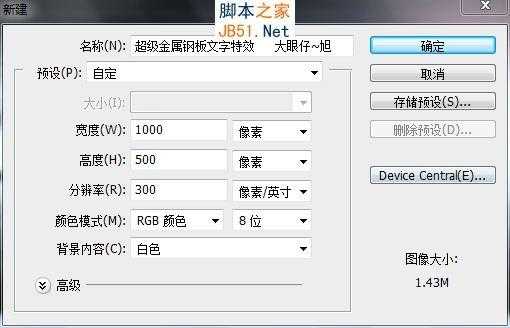
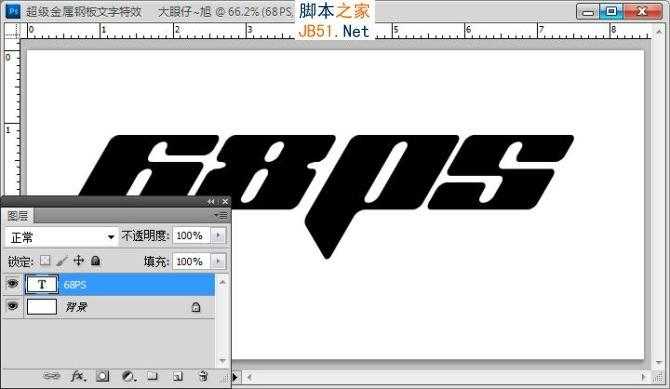
1.新建文档,自己可自定,参数如图。


最终效果:
1.
1.新建文档,自己可自定,参数如图。
上一篇:PS制作星空阵列文字风效果教程