Photoshop使用花纹和背景素材制作出2013花纹装饰艺术字
平面设计 发布日期:2026/6/4 浏览次数:1
正在浏览:Photoshop使用花纹和背景素材制作出2013花纹装饰艺术字
本教程主要使用Photoshop制作时尚的花纹艺术字教程,教程主要使用花纹素材和背景素材来完成,喜欢的朋友和我一起来学习吧。
效果:

1.新建文档2880*1800px,我打上字体“2013”,字体素材提供。

2.现在我们慢慢的加上花纹装饰,花纹装饰在网上有很多,找到你喜欢的按着你喜欢的样子来摆放,在这个教程里,效果是这样的

3.继续添加花纹图片,摆放位置,擦拭不要的部分,将花纹图与字体能完美的结合在一起

4.也可以复制相同的花纹进行多次的摆放。

添加更多的花纹装饰,使图片整体看起来协调

5.最后我们在细节的部分装饰螺旋的花纹效果,一直到满意为止。将所有花纹的图层合并。复制一次花纹图层和字体图层合并成一个图层。将原始的花纹图层的眼睛关掉,在后面我们还要用到。

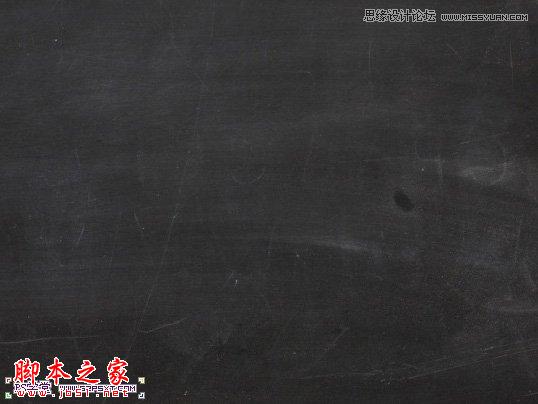
6. 我们打开黑板素材,放在背景层上,作为我们的背景。
7.我们将上面做好的花纹字体摆放好位置,在字体下方新建图层编辑填充黑色。复制一次花纹字体,再次将所有花纹字体图层和黑色图层合并。

8.将合并好的图层的模式改为浅色。

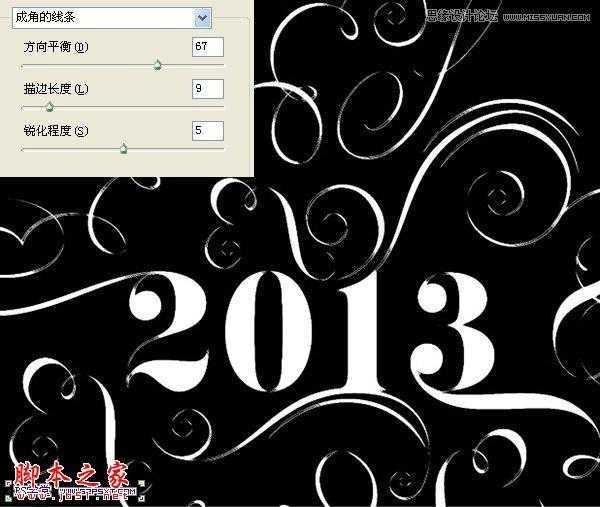
9.我们对合并图层进行滤镜--模糊--高斯模糊1,接着继续滤镜--画笔描边--成角的线条,设置方向平衡67,描边长度9,锐化程度5(滤镜数值根据具体效果进行调整)
10.给合并图层添加图层蒙版,我们用不透明度30%的黑色画笔擦拭字体部分,做出不均匀的感觉。

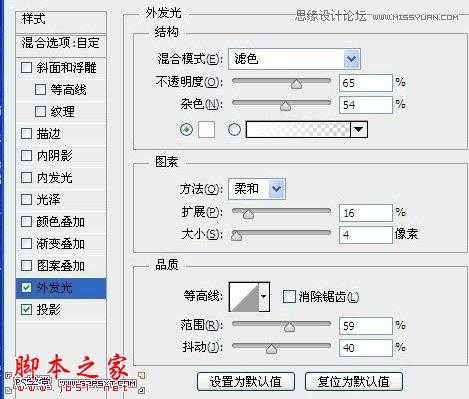
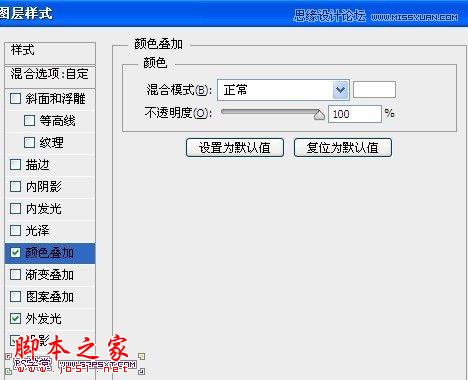
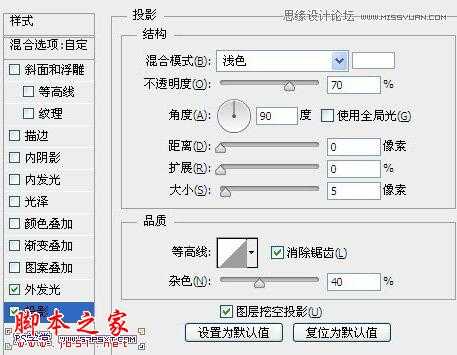
11.我们将第五步隐藏的花纹图层打开,我们也同样添加图层蒙版,黑色画笔擦拭一下。设置图层样式如下,将模式改为溶解。

5 天前 上传下载附件 (320.34 KB)
12.选择所有的图层,复制。合并所要复制图层,执行滤镜--模糊--高斯模糊5px,改图层模式为柔光,不透明度50%。再复制合并图层,改模式为滤色,完工。

效果:
1.新建文档2880*1800px,我打上字体“2013”,字体素材提供。
2.现在我们慢慢的加上花纹装饰,花纹装饰在网上有很多,找到你喜欢的按着你喜欢的样子来摆放,在这个教程里,效果是这样的
3.继续添加花纹图片,摆放位置,擦拭不要的部分,将花纹图与字体能完美的结合在一起
4.也可以复制相同的花纹进行多次的摆放。
添加更多的花纹装饰,使图片整体看起来协调
5.最后我们在细节的部分装饰螺旋的花纹效果,一直到满意为止。将所有花纹的图层合并。复制一次花纹图层和字体图层合并成一个图层。将原始的花纹图层的眼睛关掉,在后面我们还要用到。
6. 我们打开黑板素材,放在背景层上,作为我们的背景。
7.我们将上面做好的花纹字体摆放好位置,在字体下方新建图层编辑填充黑色。复制一次花纹字体,再次将所有花纹字体图层和黑色图层合并。
8.将合并好的图层的模式改为浅色。
9.我们对合并图层进行滤镜--模糊--高斯模糊1,接着继续滤镜--画笔描边--成角的线条,设置方向平衡67,描边长度9,锐化程度5(滤镜数值根据具体效果进行调整)
10.给合并图层添加图层蒙版,我们用不透明度30%的黑色画笔擦拭字体部分,做出不均匀的感觉。
11.我们将第五步隐藏的花纹图层打开,我们也同样添加图层蒙版,黑色画笔擦拭一下。设置图层样式如下,将模式改为溶解。
5 天前 上传下载附件 (320.34 KB)
12.选择所有的图层,复制。合并所要复制图层,执行滤镜--模糊--高斯模糊5px,改图层模式为柔光,不透明度50%。再复制合并图层,改模式为滤色,完工。