Photoshop使用3D动作设计制作超酷的木纹立体字教程
平面设计 发布日期:2026/6/20 浏览次数:1
正在浏览:Photoshop使用3D动作设计制作超酷的木纹立体字教程
今天为大家带来的教程是在Photoshop中怎样创建木制字体效果,在学习的过程中我们会用到PS 3D动作。通过本教程的学习,你可以利用不同字体、形状及图层样式很轻松地创建各种各样你喜欢的效果。你可以尝试着使用金属、皮革等材质来代替本教程中的木头材质。
先看看效果图
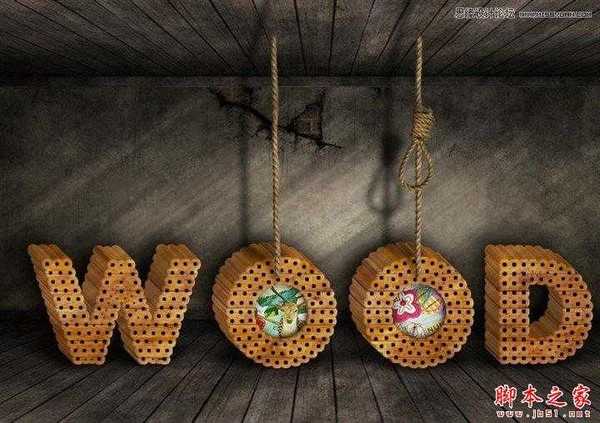
第1步:
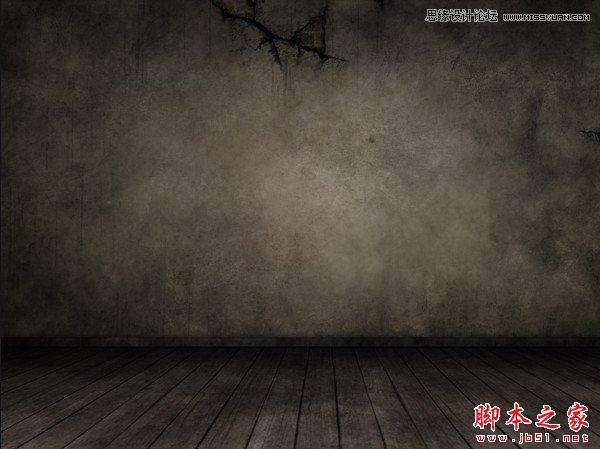
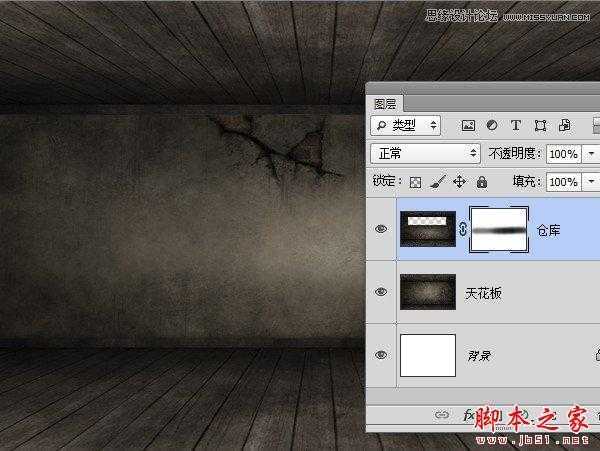
新建一个PSD文件,这里我使用的尺寸为800×564px,你可以根据自己的情况来定义画布的大小。然后将仓库素材拖动到文件中,调整好大小与位置。
第2步:
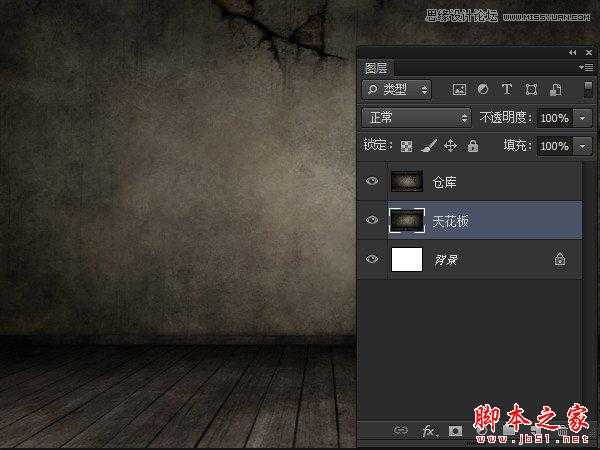
将仓库图层复制一层,命名为天花板,调整到仓库图层下方。
第3步:
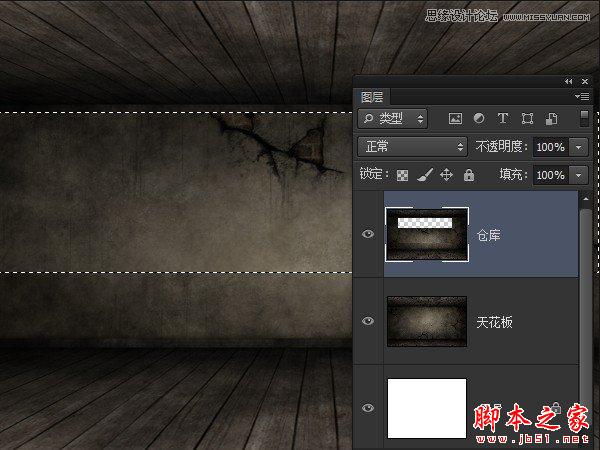
将天花板图层Ctrl+T垂直翻转,向下调整到合适位置。选中仓库图层,利用矩形选框工具选择上半部分,然后切换到移动工具,将选择的部分向下移动到如下图所示位置,使天花板露出。
第4步:
为仓库图层添加一个图层蒙版,使用黑色柔边画笔在蒙版上绘制,使下方区域和天花板图层融合到一起。
第5步:
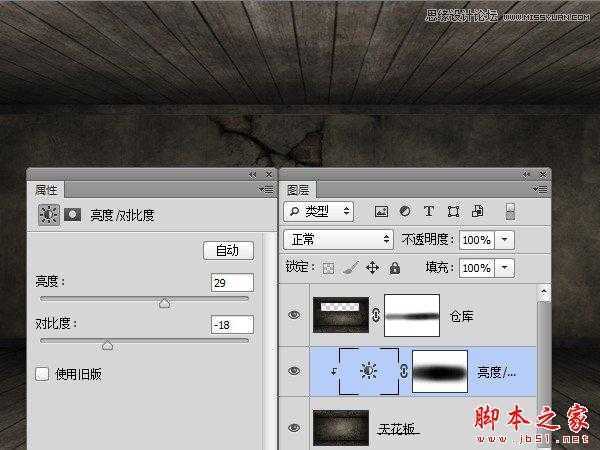
为天花板图层添加一个亮度/对比度调整层,使用黑色画笔在蒙版上绘制,使下半部分不受调整层影响。
第6步:
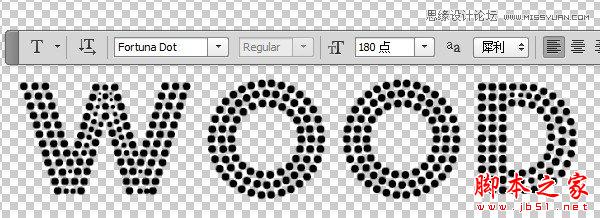
下载并安装点状文字。新建一个空白文件,用横排文字工具在文档中输入文字。这里我用的是单词WOOD,你可以根据自己的喜好输入。
第7步:
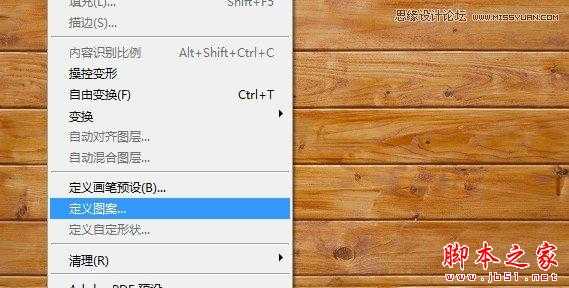
下载木制纹理,在Photoshop中打开。执行编辑>定义图案,将木制纹理添加到图案中。

第8步:
回到点状文字图层,为其添加描边图层样式。


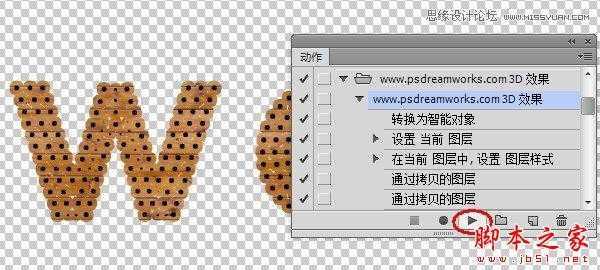
第9步:
下载并安装PS 3D动作。在动作面板找到www.psdreamworks.com 3D效果动作,点击播放按钮。
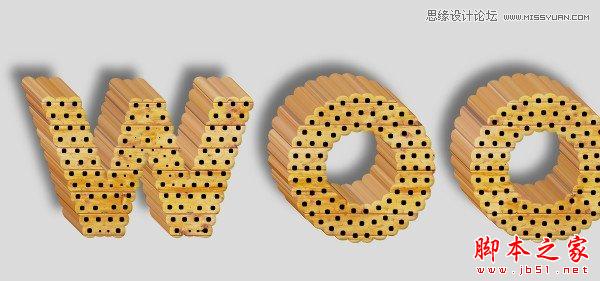
最终效果:
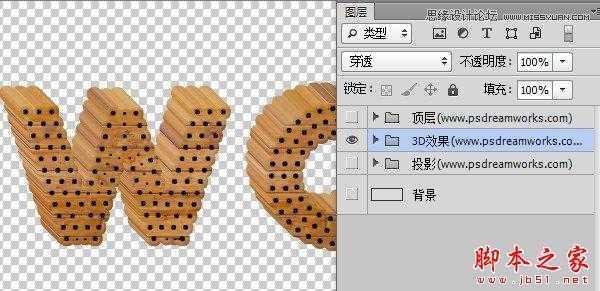
第10步:
隐藏掉3D效果图层组以外的其他图层组。
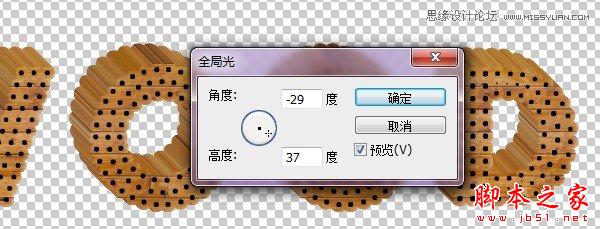
第11步:
点击菜单图层>图层样式>全局光,调整全局光数值。
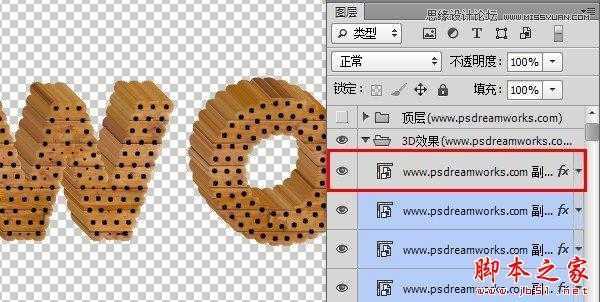
第12步:
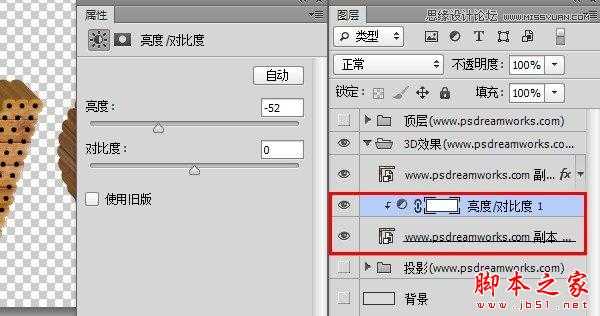
展开3D效果组,选中除第一个图层外的其他图层。点击右键,选择转换为智能对象。
为新建的智能对象添加亮度/对比度(剪贴蒙版)调整图层。
第13步:
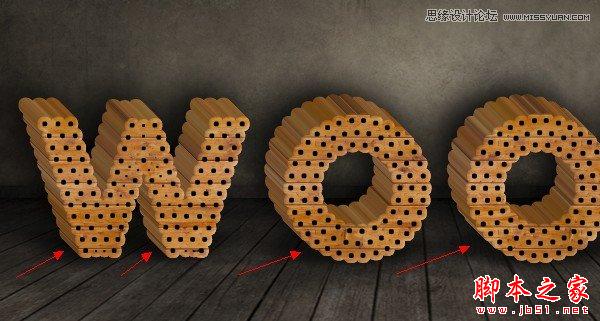
将3D效果图层组Ctrl+E合并后拖动到刚开始时创建的仓库文件中。
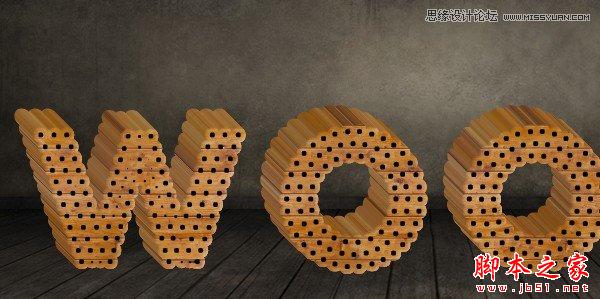
第14步:
将wood文字图层复制一层,拖动到wood图层下方,命名为阴影。按Ctrl键点击阴影图层缩略图建立选区,然后填充为黑色。执行滤镜>模糊>高斯模糊,将阴影虚化。然后将阴影移动到合适位置,做为文字在墙上的投影。
第15步:
将阴影图层复制一层,Ctrl+T将其压扁做为在地板上的投影。
第16步:
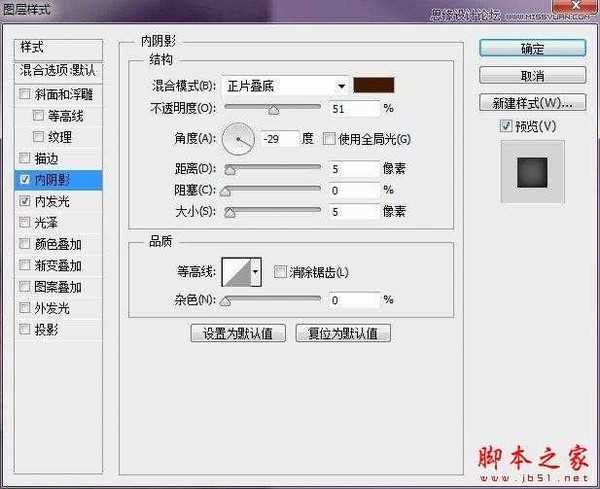
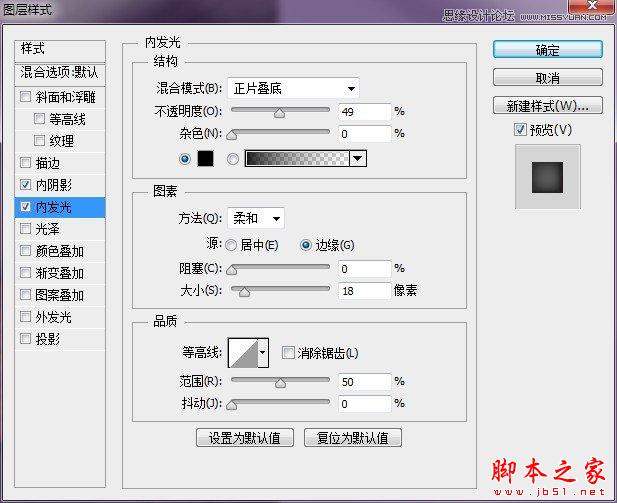
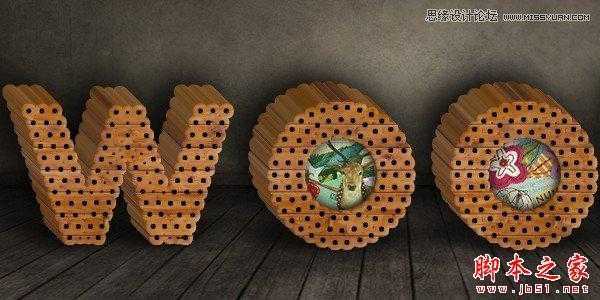
为两个O添加图案。我用的是两个卡通图案,这里就不提供下载了。你可以根据自己的喜好添加。然后为图案添加图层样式。
第17步:
下载绳索素材,将其拖动到文件中并调整大小。选取合适的一段,删掉其他部分。为了增强绳索的立体感,我们为其添加图层样式。
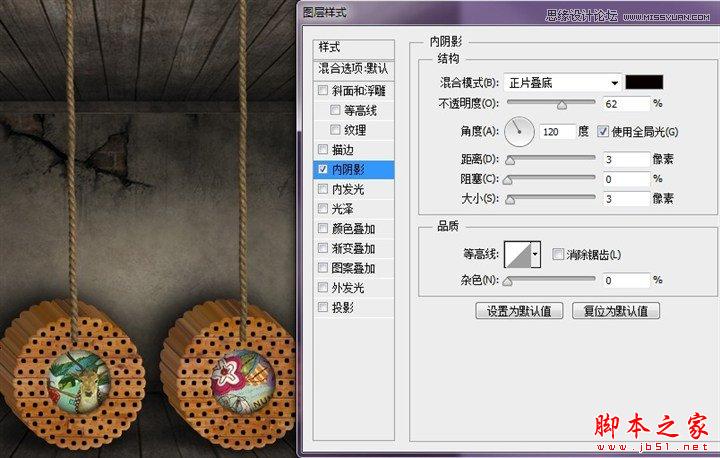
第18步:
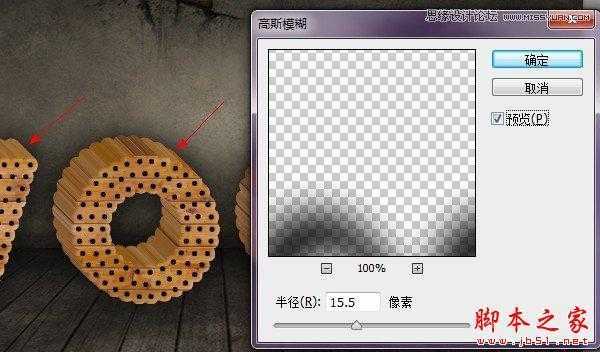
接下来在绳索图层下面新建一层,我们来为绳索添加投影。使用黑色柔边画笔在新建的图层上绘制,这里要注意投影的角度。你可以使用Shift键来画直线。
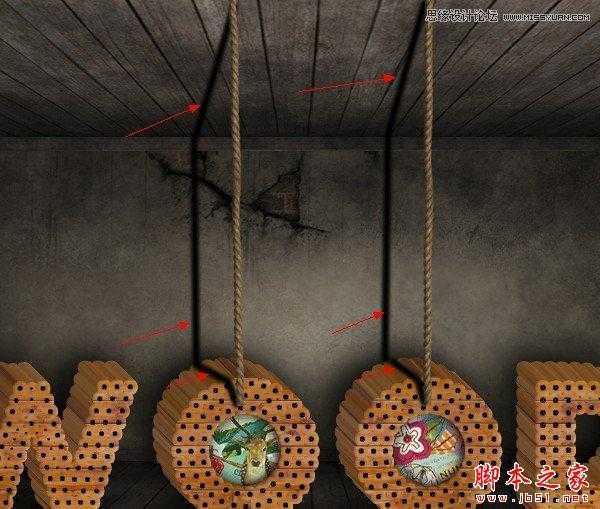
第19步:
将绳索阴影图层进行高斯模糊。
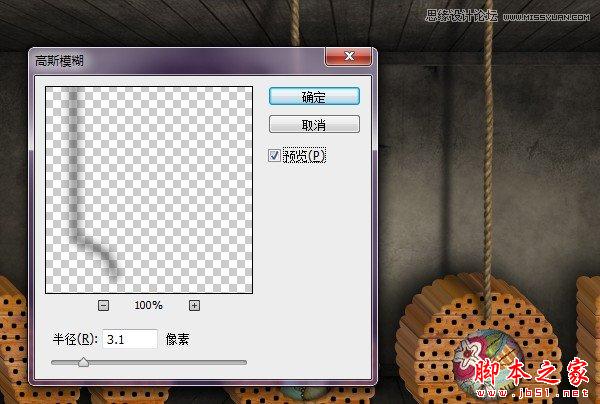
第20步:
下载并安装光照笔刷,新建一层,选择合适的白色画笔在图层上绘制。绘制完后将图层混合模式设置为叠加,调整图层不透明度为50%。
先看看效果图
第1步:
新建一个PSD文件,这里我使用的尺寸为800×564px,你可以根据自己的情况来定义画布的大小。然后将仓库素材拖动到文件中,调整好大小与位置。
第2步:
将仓库图层复制一层,命名为天花板,调整到仓库图层下方。
第3步:
将天花板图层Ctrl+T垂直翻转,向下调整到合适位置。选中仓库图层,利用矩形选框工具选择上半部分,然后切换到移动工具,将选择的部分向下移动到如下图所示位置,使天花板露出。
第4步:
为仓库图层添加一个图层蒙版,使用黑色柔边画笔在蒙版上绘制,使下方区域和天花板图层融合到一起。
第5步:
为天花板图层添加一个亮度/对比度调整层,使用黑色画笔在蒙版上绘制,使下半部分不受调整层影响。
第6步:
下载并安装点状文字。新建一个空白文件,用横排文字工具在文档中输入文字。这里我用的是单词WOOD,你可以根据自己的喜好输入。
第7步:
下载木制纹理,在Photoshop中打开。执行编辑>定义图案,将木制纹理添加到图案中。
第8步:
回到点状文字图层,为其添加描边图层样式。
第9步:
下载并安装PS 3D动作。在动作面板找到www.psdreamworks.com 3D效果动作,点击播放按钮。
最终效果:
第10步:
隐藏掉3D效果图层组以外的其他图层组。
第11步:
点击菜单图层>图层样式>全局光,调整全局光数值。
第12步:
展开3D效果组,选中除第一个图层外的其他图层。点击右键,选择转换为智能对象。
为新建的智能对象添加亮度/对比度(剪贴蒙版)调整图层。
第13步:
将3D效果图层组Ctrl+E合并后拖动到刚开始时创建的仓库文件中。
第14步:
将wood文字图层复制一层,拖动到wood图层下方,命名为阴影。按Ctrl键点击阴影图层缩略图建立选区,然后填充为黑色。执行滤镜>模糊>高斯模糊,将阴影虚化。然后将阴影移动到合适位置,做为文字在墙上的投影。
第15步:
将阴影图层复制一层,Ctrl+T将其压扁做为在地板上的投影。
第16步:
为两个O添加图案。我用的是两个卡通图案,这里就不提供下载了。你可以根据自己的喜好添加。然后为图案添加图层样式。
第17步:
下载绳索素材,将其拖动到文件中并调整大小。选取合适的一段,删掉其他部分。为了增强绳索的立体感,我们为其添加图层样式。
第18步:
接下来在绳索图层下面新建一层,我们来为绳索添加投影。使用黑色柔边画笔在新建的图层上绘制,这里要注意投影的角度。你可以使用Shift键来画直线。
第19步:
将绳索阴影图层进行高斯模糊。
第20步:
下载并安装光照笔刷,新建一层,选择合适的白色画笔在图层上绘制。绘制完后将图层混合模式设置为叠加,调整图层不透明度为50%。