photoshop利用画笔模拟出在水雾玻璃上的水墨文字
平面设计 发布日期:2026/6/13 浏览次数:1
正在浏览:photoshop利用画笔模拟出在水雾玻璃上的水墨文字
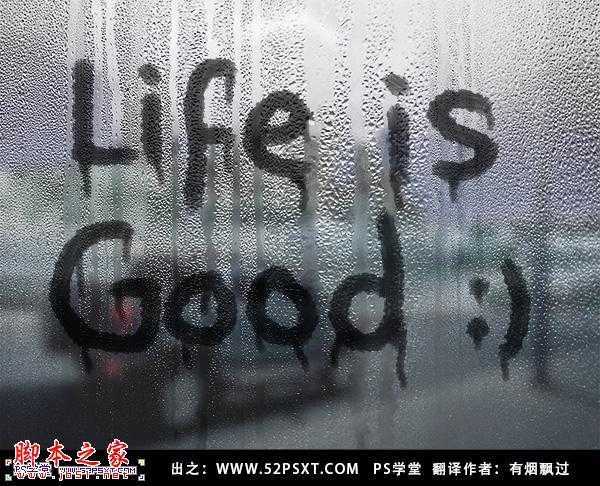
本教程的文字制作有点类似水墨字,不过过程要简单很多。只需要设好类似水墨感觉的画笔,在准备好的水雾背景上写上文字,后期修饰好细节等即可。
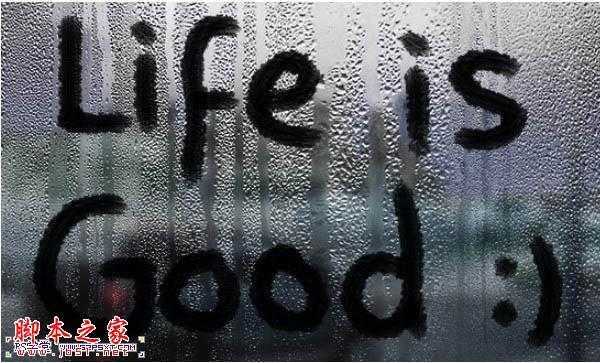
最终效果
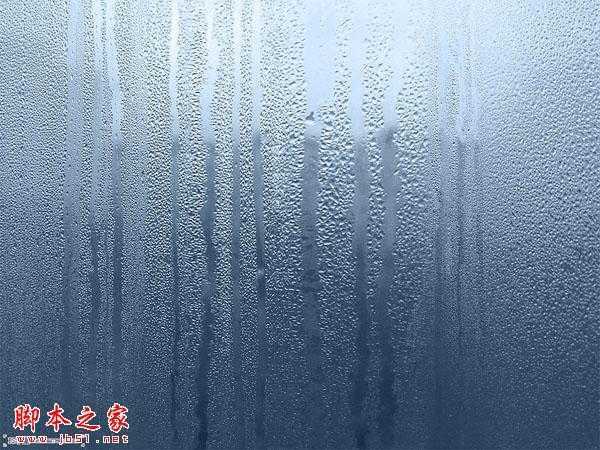
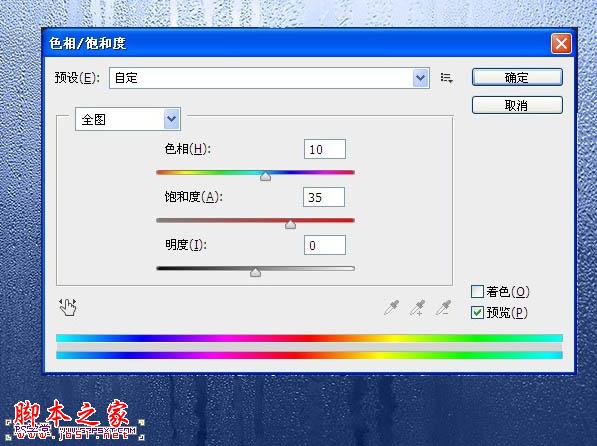
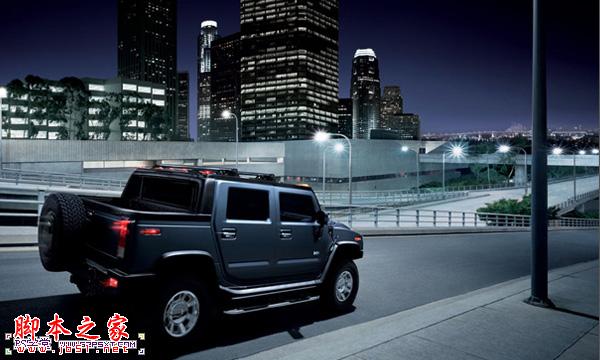
1、打开素材,我们进行色相/饱和度调整,色相10,饱和度35。
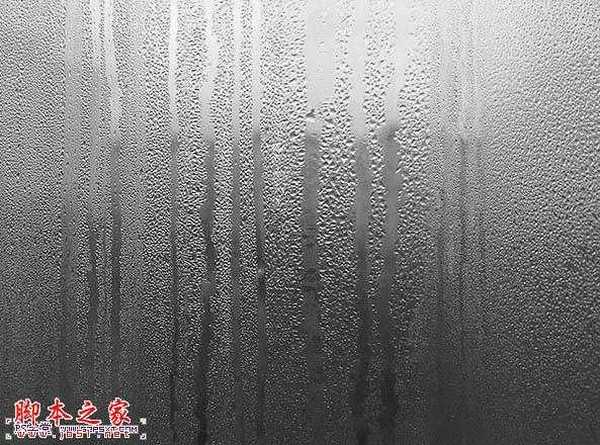
2、执行图象--调整--去色。
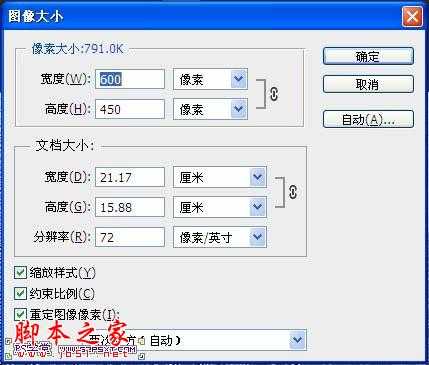
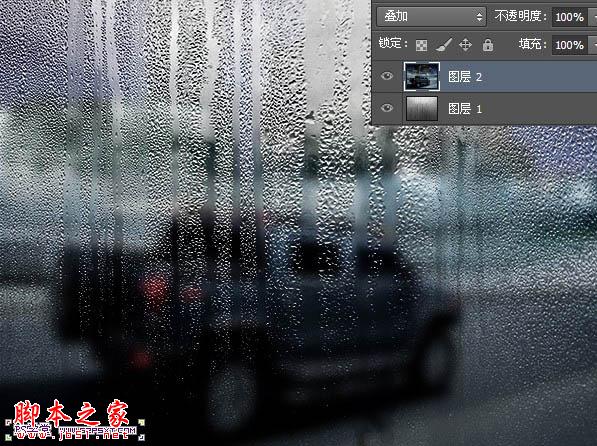
3、图象--图象大小,我们将图象改为600*450.拉入汽车素材图,改模式为叠加。
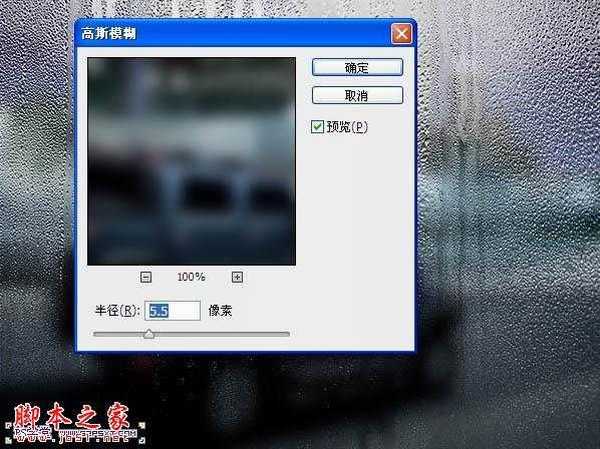
4、将汽车素材图进行滤镜--模糊--高斯模糊5.5。
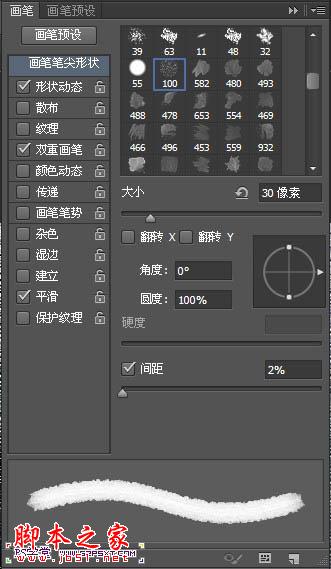
5、设置画笔,具体设置因为原教程并没有,只能自己设置大致效果。
6、在所有图层上新建图层“字体”,用黑色画笔写出字体。
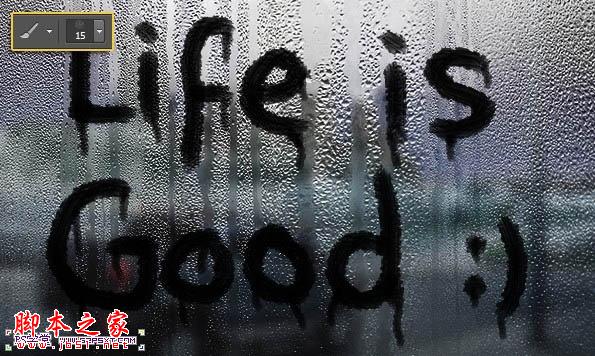
7、用15px大小的画笔画出墨迹滴落的感觉。
8、在所有图层上新建图层编辑填充白色,改模式为柔光,不透明度55%。
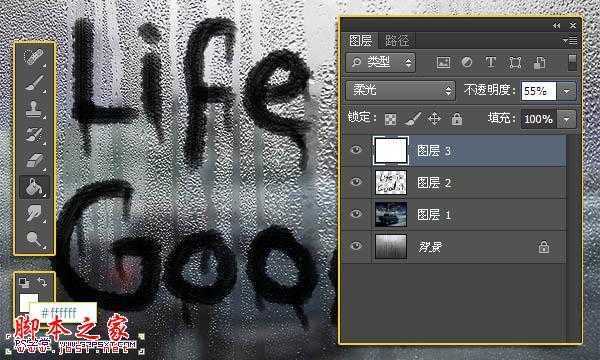
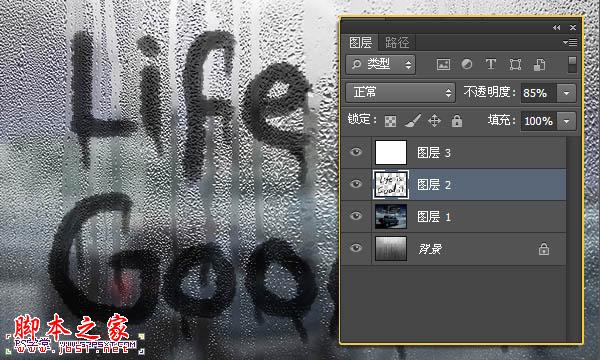
9、最后我们将字体图层的不透明度改为85%。
最终效果:
最终效果
1、打开素材,我们进行色相/饱和度调整,色相10,饱和度35。
2、执行图象--调整--去色。
3、图象--图象大小,我们将图象改为600*450.拉入汽车素材图,改模式为叠加。
4、将汽车素材图进行滤镜--模糊--高斯模糊5.5。
5、设置画笔,具体设置因为原教程并没有,只能自己设置大致效果。
6、在所有图层上新建图层“字体”,用黑色画笔写出字体。
7、用15px大小的画笔画出墨迹滴落的感觉。
8、在所有图层上新建图层编辑填充白色,改模式为柔光,不透明度55%。
9、最后我们将字体图层的不透明度改为85%。
最终效果: