Photoshop设计制作蓝色晶莹卡通立体字
平面设计 发布日期:2025/12/29 浏览次数:1
正在浏览:Photoshop设计制作蓝色晶莹卡通立体字
最终效果:

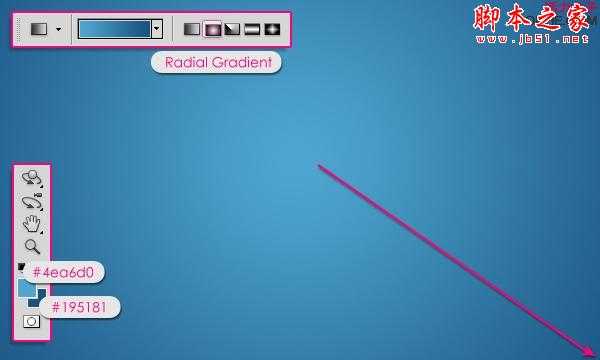
创建一个1350×1000像素的新文件。设置前景色为# 4 ea6d0,背景颜色为# 195081。从文档中心拖动到其中一个角落来创建一个径向渐变。
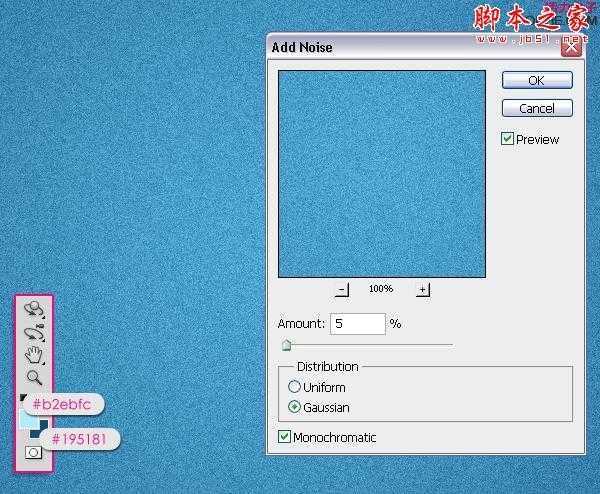
设置前景色为# b2ebfc。去滤镜>杂色>添加杂色。改变数量为5,高斯分布,勾选单色。
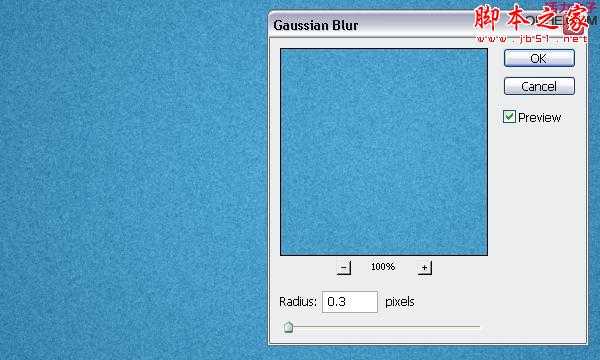
去滤镜>模糊>高斯模糊,改变半径为0.3。
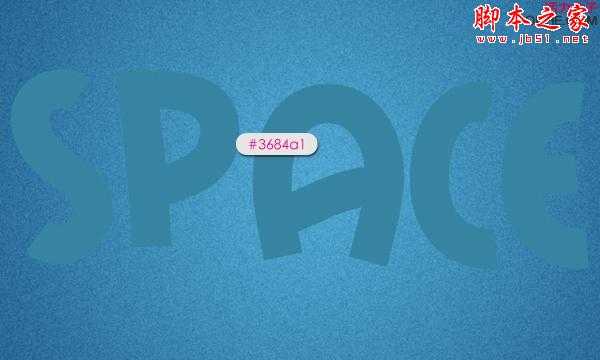
使用颜色# 3684 a1创建文本,所使用的字体是Mail Ray Stuff,尺寸为450像素。
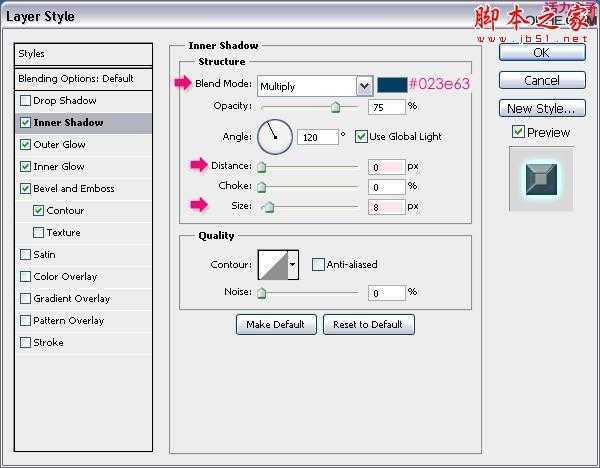
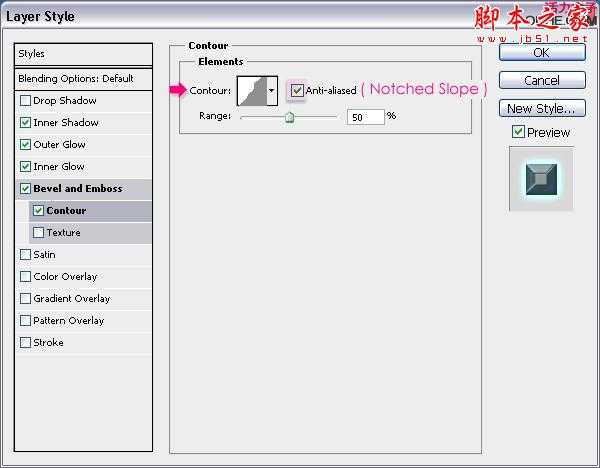
双击文字图层应用下列风格:
- 内阴影:改变颜色为# 023 e63,距离为0,大小为8。
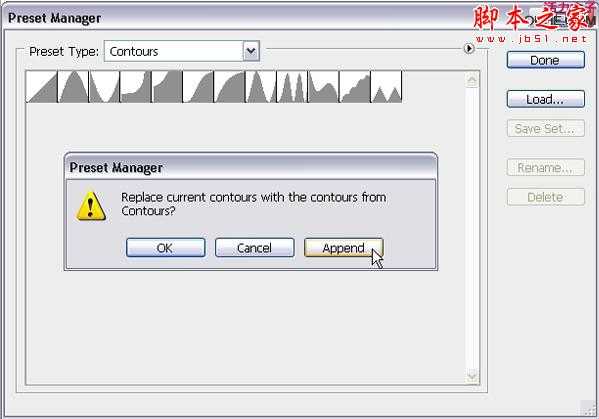
1 – 去编辑>预设管理器。从下拉菜单里选择等高线。
2 – 点击弹出式菜单箭头,并选择等高线。
3 – -点击追加用新的等高线替换当前等高线。
4 – 等高线现在被载入。

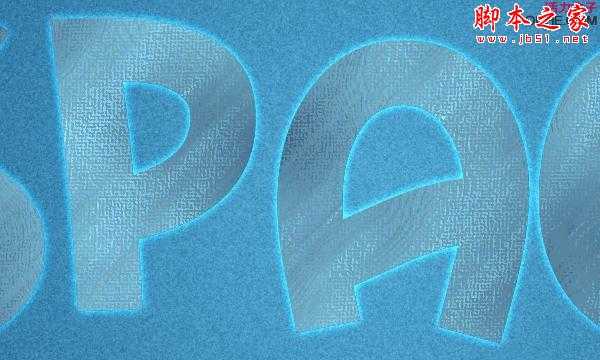
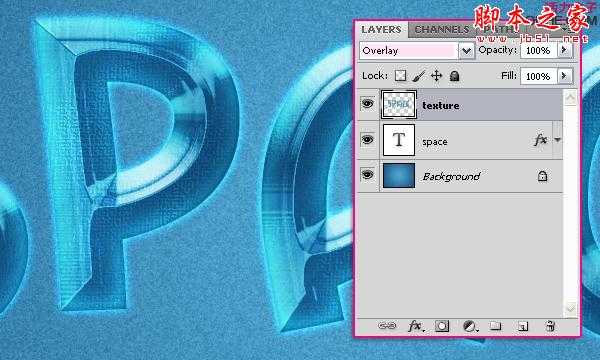
按Ctrl/Command的同时点击文本图层的缩略图来创建一个选区。在文本图层的上方创建一个新层,命名为“texture”。
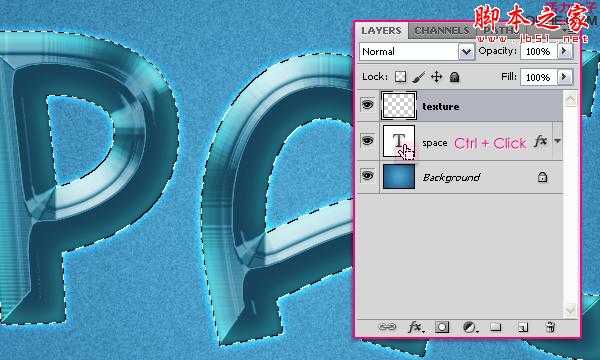
设置前景色为# 7 fb9ce,背景颜色为# 4 e6e86,然后去滤镜>渲染>云。按Ctrl + D取消选区。

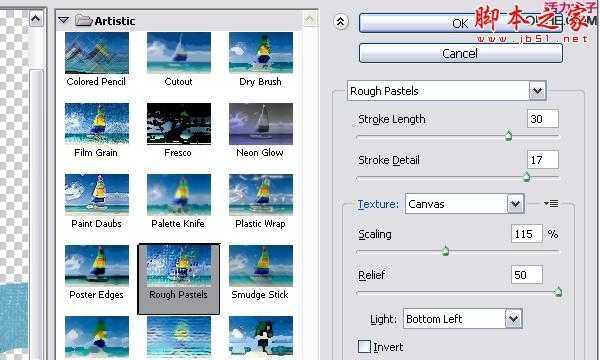
去滤镜>艺术效果>粗糙蜡笔。改变描边长度为30,描边细节为17、纹理为画布,缩放为115,凸现为50,光源为左下。
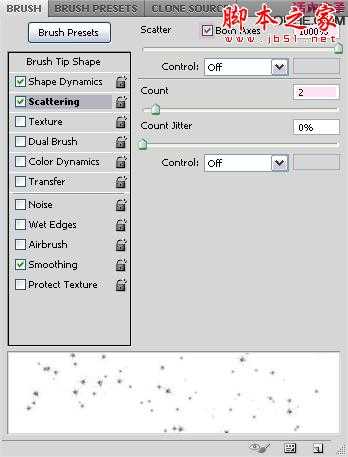
- 打开画笔面板(窗口- >画笔),并选择Star 26像素的笔刷。改变主直径为50%。
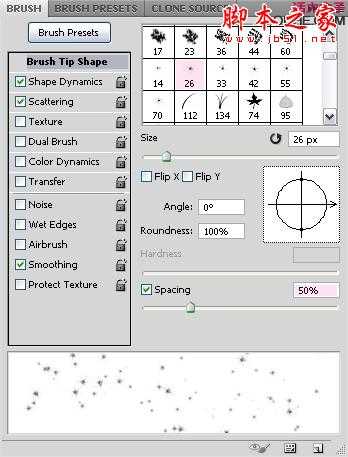
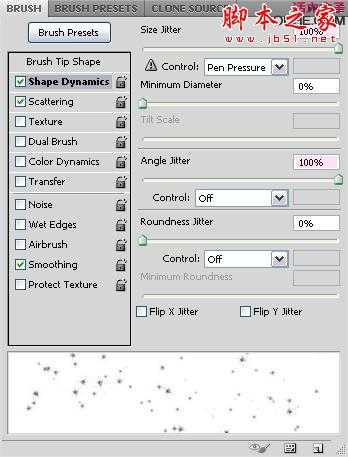
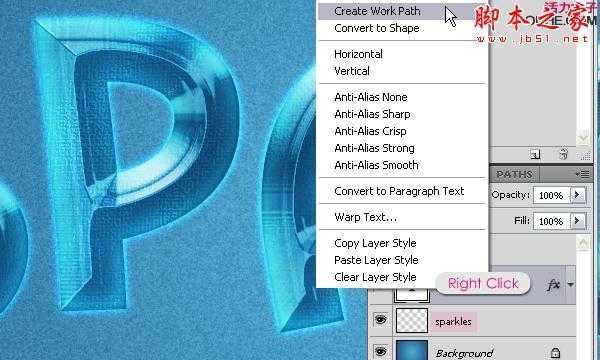
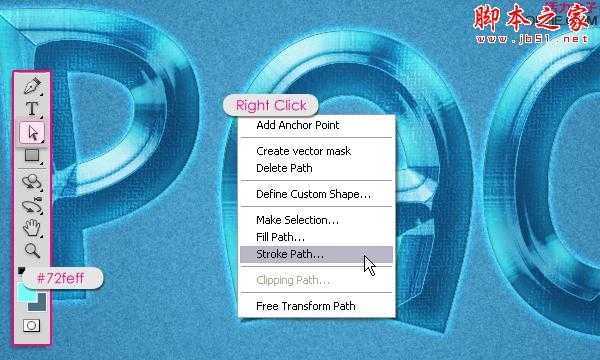
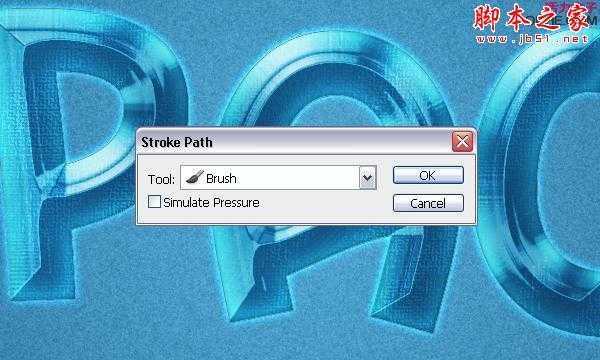
- 在背景层的上方创建一个新层,命名为“sparkles”。右键点击文字图层,选择创建工作路径。

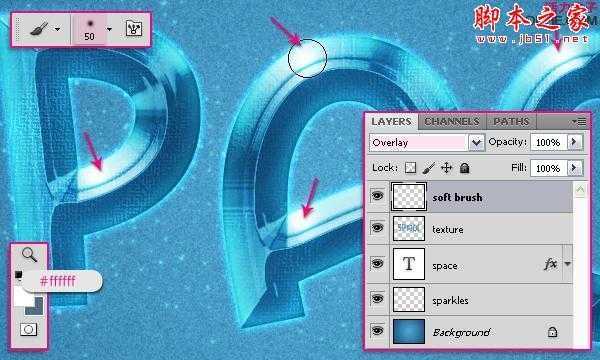
选择一个柔软的圆形笔刷,大小约为50 px,设定前景色为# ffffff(白色)。在所有图层的上方创建一个新层,命名为“soft brush”,然后改变其混合模式为叠加。
使用柔软的笔刷开始点击文本中明亮的区域,这将使高光部分看起来更亮。你可以随意改变画笔的大小。
创建一个1350×1000像素的新文件。设置前景色为# 4 ea6d0,背景颜色为# 195081。从文档中心拖动到其中一个角落来创建一个径向渐变。
设置前景色为# b2ebfc。去滤镜>杂色>添加杂色。改变数量为5,高斯分布,勾选单色。
去滤镜>模糊>高斯模糊,改变半径为0.3。
使用颜色# 3684 a1创建文本,所使用的字体是Mail Ray Stuff,尺寸为450像素。
双击文字图层应用下列风格:
- 内阴影:改变颜色为# 023 e63,距离为0,大小为8。
1 – 去编辑>预设管理器。从下拉菜单里选择等高线。
2 – 点击弹出式菜单箭头,并选择等高线。
3 – -点击追加用新的等高线替换当前等高线。
4 – 等高线现在被载入。
按Ctrl/Command的同时点击文本图层的缩略图来创建一个选区。在文本图层的上方创建一个新层,命名为“texture”。
设置前景色为# 7 fb9ce,背景颜色为# 4 e6e86,然后去滤镜>渲染>云。按Ctrl + D取消选区。
去滤镜>艺术效果>粗糙蜡笔。改变描边长度为30,描边细节为17、纹理为画布,缩放为115,凸现为50,光源为左下。
- 打开画笔面板(窗口- >画笔),并选择Star 26像素的笔刷。改变主直径为50%。
- 在背景层的上方创建一个新层,命名为“sparkles”。右键点击文字图层,选择创建工作路径。
选择一个柔软的圆形笔刷,大小约为50 px,设定前景色为# ffffff(白色)。在所有图层的上方创建一个新层,命名为“soft brush”,然后改变其混合模式为叠加。
使用柔软的笔刷开始点击文本中明亮的区域,这将使高光部分看起来更亮。你可以随意改变画笔的大小。