photoshop设计制作创意文字标志
平面设计 发布日期:2026/6/28 浏览次数:1
正在浏览:photoshop设计制作创意文字标志
先来看看最终的效果图吧:

1,最终效果;
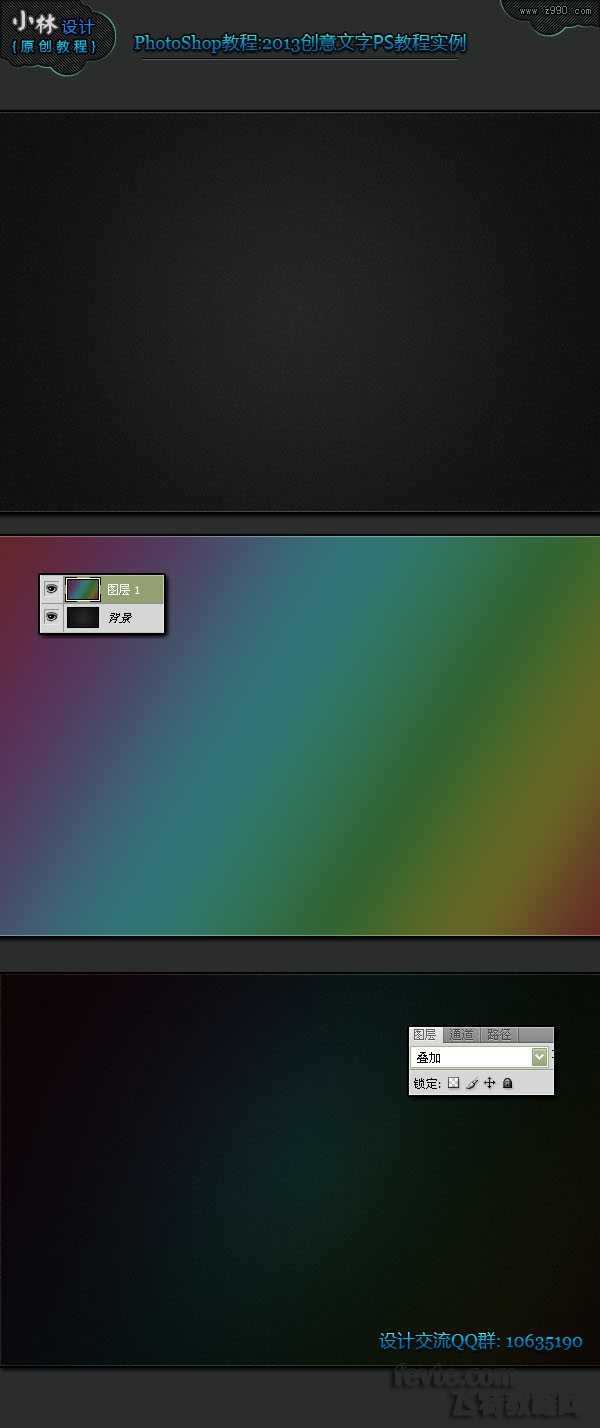


1,最终效果;