photoshop设计制作高光纹理塑料字
平面设计 发布日期:2026/6/13 浏览次数:1
正在浏览:photoshop设计制作高光纹理塑料字
先看效果图

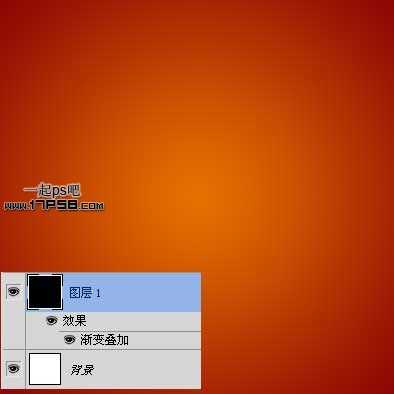
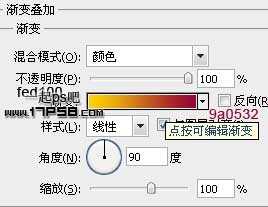
新建文档800x800像素,背景白色,新建图层填充黑色,添加图层样式。
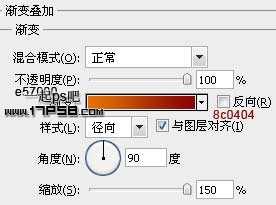
效果如下。
前景色#ffd200输入文字,字体Chumbly BRK,尺寸250点,复制一层,把复制层的填充归零。
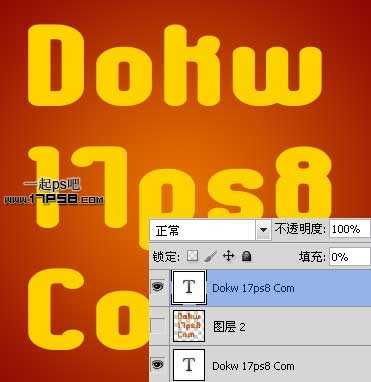
选择原文字层,添加图层样式。
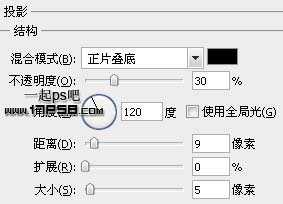
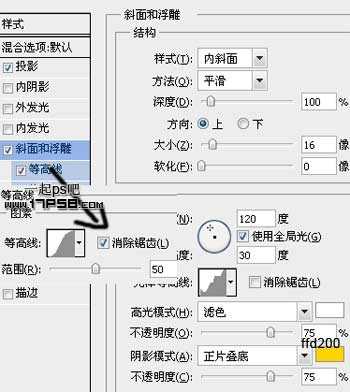
效果如下。

选择复制层,添加样式。
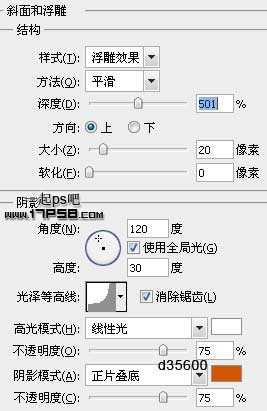
效果如下,高光效果已经出来了。

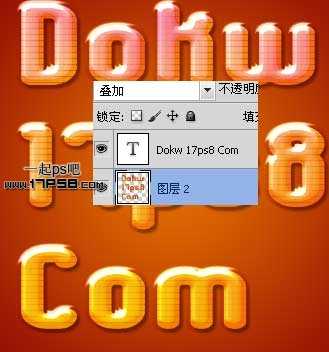
在2个文字层中间新建图层2,调出文字选区,设置前景色和背景色,数值请采样我的截图,滤镜>渲染>云彩。
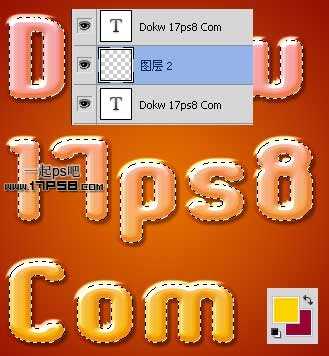
效果如下。

滤镜>纹理>拼缀图,图层模式改为叠加。

类似下图效果。
剩下的就容易了,新建图层前景色白色高光笔刷点几下,最终效果如下,高光纹理字制作完毕,本ps教程结束。