Photoshop设计制作简单的蓝色光影立体字
平面设计 发布日期:2026/6/7 浏览次数:1
正在浏览:Photoshop设计制作简单的蓝色光影立体字
最终效果

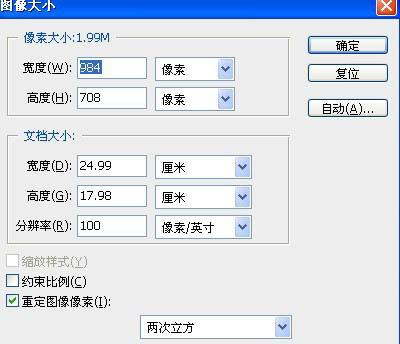
1、新建文件。
2、径向渐变(颜色根据自己喜好)这里我选的是蓝色。

3、输入字体(字体方正一些好看)。

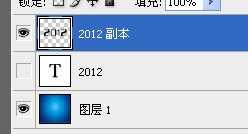
4、复制一个文字图层,对另一个图层栅格化。
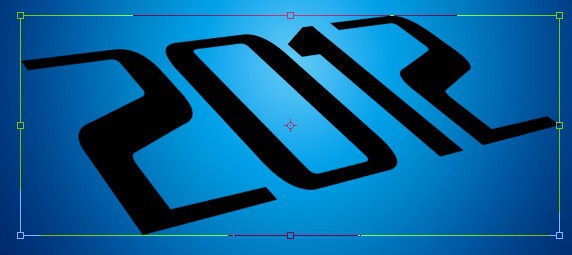
5、通过透视,斜切,使字体有透视效果。
6、新建通道,填充白色(以备后用)。
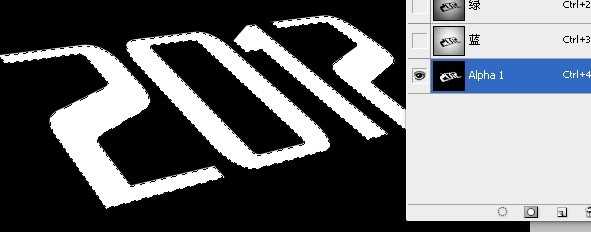
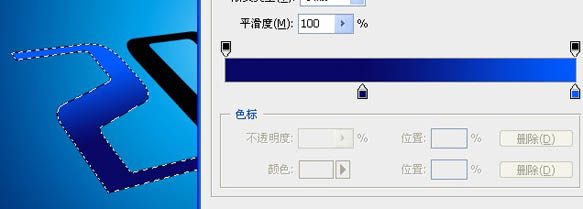
7、依次从通道载入字体的选区,对字体进行渐变填充。
8、效果如下。

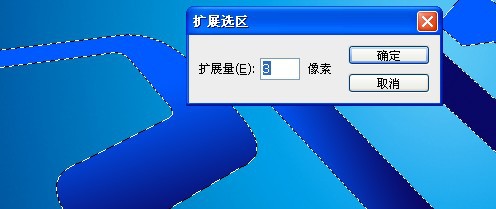
9、执行选择菜单-修改-扩展选区。(新建图层,填充白色)。
10、扩展选区后,不要取消选区,按住ctrl+alt+方向键向下进行立体化。

11、适当缩小,放在一定的位置。

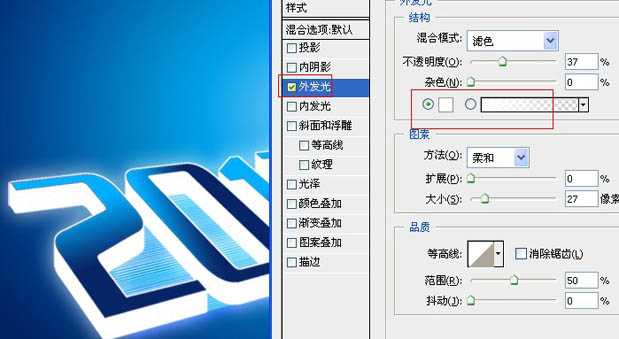
12、对白色的字体图层进行外发光设置。
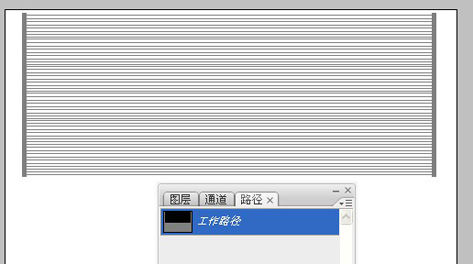
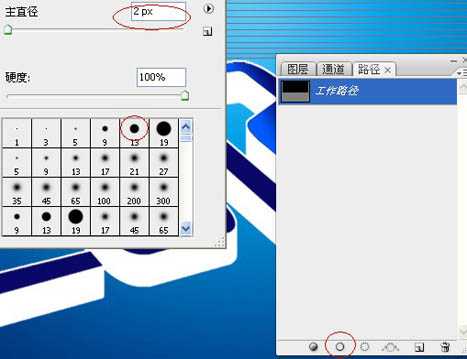
13、用钢笔画一些直线路径。(画出一根后复制就行)。
14、前景设置成正黄,对路径进行描边。
15、描边后如图。

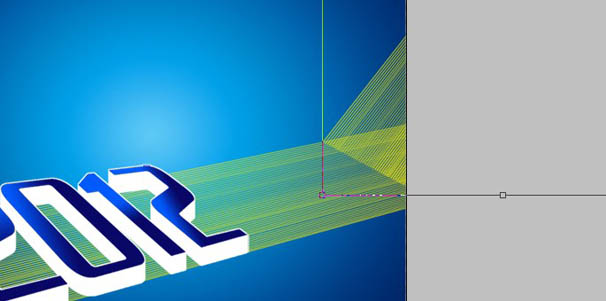
16、放在字体下方。

17、再复制一个,如图放置。
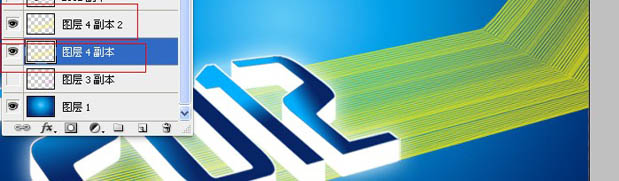
18、删除后面的线条,如图。

19、合并后再复制一层刚才的线条。
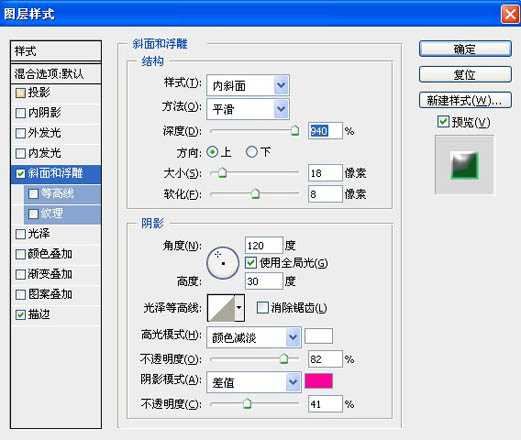
20、对下面的线条进行如下设置。
上一页12 下一页 阅读全文
1、新建文件。
2、径向渐变(颜色根据自己喜好)这里我选的是蓝色。
3、输入字体(字体方正一些好看)。
4、复制一个文字图层,对另一个图层栅格化。
5、通过透视,斜切,使字体有透视效果。
6、新建通道,填充白色(以备后用)。
7、依次从通道载入字体的选区,对字体进行渐变填充。
8、效果如下。
9、执行选择菜单-修改-扩展选区。(新建图层,填充白色)。
10、扩展选区后,不要取消选区,按住ctrl+alt+方向键向下进行立体化。
11、适当缩小,放在一定的位置。
12、对白色的字体图层进行外发光设置。
13、用钢笔画一些直线路径。(画出一根后复制就行)。
14、前景设置成正黄,对路径进行描边。
15、描边后如图。
16、放在字体下方。
17、再复制一个,如图放置。
18、删除后面的线条,如图。
19、合并后再复制一层刚才的线条。
20、对下面的线条进行如下设置。
上一页12 下一页 阅读全文