Photoshop打造出绚丽的彩色立体玻璃字特效
平面设计 发布日期:2026/4/14 浏览次数:1
正在浏览:Photoshop打造出绚丽的彩色立体玻璃字特效
最终效果

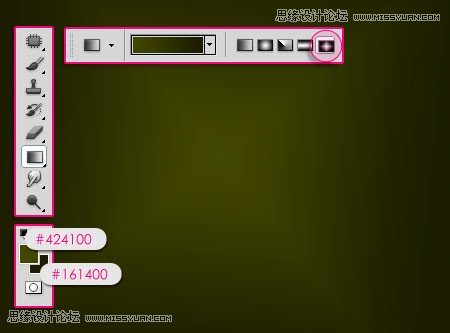
1、新建图层前景色设置为#424100,背景色设置为#161400,使用渐变工具的菱形渐变从中心至角落做一个渐变。
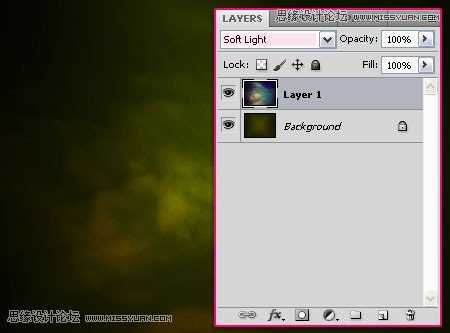
2、载入怀旧色彩云彩,调整大小,将图层混合模式调整为柔光。
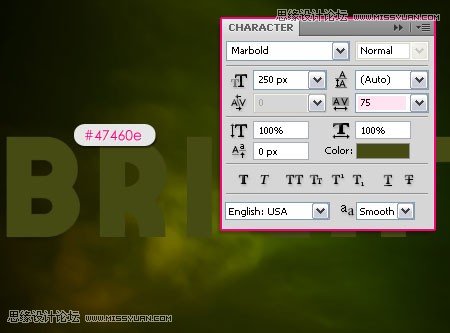
3、使用横排文字工具,字体为Marbold,大小为250像素,字符距离调整为75,字体颜色为#47460e。
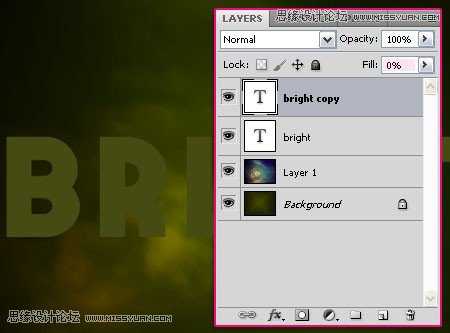
4、复制文字图层,文字图层副本填充为0。
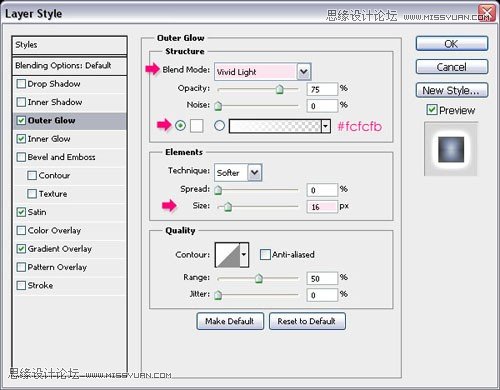
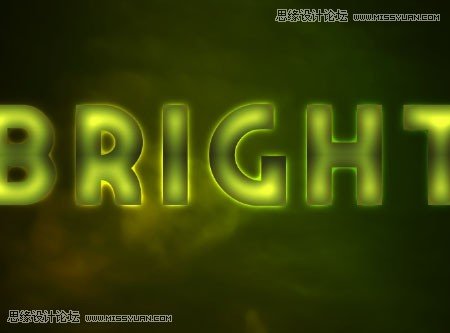
5、双击文字图层,应用一下图层样式,外发光:图层混合模式为亮光,大小为16,颜色为#fcfcfb。
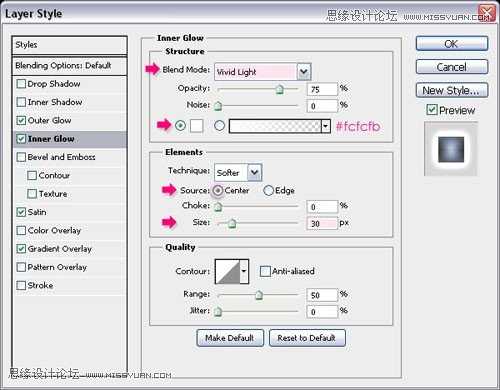
6、内发光:混合模式为亮光,颜色为#fcfcfb,源:中间,大小30。
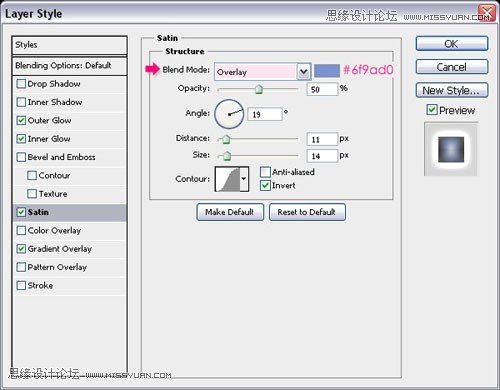
7、光泽:模式:叠加,颜色#6f9ad0。
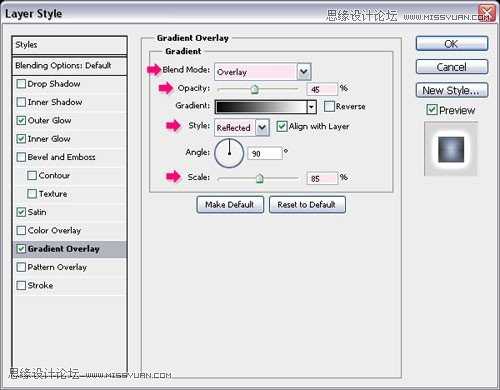
8、渐变叠加:混合模式叠加,不透明度45%,渐变样式:对称,缩放85%。
9、接下来刻画文字中得亮光。
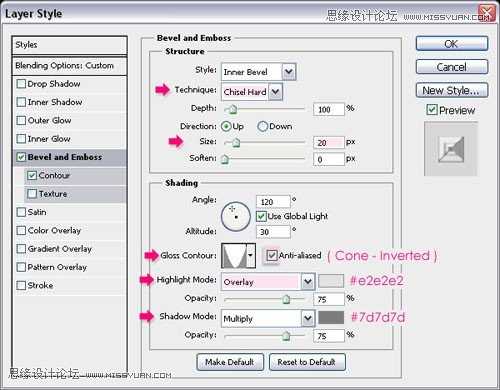
10、双击文字图层副本,应用斜面与浮雕样式:内斜面,雕刻清晰,大小20,光泽等高线:锥形--反转,消除锯齿,高光模式:叠加,颜色#e2e2e2,阴影模式:正片叠底,颜色为#7d7d7d。
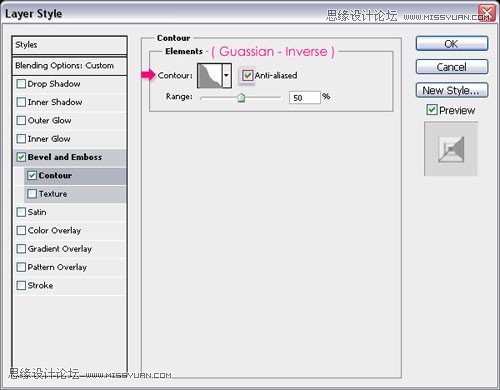
11、等高线:等高线为:高斯分布--反转,消除锯齿。
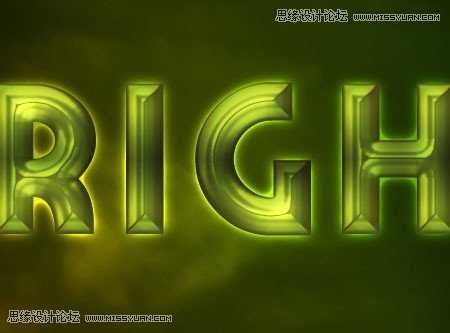
12、接下来为图层增加怀有的亮光效果。
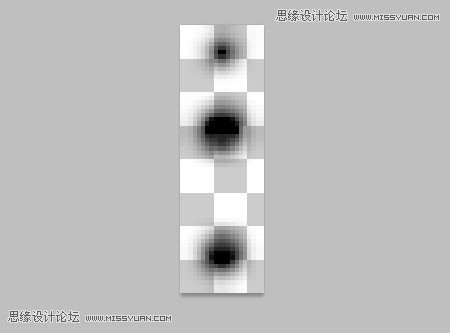
13、新建一个20*64的透明的图层,使用圆角笔刷刷三个不同直径的圆形,执行:图像--图像大小,将尺寸调整为5*16。
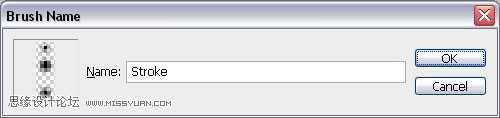
14、执行:编辑--定义画笔预设,将画笔命名为:描边。
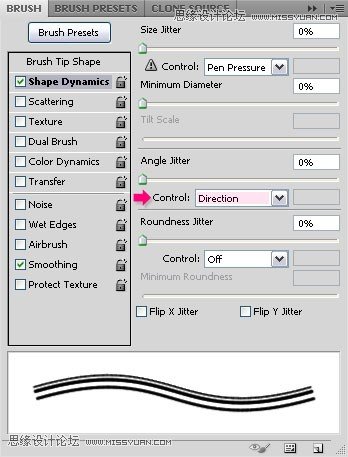
15、返回图层打开画笔工具(窗口---画笔),形状动态:控制:方向。
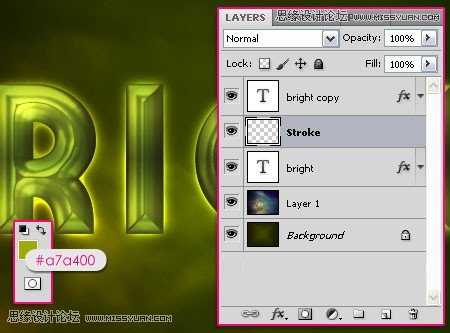
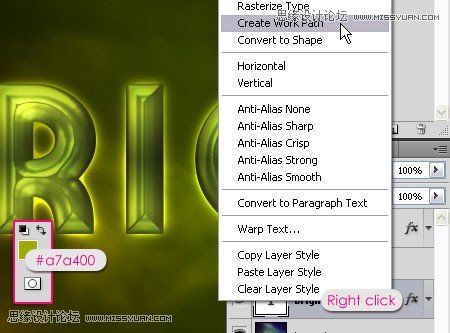
16、在两个文字图层之间新建一个图层,命名为描边,前景色设置为#a7a400。
17、右击其中一个文字图层,执行:创建工作路径。
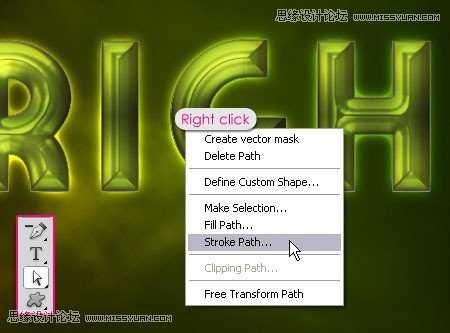
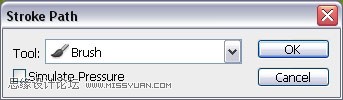
18、选择直接路径工具,确保图层为描边图层,右击路径,选择描边路径。
19、选择画笔工具,取消模拟压力。
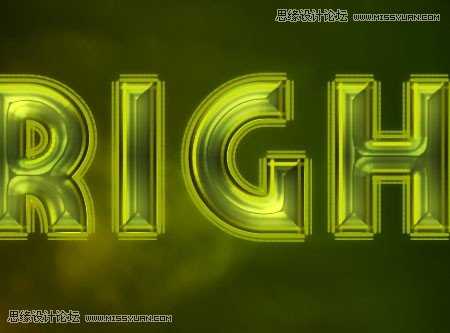
20、效果如下:
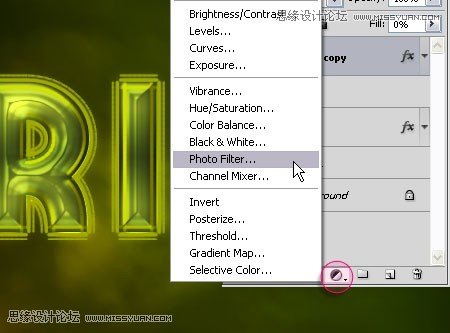
21、点击:创建填充或调整图层,选择:照片滤镜。
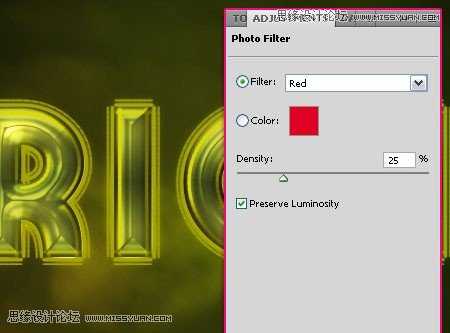
22、选择红色滤镜。
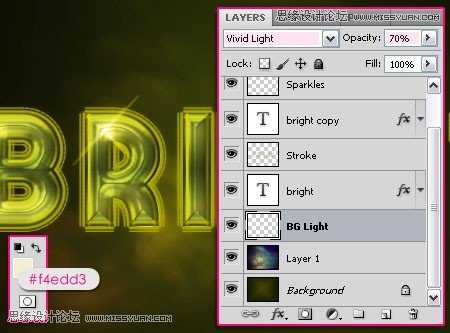
23、在文字图层副本上方创建一个新图层,命名为花火,混合模式改为亮光,前景色设置为#f4edd3,使用花火笔刷在需要的位置刷一道两个亮点。

24、在文字图层副本下方创建一个新图层,命名为散射线,图层混合模式为亮光,不透明度70%。
25、使用笔刷刷出一些漂亮的光线。

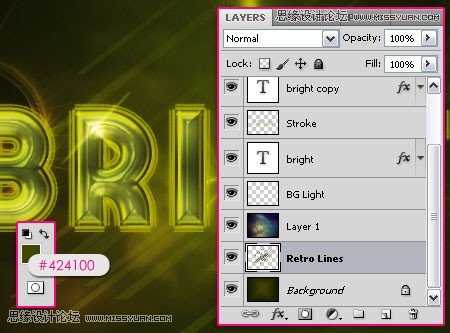
26、最后,在背景图层之上新建一个图层,命名为怀旧光线,前景色设置为#424100,使用怀旧笔刷刷出图示的一些线条。以下为最终效果,接下来你可以思考增加一些色彩使图像更为怀旧。
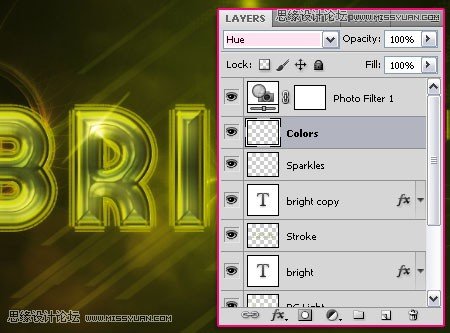
27、在描边图层之上新建一个图层,命名为颜色,图层混合模式为色相。
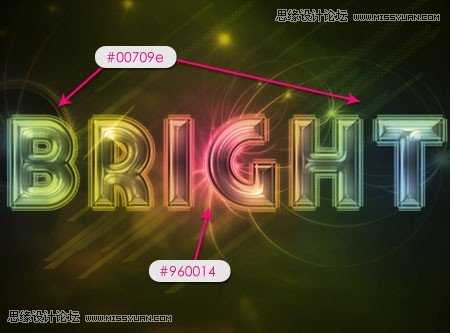
28、使用大的柔角圆形笔刷,为图层增加一些颜色,使用的颜色为#00709e和960014,你也可以尝试不同的色彩。
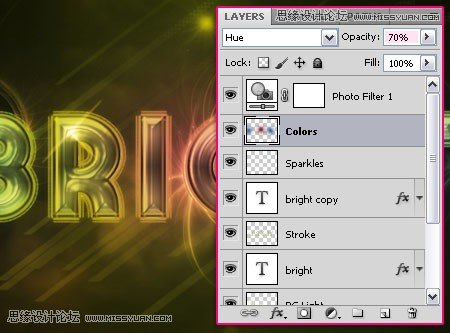
29、如果色彩过亮,可以调整图层的不透明度。
最终效果:
1、新建图层前景色设置为#424100,背景色设置为#161400,使用渐变工具的菱形渐变从中心至角落做一个渐变。
2、载入怀旧色彩云彩,调整大小,将图层混合模式调整为柔光。
3、使用横排文字工具,字体为Marbold,大小为250像素,字符距离调整为75,字体颜色为#47460e。
4、复制文字图层,文字图层副本填充为0。
5、双击文字图层,应用一下图层样式,外发光:图层混合模式为亮光,大小为16,颜色为#fcfcfb。
6、内发光:混合模式为亮光,颜色为#fcfcfb,源:中间,大小30。
7、光泽:模式:叠加,颜色#6f9ad0。
8、渐变叠加:混合模式叠加,不透明度45%,渐变样式:对称,缩放85%。
9、接下来刻画文字中得亮光。
10、双击文字图层副本,应用斜面与浮雕样式:内斜面,雕刻清晰,大小20,光泽等高线:锥形--反转,消除锯齿,高光模式:叠加,颜色#e2e2e2,阴影模式:正片叠底,颜色为#7d7d7d。
11、等高线:等高线为:高斯分布--反转,消除锯齿。
12、接下来为图层增加怀有的亮光效果。
13、新建一个20*64的透明的图层,使用圆角笔刷刷三个不同直径的圆形,执行:图像--图像大小,将尺寸调整为5*16。
14、执行:编辑--定义画笔预设,将画笔命名为:描边。
15、返回图层打开画笔工具(窗口---画笔),形状动态:控制:方向。
16、在两个文字图层之间新建一个图层,命名为描边,前景色设置为#a7a400。
17、右击其中一个文字图层,执行:创建工作路径。
18、选择直接路径工具,确保图层为描边图层,右击路径,选择描边路径。
19、选择画笔工具,取消模拟压力。
20、效果如下:
21、点击:创建填充或调整图层,选择:照片滤镜。
22、选择红色滤镜。
23、在文字图层副本上方创建一个新图层,命名为花火,混合模式改为亮光,前景色设置为#f4edd3,使用花火笔刷在需要的位置刷一道两个亮点。
24、在文字图层副本下方创建一个新图层,命名为散射线,图层混合模式为亮光,不透明度70%。
25、使用笔刷刷出一些漂亮的光线。
26、最后,在背景图层之上新建一个图层,命名为怀旧光线,前景色设置为#424100,使用怀旧笔刷刷出图示的一些线条。以下为最终效果,接下来你可以思考增加一些色彩使图像更为怀旧。
27、在描边图层之上新建一个图层,命名为颜色,图层混合模式为色相。
28、使用大的柔角圆形笔刷,为图层增加一些颜色,使用的颜色为#00709e和960014,你也可以尝试不同的色彩。
29、如果色彩过亮,可以调整图层的不透明度。
最终效果: