Photoshop打造漂亮的绿色叶片字效果
平面设计 发布日期:2026/6/9 浏览次数:1
正在浏览:Photoshop打造漂亮的绿色叶片字效果
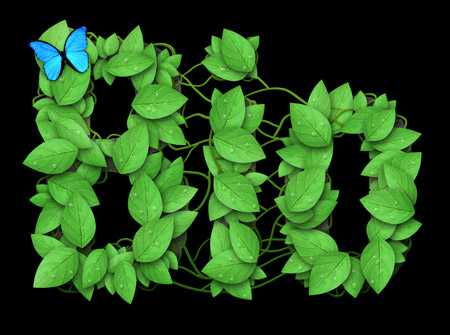
最终效果
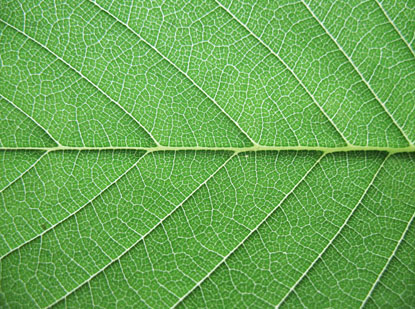
1、整个设计是基于一片叶子,打开下图所示的叶片素材。
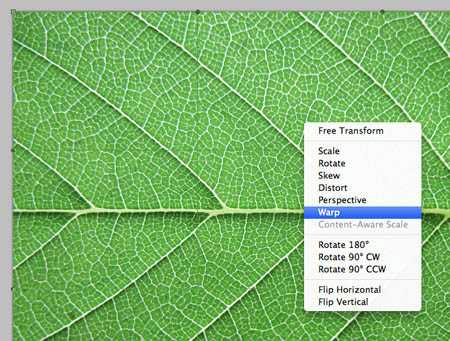
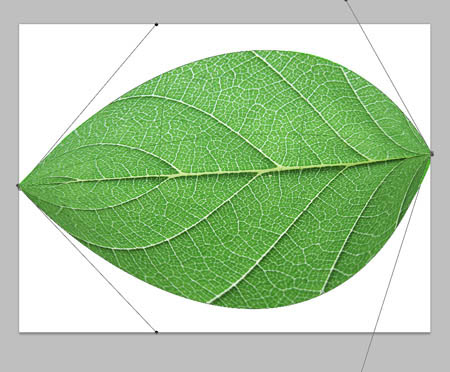
2、用自由变换中的变形功能让叶子看起来更平坦。
3、将叶子用钢笔工具扣出并让叶子看起来更规则。
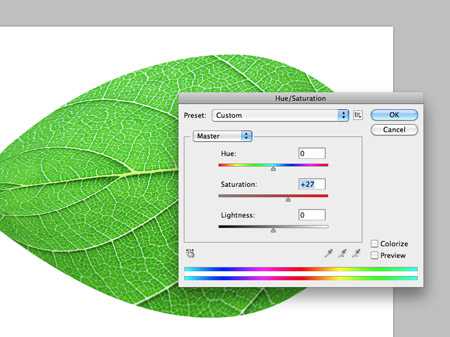
4、加深叶子的饱和度。
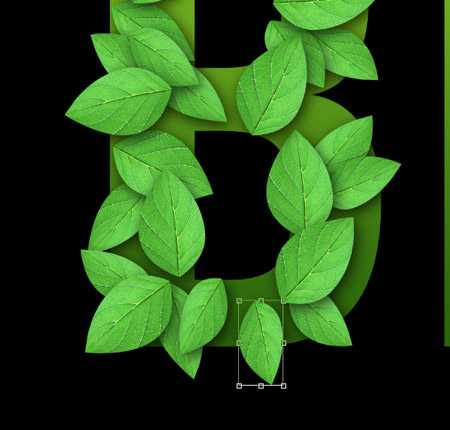
5、打上文字,添加绿色到深绿色的渐变叠加图层样式。

6、将叶子复制粘贴到文件中,为叶子添加投影的图层样式有助于图片的立体感。

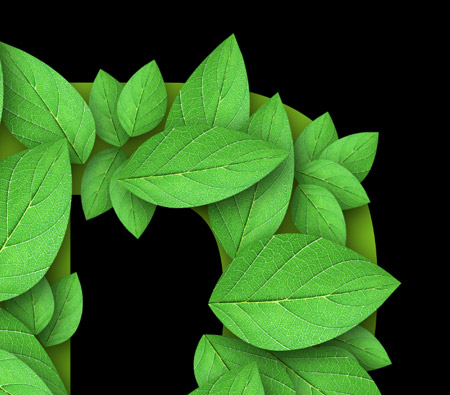
7、不断的复制新的叶子,随机的旋转和缩放。

8、也可以通过挤压创建新的形状的叶子。
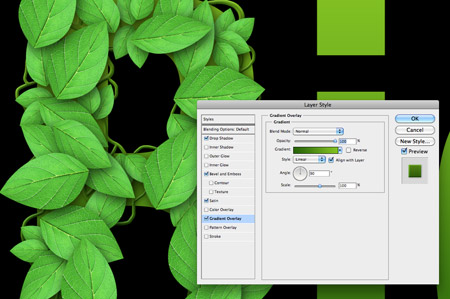
9、用画笔工具画一些叶藤。

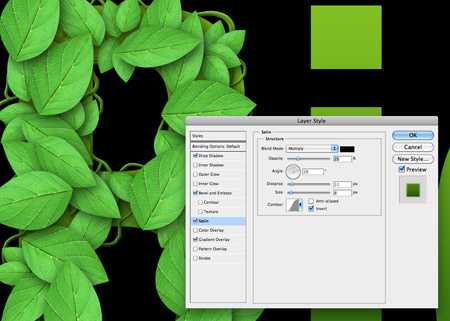
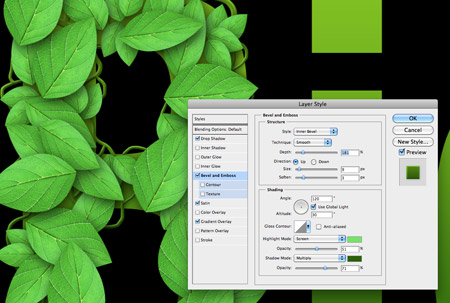
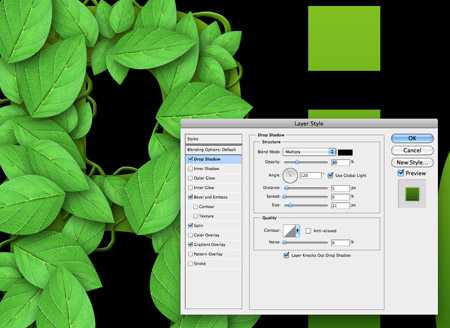
10、分别为叶藤添加绿色到深绿色的渐变叠加,光泽,斜面和浮雕和投影的图层样式,自己可以体会参数对于效果的微妙变化。
上一页12 下一页 阅读全文
1、整个设计是基于一片叶子,打开下图所示的叶片素材。
2、用自由变换中的变形功能让叶子看起来更平坦。
3、将叶子用钢笔工具扣出并让叶子看起来更规则。
4、加深叶子的饱和度。
5、打上文字,添加绿色到深绿色的渐变叠加图层样式。
6、将叶子复制粘贴到文件中,为叶子添加投影的图层样式有助于图片的立体感。
7、不断的复制新的叶子,随机的旋转和缩放。
8、也可以通过挤压创建新的形状的叶子。
9、用画笔工具画一些叶藤。
10、分别为叶藤添加绿色到深绿色的渐变叠加,光泽,斜面和浮雕和投影的图层样式,自己可以体会参数对于效果的微妙变化。
上一页12 下一页 阅读全文