Photoshop打造梦幻效果的中秋星空字
平面设计 发布日期:2026/6/4 浏览次数:1
正在浏览:Photoshop打造梦幻效果的中秋星空字
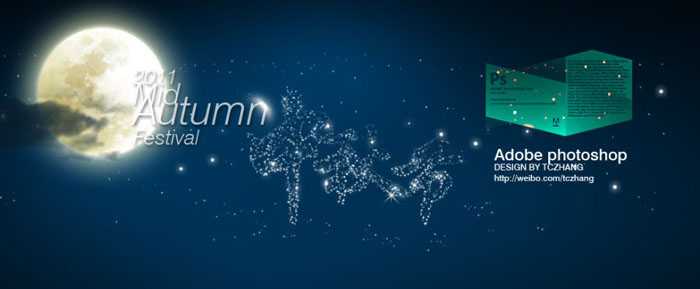
最终效果
1、先来看一下文字的制作流程,大致分为三步,分别为:制作文字选区及路径,描点,装饰,如下图。

2、新建一个大小自定的画布,背景填充黑色。选择文字工具,打上“中秋节”三个字,确定后把文字栅格化图层,可按照自己的喜好排版文字,字体颜色任意。

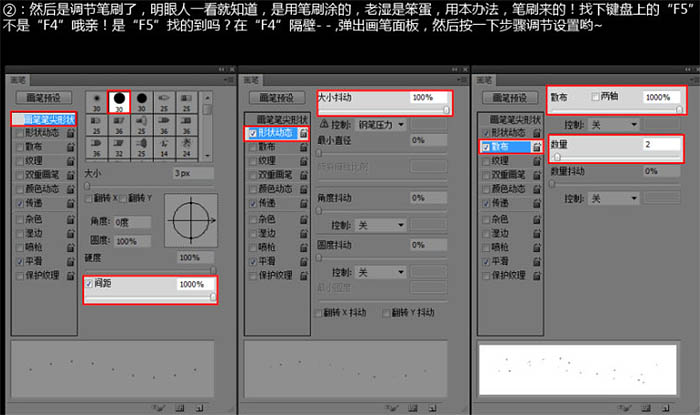
3、调节笔刷:选择画笔工具,按F5调出画面预设面板,具体参数设置如下图。
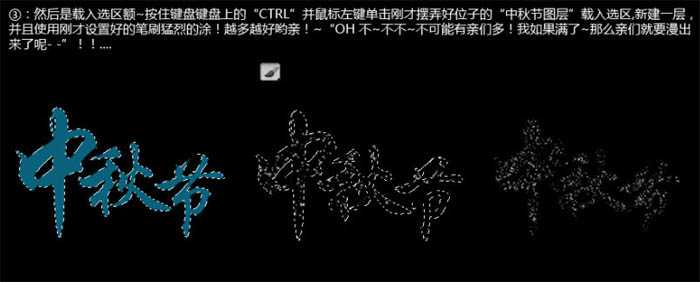
4、调出文字选区,新建一个图层,用钢笔设置好的画笔涂抹文字选区,效果如下图。
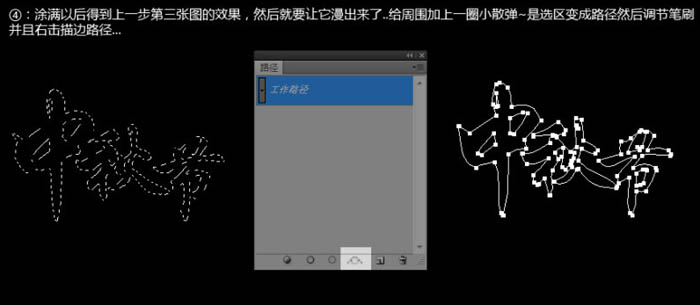
5、涂满以后得到上一步第三张的效果,然后就要让它漫出来了,给文字周围加上一点小散点。把文字选区转为路径,然后调节笔刷并右键选择“描边路径”。
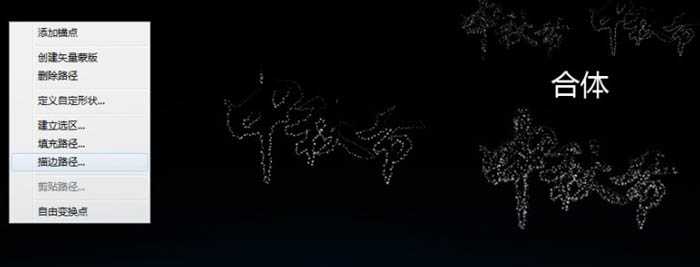
最后用画笔加上一些星星笔刷,完成最终效果。
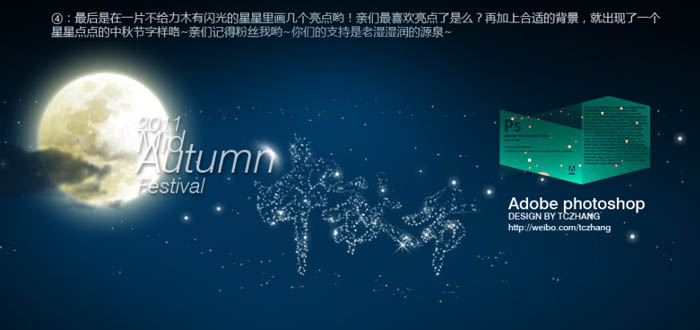
最终效果:
1、先来看一下文字的制作流程,大致分为三步,分别为:制作文字选区及路径,描点,装饰,如下图。
2、新建一个大小自定的画布,背景填充黑色。选择文字工具,打上“中秋节”三个字,确定后把文字栅格化图层,可按照自己的喜好排版文字,字体颜色任意。
3、调节笔刷:选择画笔工具,按F5调出画面预设面板,具体参数设置如下图。
4、调出文字选区,新建一个图层,用钢笔设置好的画笔涂抹文字选区,效果如下图。
5、涂满以后得到上一步第三张的效果,然后就要让它漫出来了,给文字周围加上一点小散点。把文字选区转为路径,然后调节笔刷并右键选择“描边路径”。
最后用画笔加上一些星星笔刷,完成最终效果。
最终效果: