Photoshop制作漂亮的紫色霓虹字
平面设计 发布日期:2026/4/14 浏览次数:1
正在浏览:Photoshop制作漂亮的紫色霓虹字
最终效果


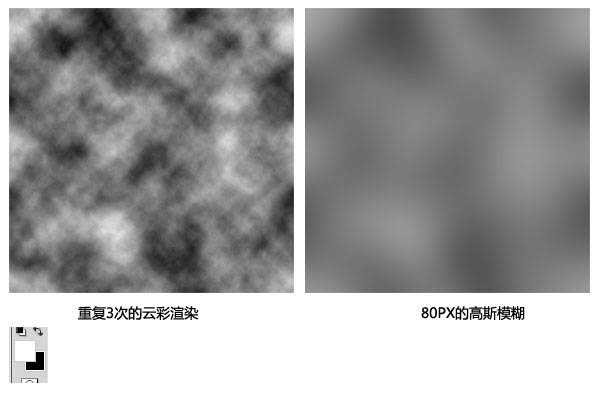
1、新建一个文档.1000X1000PX的,把前景色设置为白色,背景色为黑色。然后执行:滤镜>渲染>云彩。再按CTRL+F重复个2-3次。
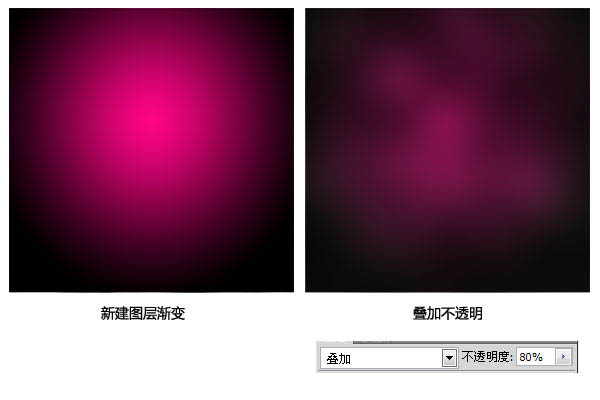
2、新建一个图层。使用渐变工具,颜色从#f30480为#000000,然后设置为叠加,不透明度为80%。
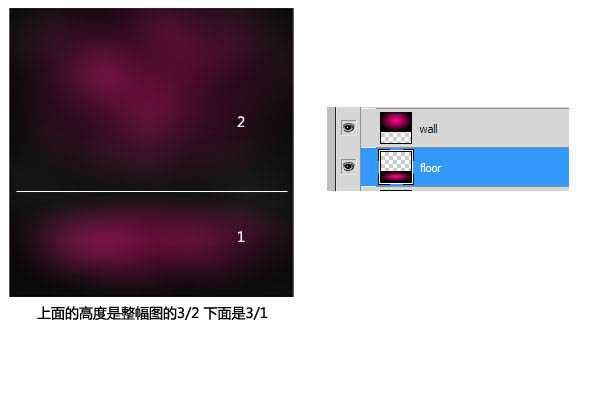
3、现在我们复制出一个渐变,然后按CTRL+T把它往上缩短,原图的就把他往下缩短,比例为:上2,下1,如下。
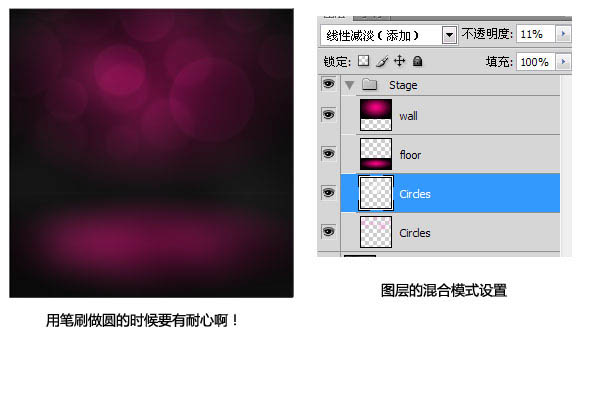
4、我们把上面的2个图层合并,然后新建一个图层,把他拖到背景渐变的下面。设置为白色,然后选硬笔刷,在图层上一个个的点击,点击一个就设置一个的不透明度和大小。圆画完后到滤镜,高斯模糊5px。
5、现在我们把字体加进去,点这里下载字体。

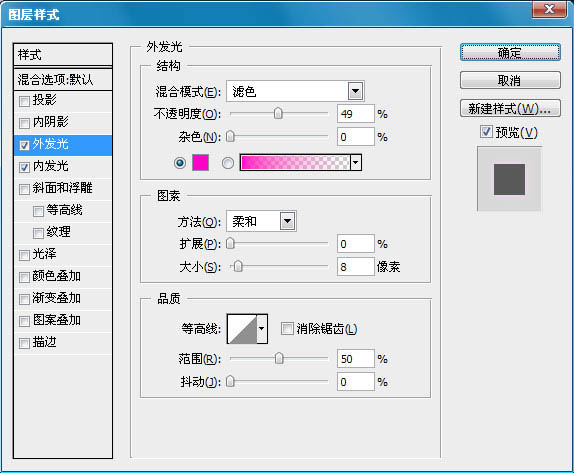
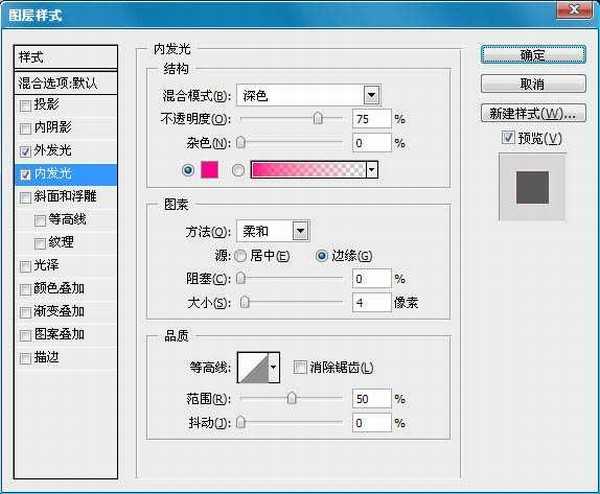
6、然后添加混合样式,颜色分别为:#ff00c6和#ff008a。
7、然后我们把最下面一排的文字栅格化,然后用选取工具复制出下面的部分,然后我们按CTRL+T选择垂直旋转,在高斯模糊,大小为:10px。

上一页12 下一页 阅读全文
1、新建一个文档.1000X1000PX的,把前景色设置为白色,背景色为黑色。然后执行:滤镜>渲染>云彩。再按CTRL+F重复个2-3次。
2、新建一个图层。使用渐变工具,颜色从#f30480为#000000,然后设置为叠加,不透明度为80%。
3、现在我们复制出一个渐变,然后按CTRL+T把它往上缩短,原图的就把他往下缩短,比例为:上2,下1,如下。
4、我们把上面的2个图层合并,然后新建一个图层,把他拖到背景渐变的下面。设置为白色,然后选硬笔刷,在图层上一个个的点击,点击一个就设置一个的不透明度和大小。圆画完后到滤镜,高斯模糊5px。
5、现在我们把字体加进去,点这里下载字体。
6、然后添加混合样式,颜色分别为:#ff00c6和#ff008a。
7、然后我们把最下面一排的文字栅格化,然后用选取工具复制出下面的部分,然后我们按CTRL+T选择垂直旋转,在高斯模糊,大小为:10px。
上一页12 下一页 阅读全文