利用photoshop自带的3D滤镜制作潮流立体字
平面设计 发布日期:2026/6/5 浏览次数:1
正在浏览:利用photoshop自带的3D滤镜制作潮流立体字
最终效果

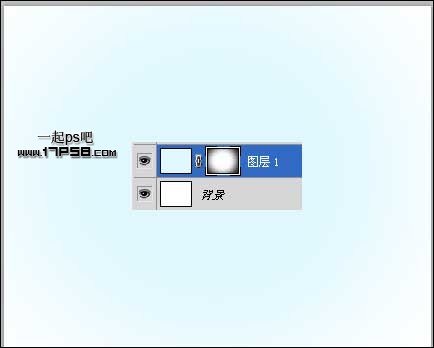
1、新建文档1280x1024像素,建新层,填充#e0f8ff,添加蒙版,用黑色柔角笔刷涂抹边缘部分。
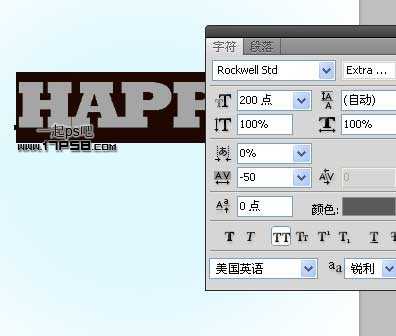
2、输入文字happy。
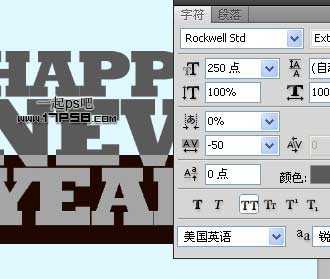
3、输入文字new。

4、输入文字year。
5、刚才截图的时候忘了显示蒙版,整体效果如下。

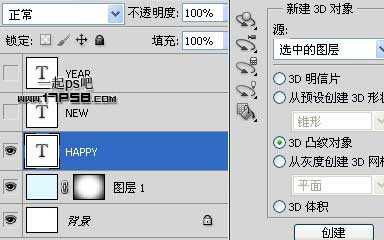
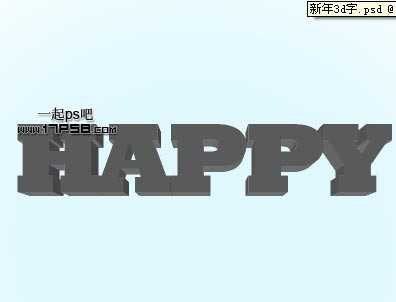
6、选择文字happy层,隐藏其他文字层,窗口>3D,之后点击创建按钮。
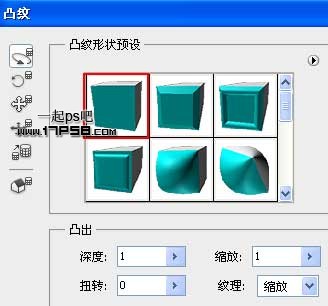
7、之后会出现一个界面,选择红框内的图标,其它设置默认即可。
8、我们看到,3D效果已经出来了。
9、设置3D场景,画面会出现一个方向轴,将文字旋转如下。

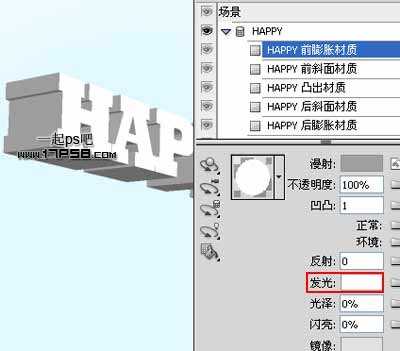
10、接着设置,将发光改成白色,其它不变。
上一页12 下一页 阅读全文
1、新建文档1280x1024像素,建新层,填充#e0f8ff,添加蒙版,用黑色柔角笔刷涂抹边缘部分。
2、输入文字happy。
3、输入文字new。
4、输入文字year。
5、刚才截图的时候忘了显示蒙版,整体效果如下。
6、选择文字happy层,隐藏其他文字层,窗口>3D,之后点击创建按钮。
7、之后会出现一个界面,选择红框内的图标,其它设置默认即可。
8、我们看到,3D效果已经出来了。
9、设置3D场景,画面会出现一个方向轴,将文字旋转如下。
10、接着设置,将发光改成白色,其它不变。
上一页12 下一页 阅读全文