photoshop利用动作制作有渐变过渡的斜面立体字
平面设计 发布日期:2026/6/18 浏览次数:1
正在浏览:photoshop利用动作制作有渐变过渡的斜面立体字
如下面的教程作者用动作来控制立体面的色调逐步减淡,看上去有色彩过渡的感觉,这些是其他方法很难实现的。引用动作是个非常不做的创意,学会后可以尝试做出其它不同的立体字。
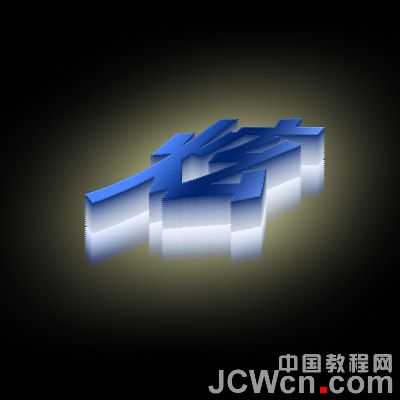
最终效果
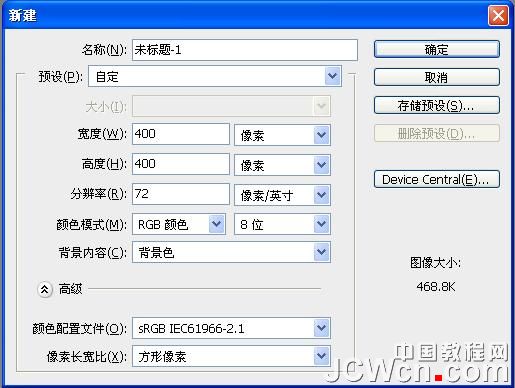
1、新建一个400*400像素的新文档;
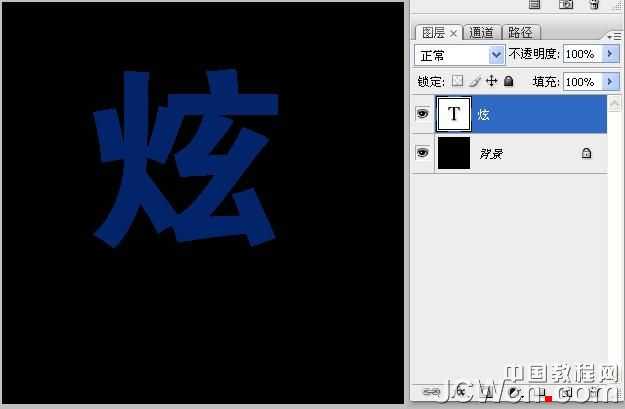
2、将“背景”层填充为黑色,打出文字,最好选择一种稍稍粗些的字体,这样效果好些。
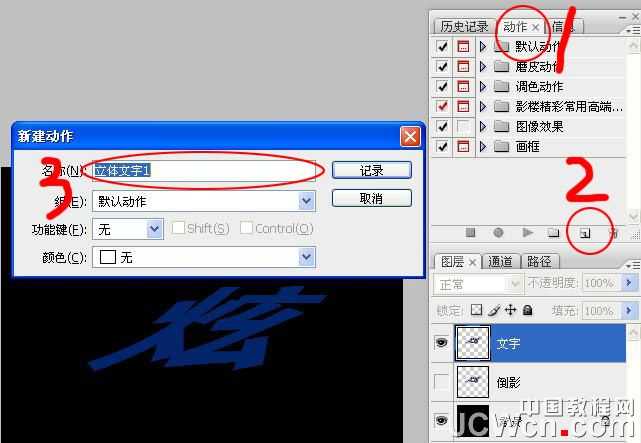
3、将文字图层删格化,进行编辑——变换——扭曲,最后效果如图,复制一层,分别为其命名为“文字”、“倒影”。

4、隐藏倒影图层,选择文字图层为当前操作。然后打开动作面板,点新建动作,为新动作命名为立体文字1。
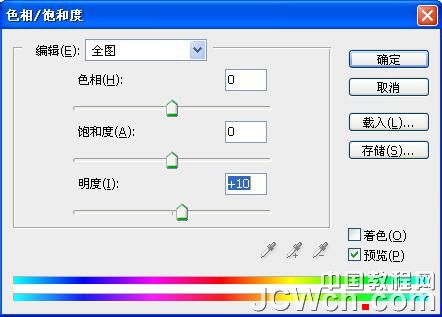
5、复制文字图层,按住键盘上CTRL键,连按向下方向键2次,再操作图像——调整——色相饱和度,调整数值如图。
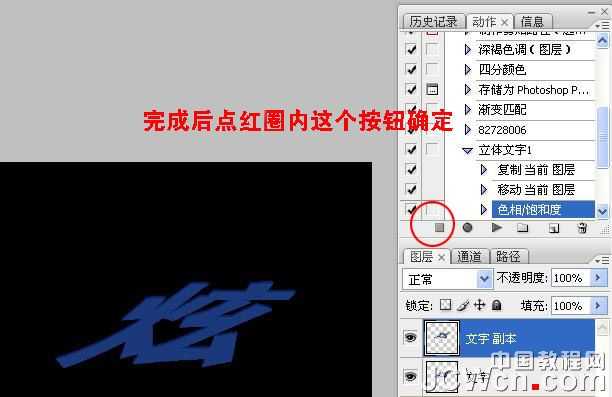
6、完成后点红圈内所示按钮确定,完成动作的录制。
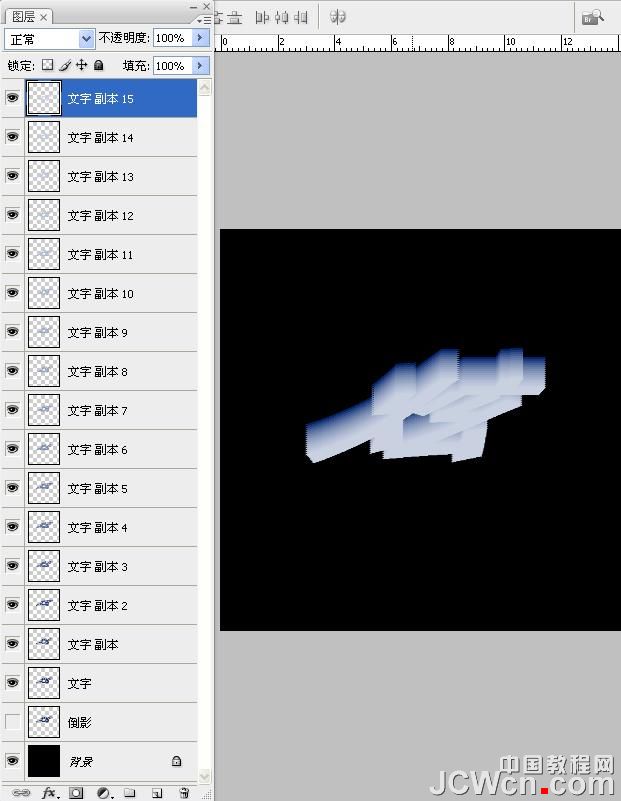
7、连续播放动作14次,这个次数可以酌情考虑。最后的图层面板如图。
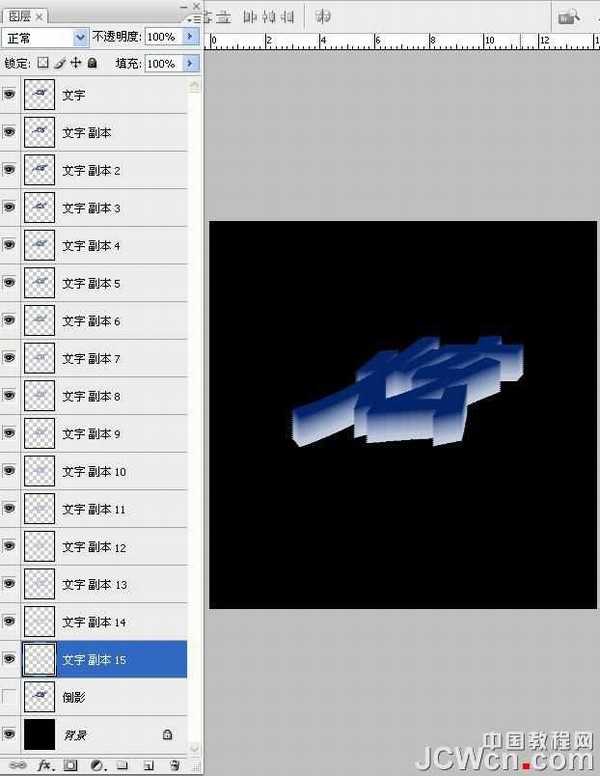
8、调整图层顺序如图。
9、为了方便观察和操作,新建一个组,把文字图层全部放到里面(顺序不要搞乱了),取消这个组的显示,并选择倒影图层为当前操作。

上一页12 下一页 阅读全文
最终效果
1、新建一个400*400像素的新文档;
2、将“背景”层填充为黑色,打出文字,最好选择一种稍稍粗些的字体,这样效果好些。
3、将文字图层删格化,进行编辑——变换——扭曲,最后效果如图,复制一层,分别为其命名为“文字”、“倒影”。
4、隐藏倒影图层,选择文字图层为当前操作。然后打开动作面板,点新建动作,为新动作命名为立体文字1。
5、复制文字图层,按住键盘上CTRL键,连按向下方向键2次,再操作图像——调整——色相饱和度,调整数值如图。
6、完成后点红圈内所示按钮确定,完成动作的录制。
7、连续播放动作14次,这个次数可以酌情考虑。最后的图层面板如图。
8、调整图层顺序如图。
9、为了方便观察和操作,新建一个组,把文字图层全部放到里面(顺序不要搞乱了),取消这个组的显示,并选择倒影图层为当前操作。
上一页12 下一页 阅读全文