Photoshop制作晶莹剔透的水晶立体字
平面设计 发布日期:2026/6/18 浏览次数:1
正在浏览:Photoshop制作晶莹剔透的水晶立体字
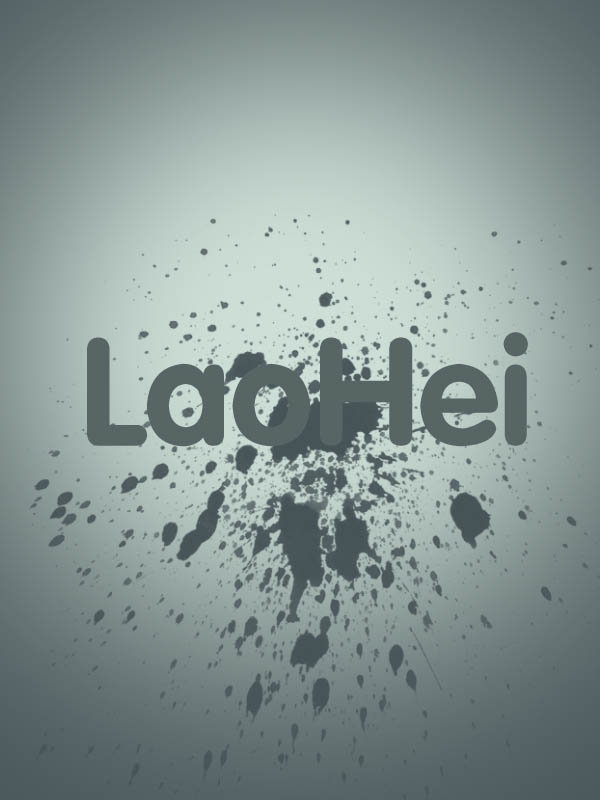
最终效果

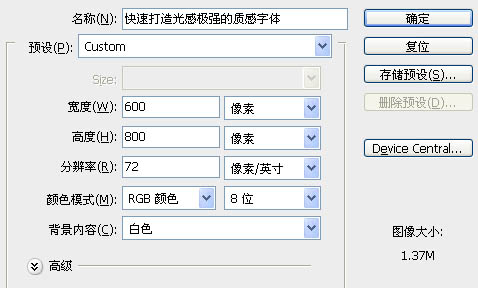
1、新建文档 600x800px 如图:
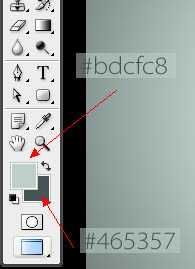
2、先选定颜色,把前景色和背景色设置好,如图:
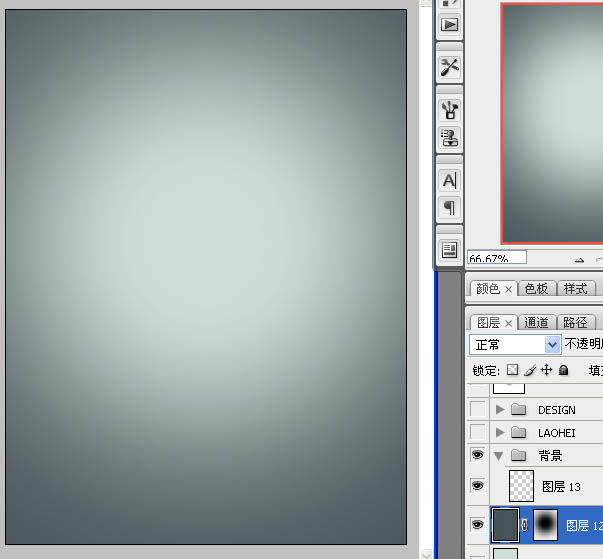
3、背景效果达到我提供的效果或接近都可以,可以使用渐变,或背景填充刚才的前景色,新建一个图层填充背景色,加上图层蒙版,用黑色画笔把中间部分擦出来:
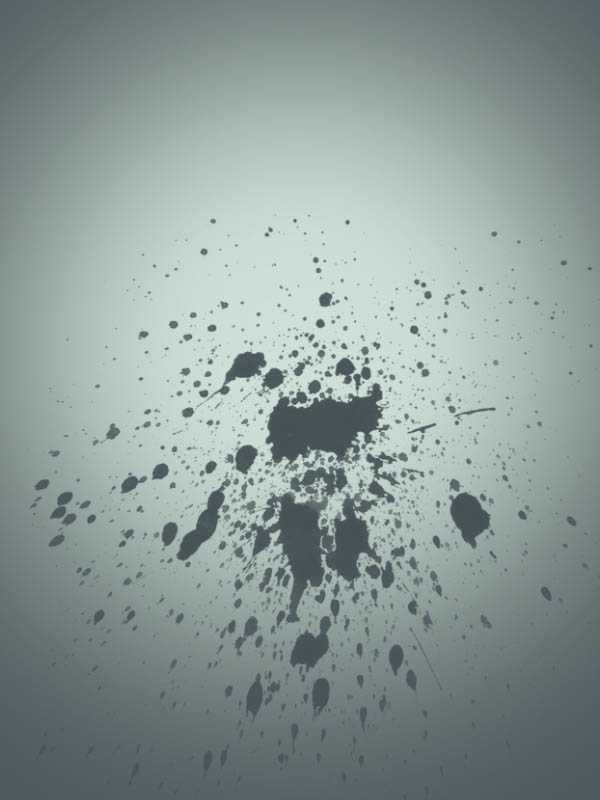
4、去网上下载一些水墨或喷溅笔刷,加上下图所属的背景纹理:
5、可以准备文字了,我使用的字体是:方正粗圆简体,把文字放置文档中间,我就可以开始调试图层样式了。
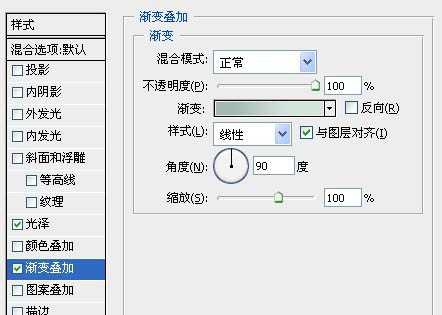
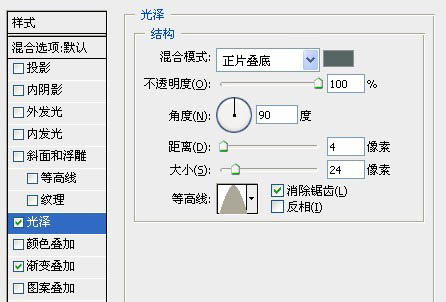
6、选择图层样式,添加渐变叠加及光泽,参数及效果如下图。
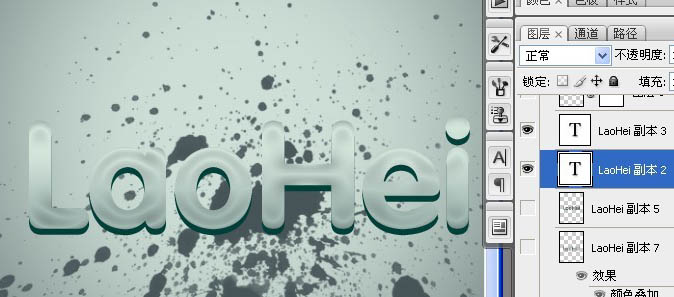
7、复制 laohei 图层向下移动次图层:如图:
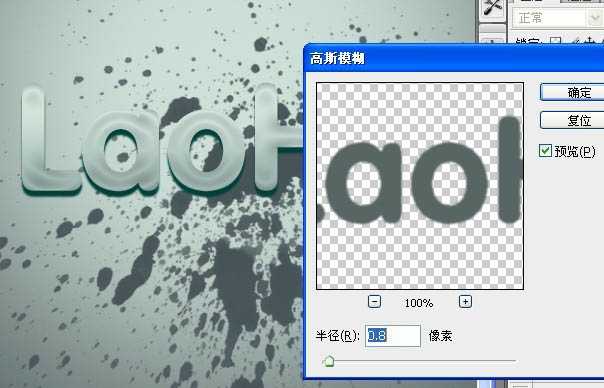
8、这样看上去比较生硬,我们再使用滤镜-模糊-高斯模糊 把它变得更柔和:
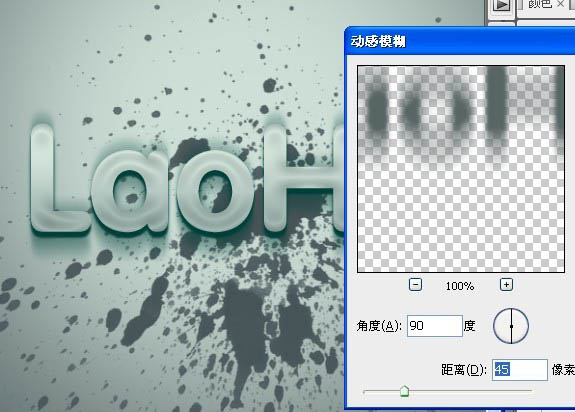
9、我们再次复制被高斯模糊过后的图层,在使用滤镜-模糊-动感模糊。
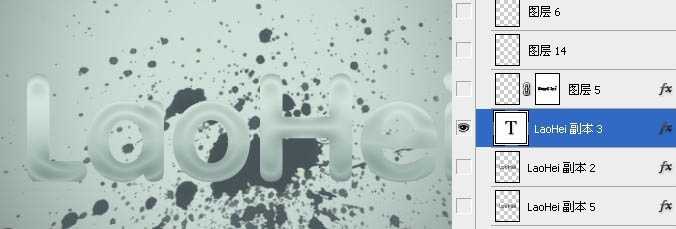
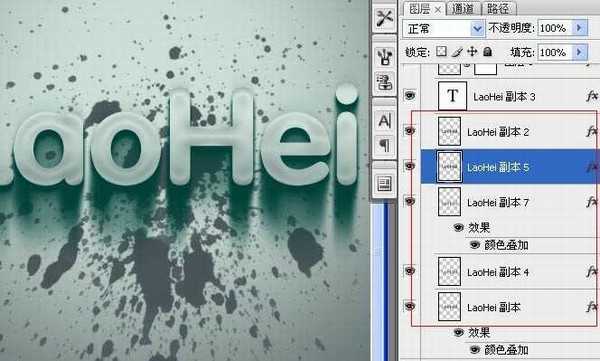
10、动感模糊后,我们向下移动位置,我们再复制几个动感模糊后的上下位置,得到很立体的效果,上面立体效果差不多了,接下来,我们要让它变得更加质感,在边缘加高光。
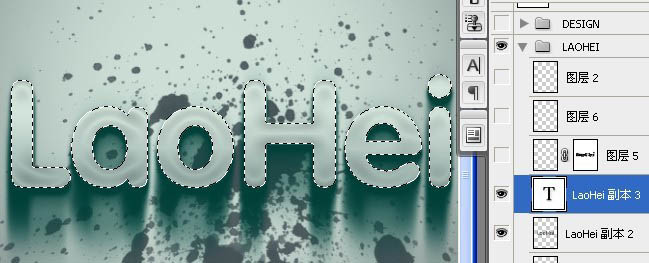
11、按住ctrl键用鼠标点击“laohei副本3”出现选区:
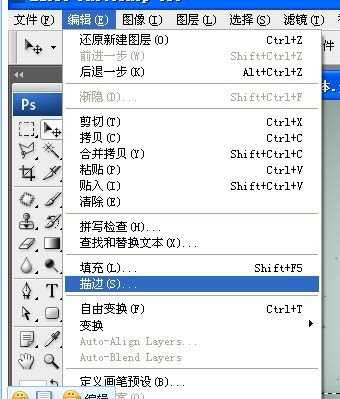
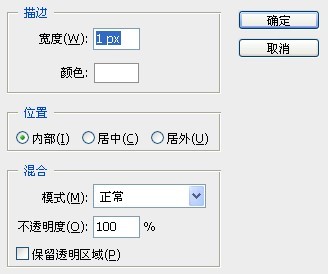
12、接下来,选择菜单:编辑 > 描边,参数及效果如下图:

上一页12 下一页 阅读全文
1、新建文档 600x800px 如图:
2、先选定颜色,把前景色和背景色设置好,如图:
3、背景效果达到我提供的效果或接近都可以,可以使用渐变,或背景填充刚才的前景色,新建一个图层填充背景色,加上图层蒙版,用黑色画笔把中间部分擦出来:
4、去网上下载一些水墨或喷溅笔刷,加上下图所属的背景纹理:
5、可以准备文字了,我使用的字体是:方正粗圆简体,把文字放置文档中间,我就可以开始调试图层样式了。
6、选择图层样式,添加渐变叠加及光泽,参数及效果如下图。
7、复制 laohei 图层向下移动次图层:如图:
8、这样看上去比较生硬,我们再使用滤镜-模糊-高斯模糊 把它变得更柔和:
9、我们再次复制被高斯模糊过后的图层,在使用滤镜-模糊-动感模糊。
10、动感模糊后,我们向下移动位置,我们再复制几个动感模糊后的上下位置,得到很立体的效果,上面立体效果差不多了,接下来,我们要让它变得更加质感,在边缘加高光。
11、按住ctrl键用鼠标点击“laohei副本3”出现选区:
12、接下来,选择菜单:编辑 > 描边,参数及效果如下图:
上一页12 下一页 阅读全文