Photoshop打造绚丽的潮流文字壁纸
平面设计 发布日期:2025/12/26 浏览次数:1
正在浏览:Photoshop打造绚丽的潮流文字壁纸
最终效果

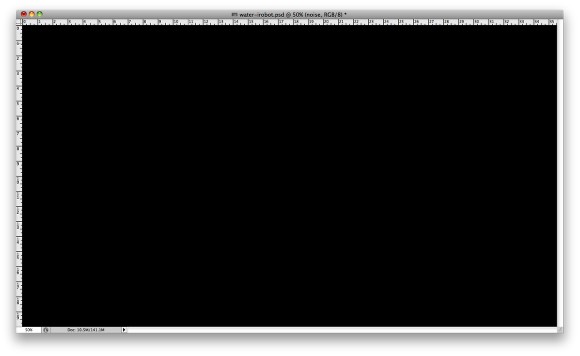
1、打开Photoshop,创建一个新文档,我使用的是2560×1440像素,我可以使用它作为墙纸。之后,用黑色填充背景层。
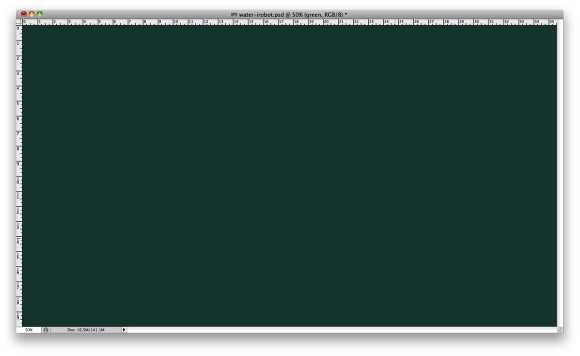
2、添加另一个新层,用绿色填充它(234b44)。
3、选择绿色图层,选择图层>组合层。在图层面板中该层将在图层组内。选择此文件夹并去图层>图层蒙版>隐藏所有。选择画笔工具(B),用一个大的柔软的笔刷,用白色按下图描绘一片区域。

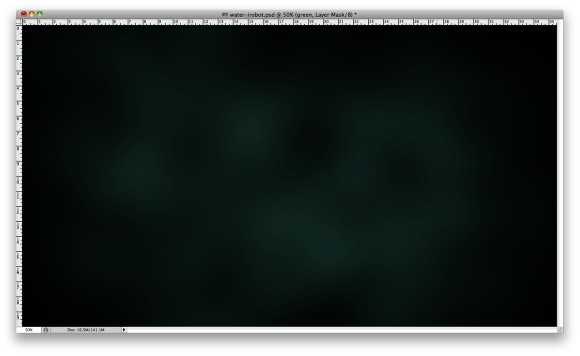
4、选择绿色图层,去图层>图层蒙版>显示所有。在图层面板中,选择图层的蒙版并去滤镜>渲染>云彩。云彩就应用到蒙版上。之后,仍然选择蒙版,去滤镜>模糊>高斯模糊。使用一个大的值,我用的是80px的半径,但这个值取决于你文件的大小。
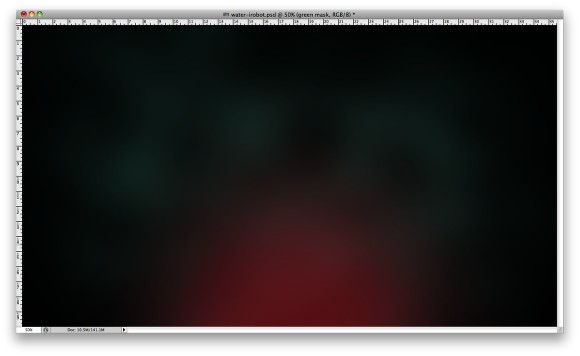
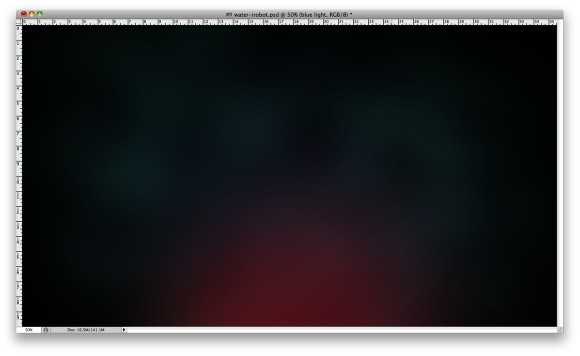
5、在其他图层之上添加另一个层,使用画笔工具(B),用一个非常柔软的画笔,按下图描绘出红色光。更改图层的不透明度为65%。
6、在其他图层之上再次添加另一个层,然后使用画笔工具(B),使用一个你之前用过的大的笔刷,现在选择深蓝色在红色上方的区域涂抹。这个蓝色必须是非常微妙的,因此改变不透明度为20-30%。
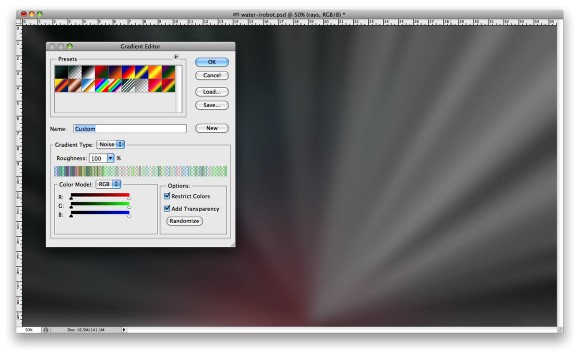
7、添加另一个层,然后选择渐变工具(G)。点击渐变颜色打开渐变编辑器,然后更改类型为杂色,100%的粗糙度,选择这两个选项:限制颜色和增加透明度。
使用渐变填充图层,然后到图像>调整>去色。之后去滤镜>模糊>高斯模糊。我用了30像素的半径,再次改变这个值将取决于该文件的大小。
8、改变渐变图层的混合模式为颜色减淡。

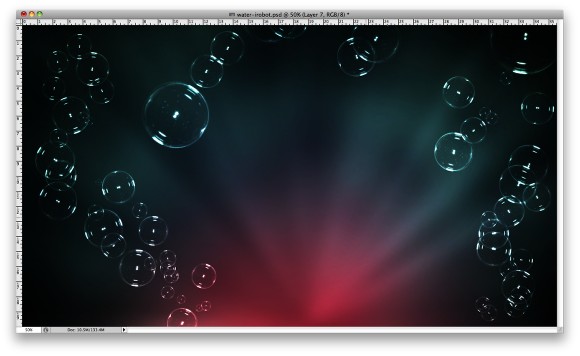
9、对于泡沫我参考一张照片创建了笔刷。
添加一个新层,然后选择画笔工具(B),然后用一个大的尺寸,我使用的是400像素,使用白色绘制一些泡沫。组合这层(图层>组合层),改变混合模式为颜色减淡。
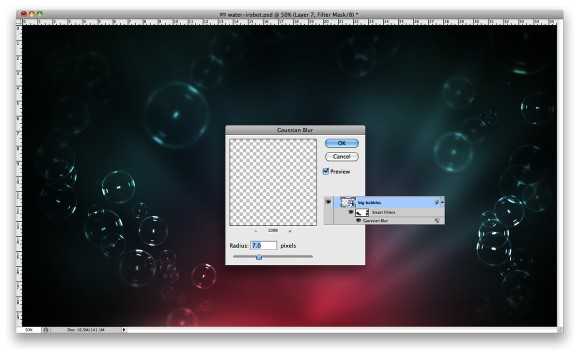
10、选择泡沫层,去滤镜>转换为智能滤镜,然后去滤镜>模糊>高斯模糊。使用7像素的半径。整个图层会很模糊,图层面板上白色的略缩图就是所谓的智能滤镜。选择画笔工具(B),使用黑色描绘你不希望泡沫模糊的地方。这就像是一个智能滤镜的蒙板。
上一页12 下一页 阅读全文
1、打开Photoshop,创建一个新文档,我使用的是2560×1440像素,我可以使用它作为墙纸。之后,用黑色填充背景层。
2、添加另一个新层,用绿色填充它(234b44)。
3、选择绿色图层,选择图层>组合层。在图层面板中该层将在图层组内。选择此文件夹并去图层>图层蒙版>隐藏所有。选择画笔工具(B),用一个大的柔软的笔刷,用白色按下图描绘一片区域。
4、选择绿色图层,去图层>图层蒙版>显示所有。在图层面板中,选择图层的蒙版并去滤镜>渲染>云彩。云彩就应用到蒙版上。之后,仍然选择蒙版,去滤镜>模糊>高斯模糊。使用一个大的值,我用的是80px的半径,但这个值取决于你文件的大小。
5、在其他图层之上添加另一个层,使用画笔工具(B),用一个非常柔软的画笔,按下图描绘出红色光。更改图层的不透明度为65%。
6、在其他图层之上再次添加另一个层,然后使用画笔工具(B),使用一个你之前用过的大的笔刷,现在选择深蓝色在红色上方的区域涂抹。这个蓝色必须是非常微妙的,因此改变不透明度为20-30%。
7、添加另一个层,然后选择渐变工具(G)。点击渐变颜色打开渐变编辑器,然后更改类型为杂色,100%的粗糙度,选择这两个选项:限制颜色和增加透明度。
使用渐变填充图层,然后到图像>调整>去色。之后去滤镜>模糊>高斯模糊。我用了30像素的半径,再次改变这个值将取决于该文件的大小。
8、改变渐变图层的混合模式为颜色减淡。
9、对于泡沫我参考一张照片创建了笔刷。
添加一个新层,然后选择画笔工具(B),然后用一个大的尺寸,我使用的是400像素,使用白色绘制一些泡沫。组合这层(图层>组合层),改变混合模式为颜色减淡。
10、选择泡沫层,去滤镜>转换为智能滤镜,然后去滤镜>模糊>高斯模糊。使用7像素的半径。整个图层会很模糊,图层面板上白色的略缩图就是所谓的智能滤镜。选择画笔工具(B),使用黑色描绘你不希望泡沫模糊的地方。这就像是一个智能滤镜的蒙板。
上一页12 下一页 阅读全文