Photoshop 质感立体栅格文字制作方法
平面设计 发布日期:2026/6/11 浏览次数:1
正在浏览:Photoshop 质感立体栅格文字制作方法
最终效果 
新建长度1000像素、宽度600像素,分辨率300像素的文档,填充深灰色,输入文字
新建图层,填充白色,滤镜—素描—半调图案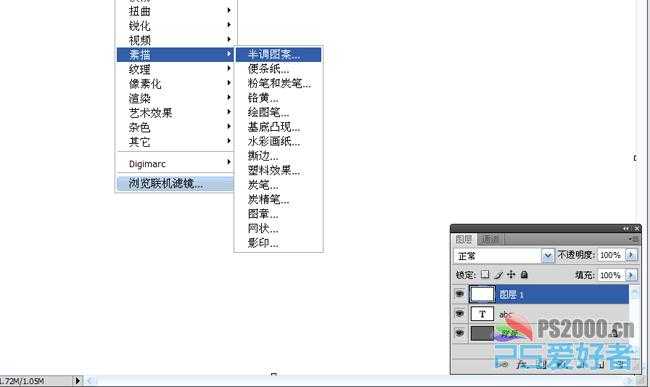
注意:图案类型选择直线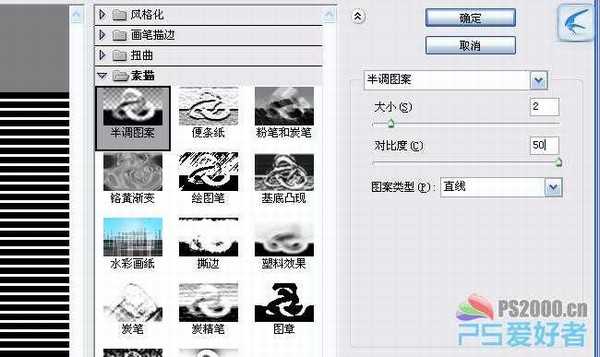
完成后,按ctrl+alt+G创建剪贴蒙版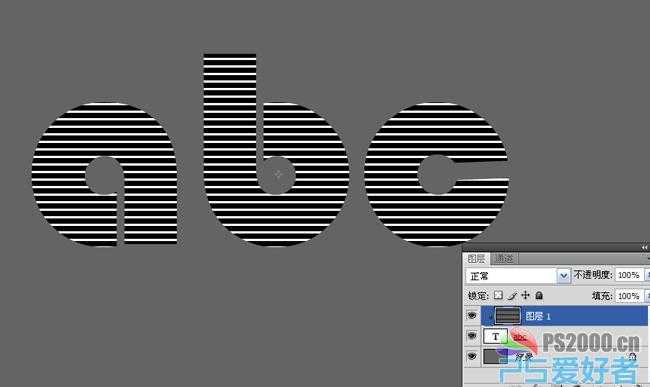
ctrl+E合并这两个图层,用魔术棒工具选择文字中的黑色部分,alt+S,R选取相似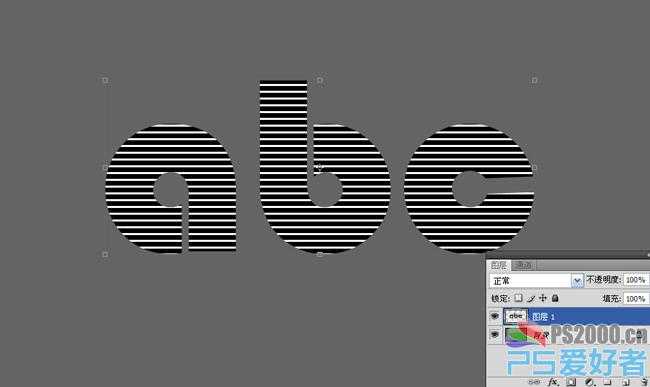

ctrl+D取消选择,ctrl+L调整色阶
回到图层面板,新建图层,填充颜色。隐藏下方的文字图层。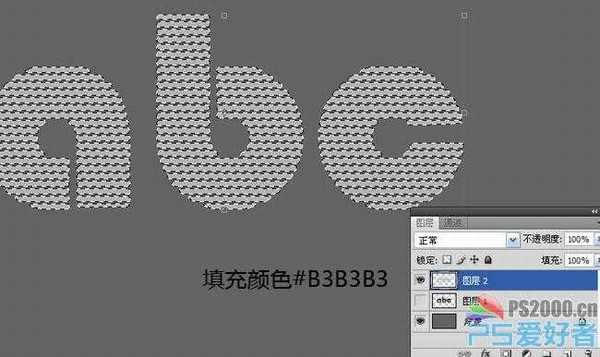
为新填充颜色的图层添加渐变叠加样式,参数见下图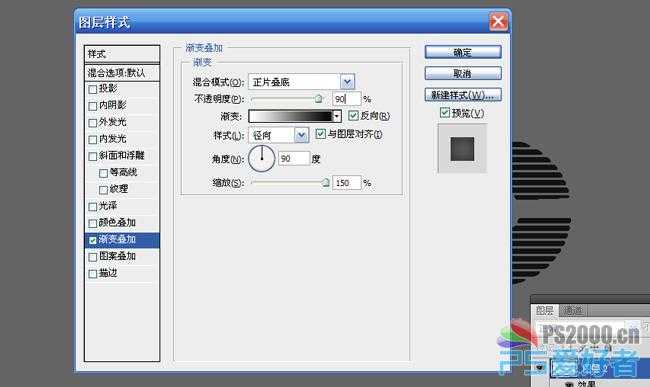
添加斜面和浮雕样式,参数见下图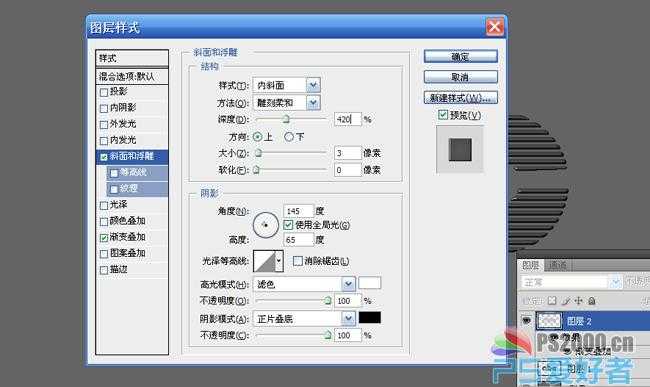
上一页12 下一页 阅读全文
新建长度1000像素、宽度600像素,分辨率300像素的文档,填充深灰色,输入文字
新建图层,填充白色,滤镜—素描—半调图案
注意:图案类型选择直线
完成后,按ctrl+alt+G创建剪贴蒙版
ctrl+E合并这两个图层,用魔术棒工具选择文字中的黑色部分,alt+S,R选取相似
ctrl+D取消选择,ctrl+L调整色阶
回到图层面板,新建图层,填充颜色。隐藏下方的文字图层。
为新填充颜色的图层添加渐变叠加样式,参数见下图
添加斜面和浮雕样式,参数见下图
上一页12 下一页 阅读全文