photoshop 把曝光过度的人物照片转手绘效果
平面设计 发布日期:2026/4/14 浏览次数:1
正在浏览:photoshop 把曝光过度的人物照片转手绘效果
来源:PS联盟 作者:Sener
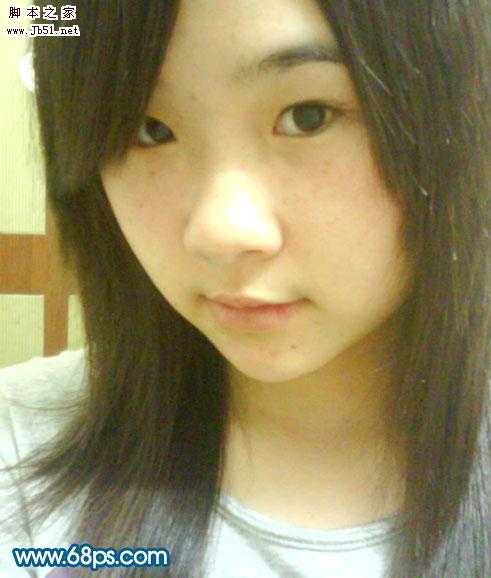
曝光过度的照片修复比较麻烦,简单的处理方法就是处理成手绘风格。这样省了很多修复的过程。因为仿手绘效果的细节部分较少。而且颜色可以随意调整。
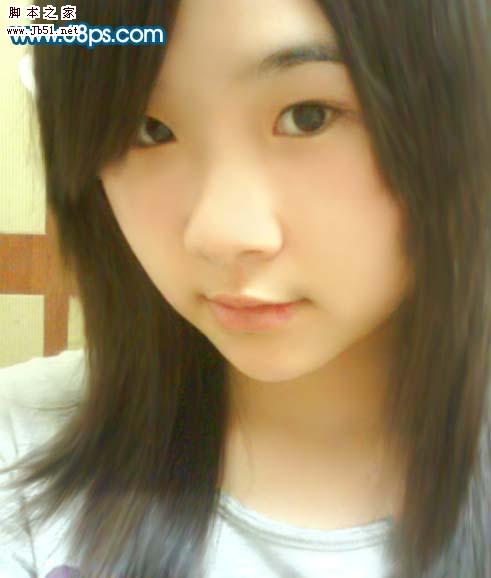
原图
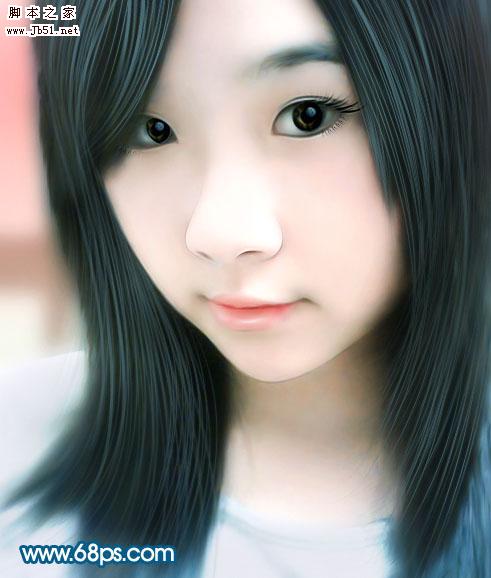
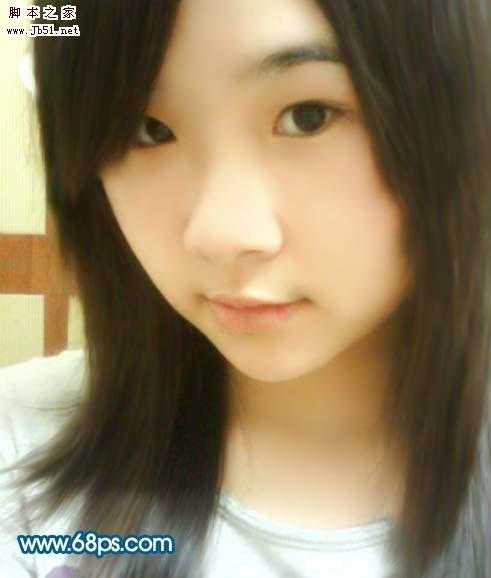
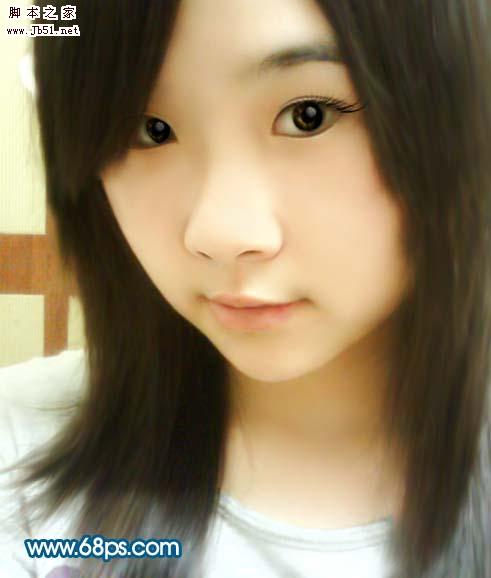
最终效果
 1、打开原图,把背景图层复制一层,然后开始磨皮。把副本图层执行:滤镜 > 模糊 > 高斯模糊,数值为4,确定后按住Alt 键点图层面板下面的蒙蔽按钮,添加黑色图层蒙版。把前景颜色设置为白色,用画笔涂抹人物脸部有杂色的地方,给人物渐变磨皮,效果如下图。
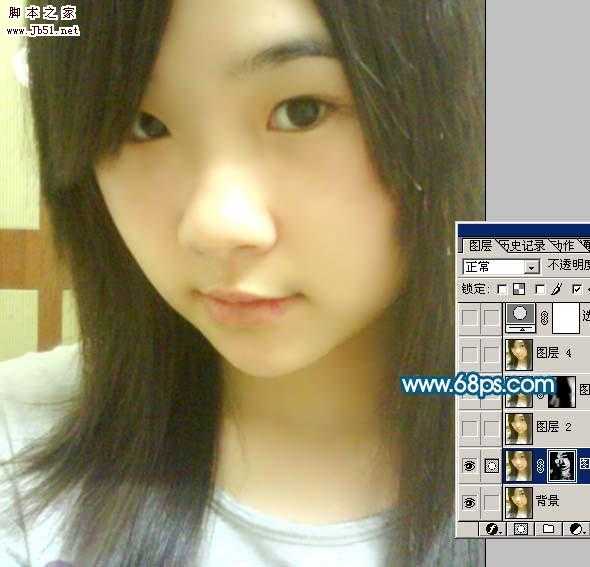
<图1>
2、新建一个图层,按Ctrl + Alt + Shift + E 盖印图层,选择涂抹工具,压力为50%左右,顺着头发把头发涂顺畅,然后用加深工具稍微把头发加深一点,效果如下图。
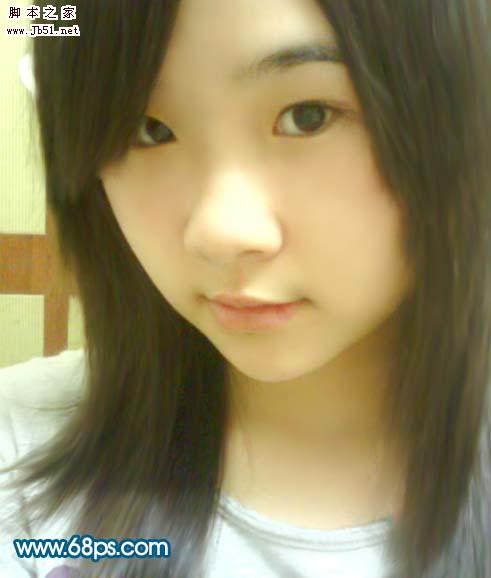
<图2> 3、创建可选颜色调整图层,对红色及黄色进行调整,参数设置如图3,4,效果如图5。
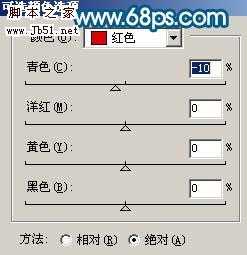
<图3>
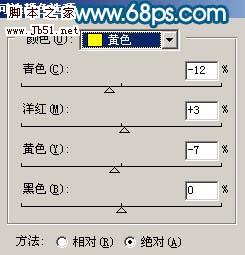
<图4>

<图5>
4、新建一个图层,图层不透明度设为:70%,把前景颜色设置为:#F9DAA6,然后用画笔工具,不透明度为:10%左右在图6所示鼻子曝光部分涂抹,效果如图7。

<图6>

<图7> 5、新建一个图层,盖印图层,用涂抹工具把刚才修复鼻子部分边缘涂抹均匀,如图8。
<图8>
6、新建一个图层,盖印图层,按Ctrl + Shift + U 去色,执行:滤镜 > 模糊 > 高斯模糊,数值为5,确定后把图层混合模式改为“柔光”,图层不透明度改为:60%,效果如图9。
<图9>
7、人物五官的处理,主要是眼睛,鼻子,嘴巴的处理,如图10,11。
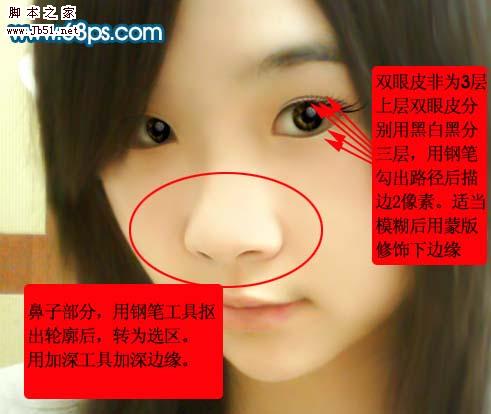
<图10>

<图11> 8、新建一个图层,盖印图层,按Ctrl + Shift + U 去色,把图层混合模式改为“柔光”,图层不透明度改为:30%,如图12。
<图12>
上一页12 下一页 阅读全文
曝光过度的照片修复比较麻烦,简单的处理方法就是处理成手绘风格。这样省了很多修复的过程。因为仿手绘效果的细节部分较少。而且颜色可以随意调整。
原图
最终效果
1、打开原图,把背景图层复制一层,然后开始磨皮。把副本图层执行:滤镜 > 模糊 > 高斯模糊,数值为4,确定后按住Alt 键点图层面板下面的蒙蔽按钮,添加黑色图层蒙版。把前景颜色设置为白色,用画笔涂抹人物脸部有杂色的地方,给人物渐变磨皮,效果如下图。 <图1>
2、新建一个图层,按Ctrl + Alt + Shift + E 盖印图层,选择涂抹工具,压力为50%左右,顺着头发把头发涂顺畅,然后用加深工具稍微把头发加深一点,效果如下图。
<图2> 3、创建可选颜色调整图层,对红色及黄色进行调整,参数设置如图3,4,效果如图5。
<图3>
<图4>
<图5>
4、新建一个图层,图层不透明度设为:70%,把前景颜色设置为:#F9DAA6,然后用画笔工具,不透明度为:10%左右在图6所示鼻子曝光部分涂抹,效果如图7。
<图6>
<图7> 5、新建一个图层,盖印图层,用涂抹工具把刚才修复鼻子部分边缘涂抹均匀,如图8。
<图8>
6、新建一个图层,盖印图层,按Ctrl + Shift + U 去色,执行:滤镜 > 模糊 > 高斯模糊,数值为5,确定后把图层混合模式改为“柔光”,图层不透明度改为:60%,效果如图9。
<图9>
7、人物五官的处理,主要是眼睛,鼻子,嘴巴的处理,如图10,11。
<图10>
<图11> 8、新建一个图层,盖印图层,按Ctrl + Shift + U 去色,把图层混合模式改为“柔光”,图层不透明度改为:30%,如图12。
<图12>
上一页12 下一页 阅读全文
下一篇:Photoshop 石头文字