photoshop制作漂亮的水晶立体文字
平面设计 发布日期:2026/6/14 浏览次数:1
正在浏览:photoshop制作漂亮的水晶立体文字
今天为大家分享photoshop制作漂亮的水晶立体文字方法,教程很简单,非常适合新手来学习,推荐到,一起来学习吧!
最终效果图:

步骤
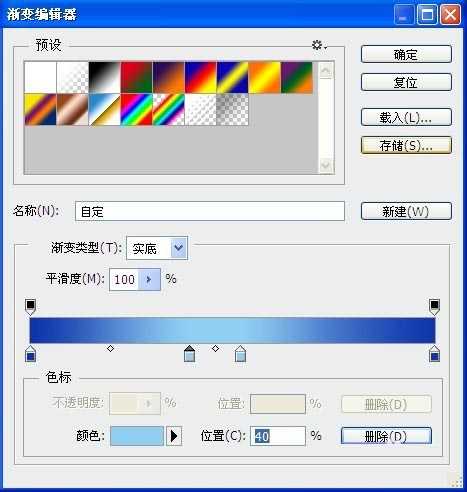
1、新建空白页面,800*600,填充深蓝和浅蓝的渐变。

2、输入文字“baidu”,白色。

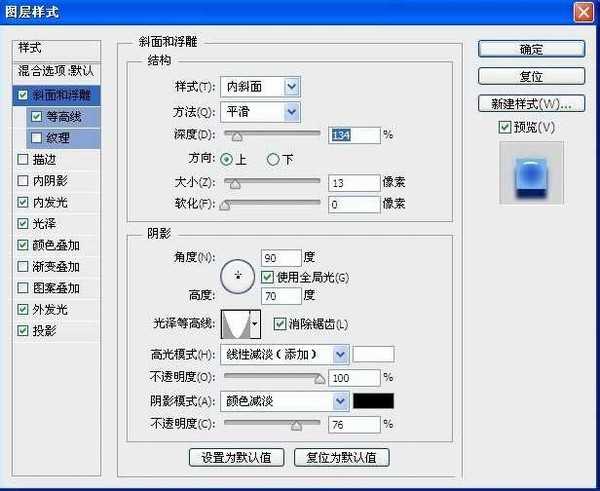
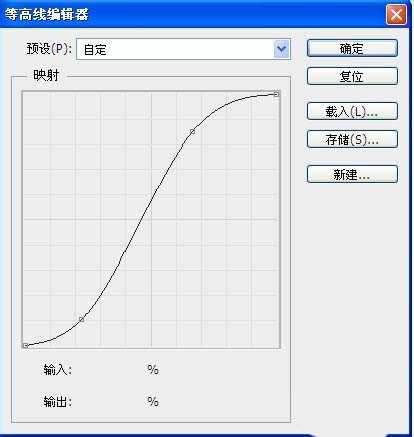
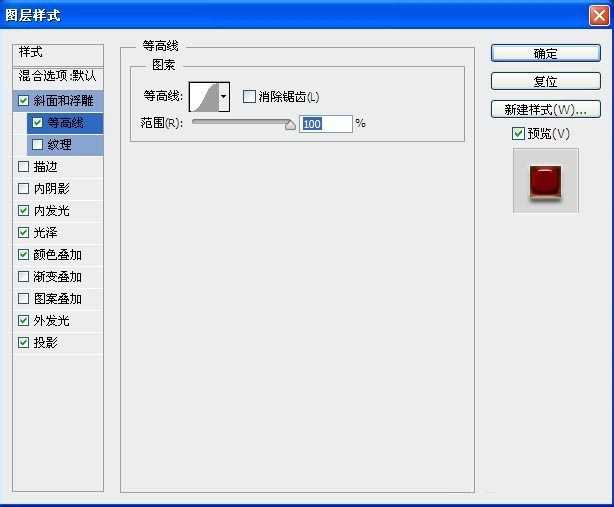
3、改变图层样式,数值如下。每一步都不可以少,虽然步骤有点多,但是必不可少。
4、最后得到水晶字体。

以上就是photoshop制作漂亮的水晶立体文字方法介绍,操作很简单的,大家学会了吗?希望这篇文章能对大家有所帮助!
相关阅读:
Photoshop制作漂亮的水晶立体字
PS怎么设计一款紫色水晶光芒的字体?
上一篇:PS怎么在水中的文字的效果?
下一篇:PS怎么设计漂亮的花纹文字效果?