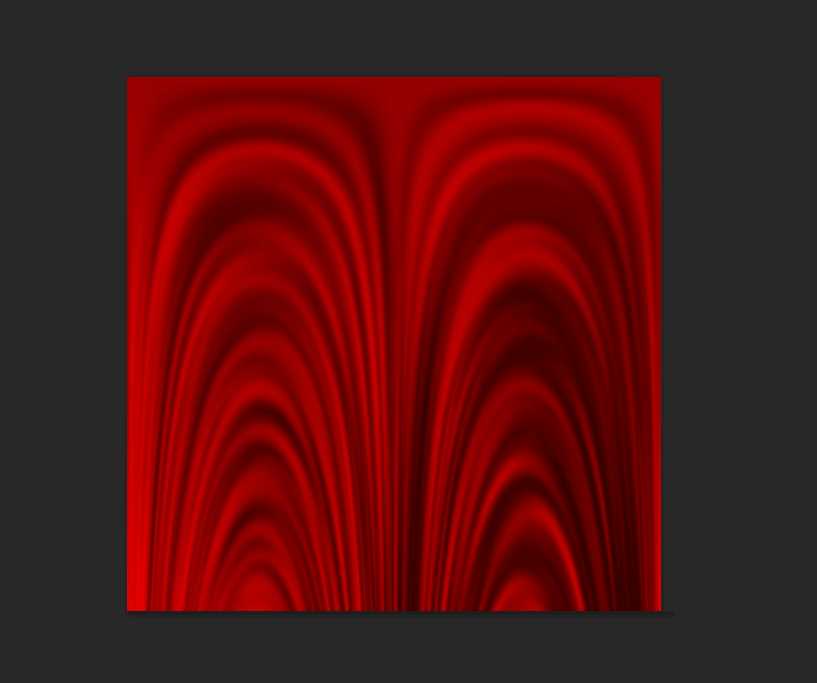
Photoshop制作一个红色的布帘效果
平面设计 发布日期:2026/5/7 浏览次数:1
正在浏览:Photoshop制作一个红色的布帘效果
今天为大家介绍Photoshop制作一个红色的布帘效果方法,教程很基础,适合新手来学习,推荐到,喜欢的朋友可以参考本文,来看看吧!
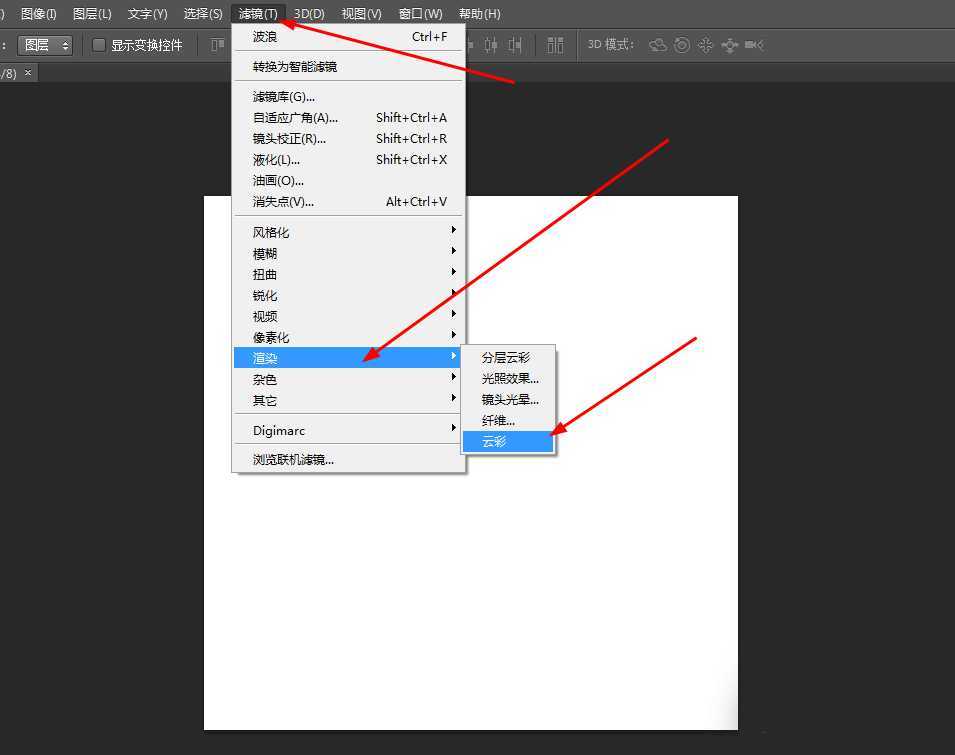
1、在ps软件中,新建一个800*800的文档,前背景色为黑白,然后在滤镜中添加云彩,如图所示
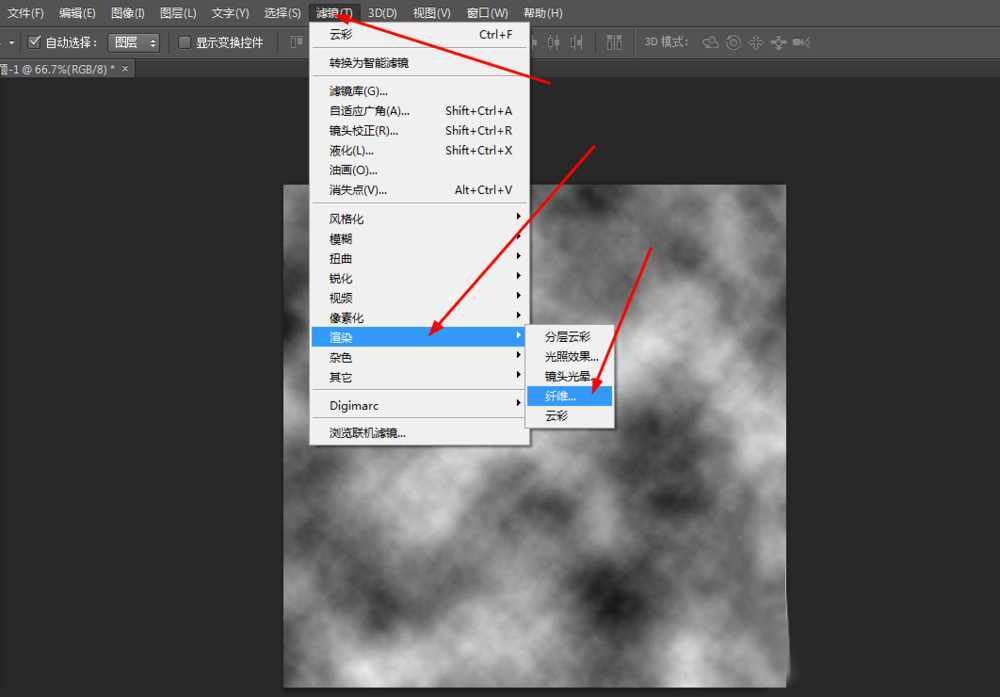
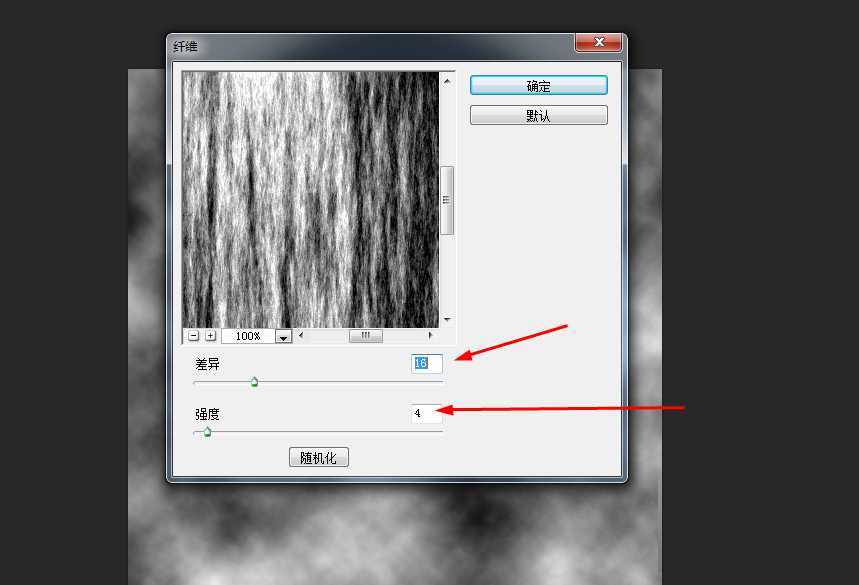
2、然后在滤镜中添加纤维,如图所示
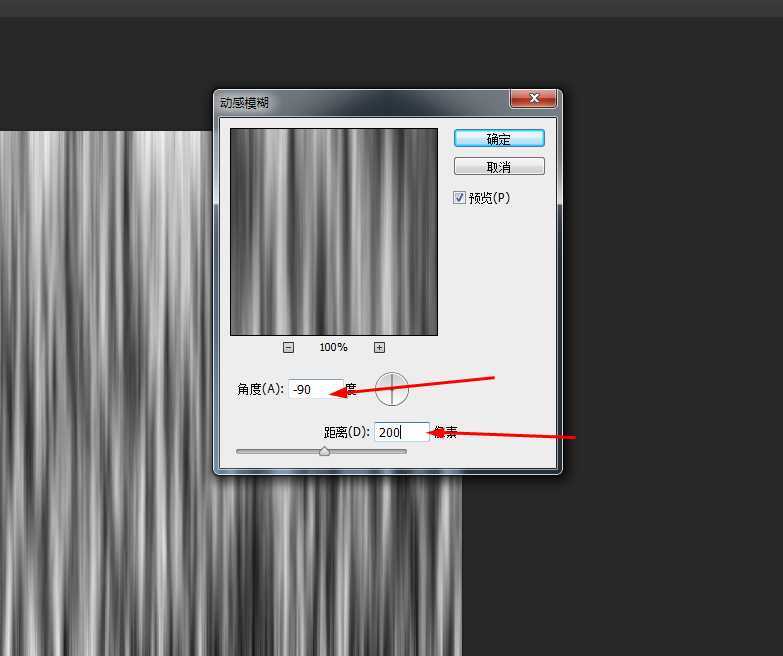
3、接着在滤镜中添加动感模糊,如图所示

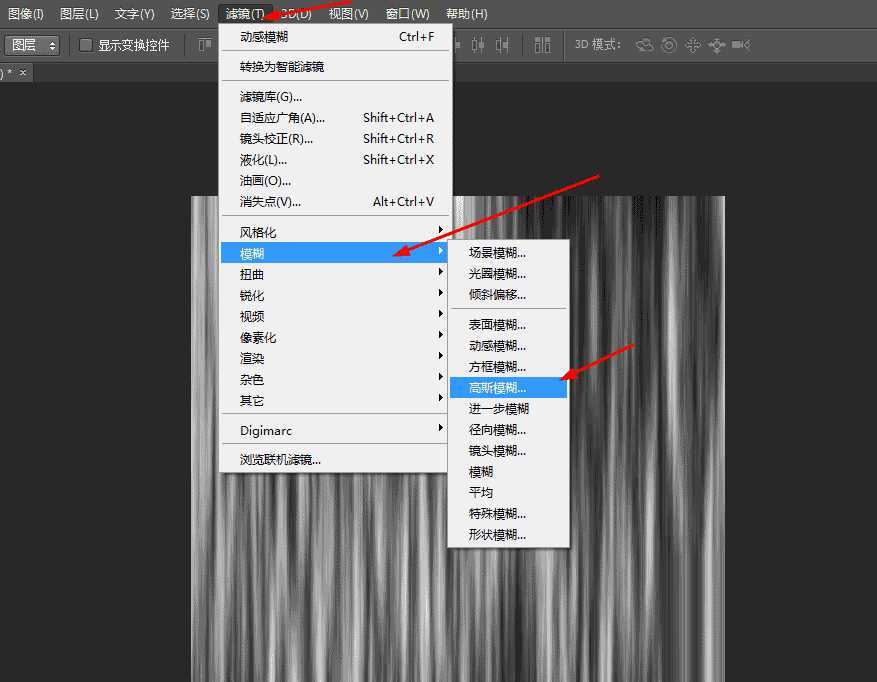
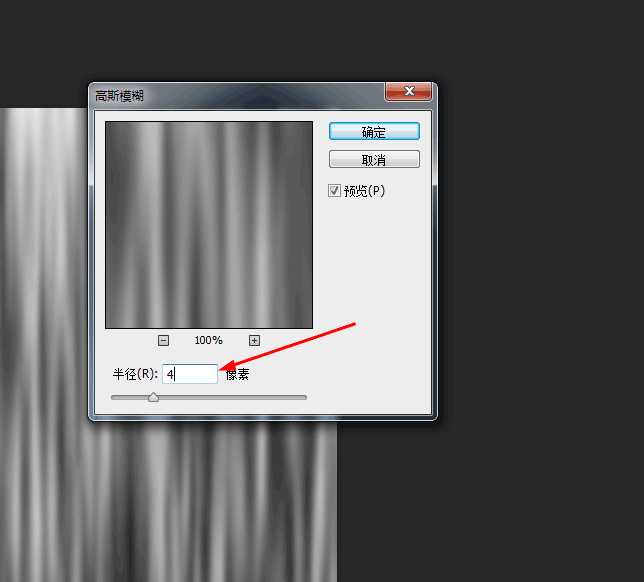
4、接下来在滤镜中添加高斯模糊,如图所示
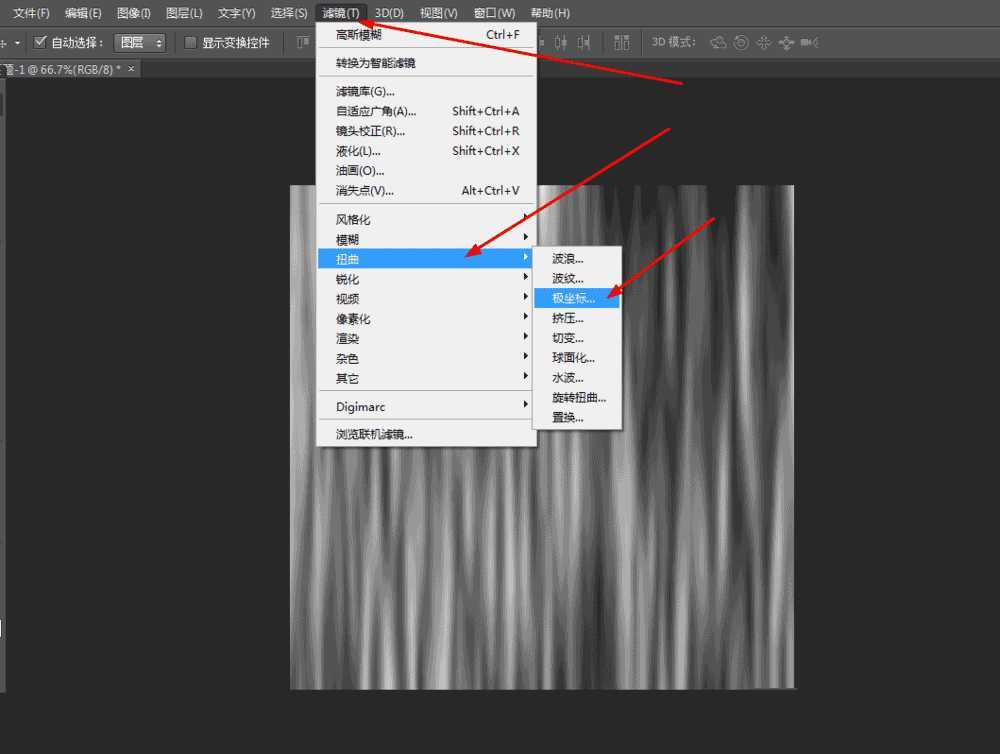
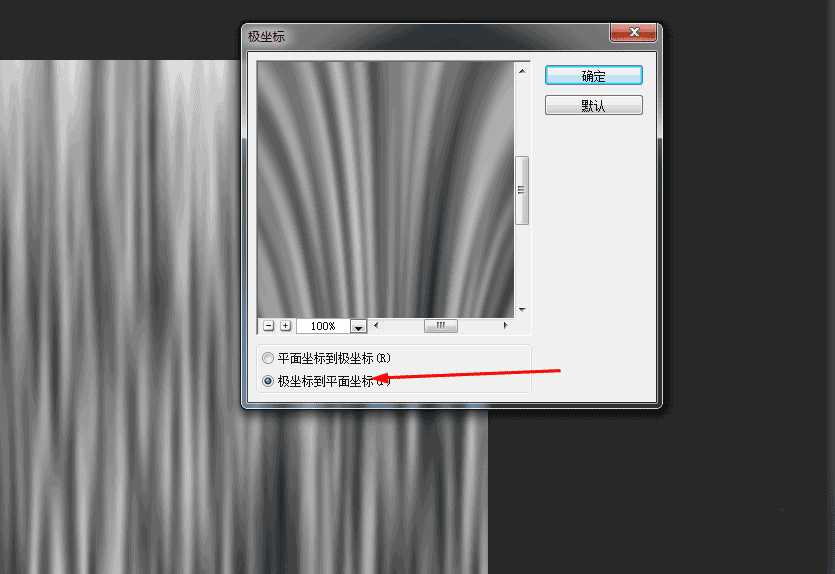
5、再到滤镜中添加极坐标,如图所示
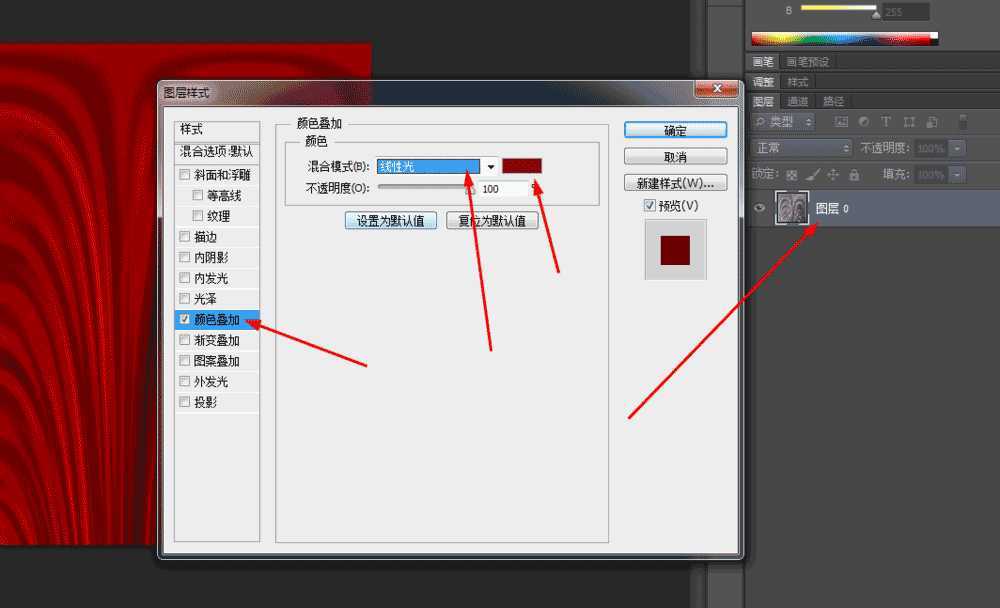
6、点击背景层为图层,再双击图层的图层样式,调一下渐变叠加,如图所示
7、效果如下图