CorelDraw绘制红色凹凸效果的艺术字教程
平面设计 发布日期:2025/12/27 浏览次数:1
正在浏览:CorelDraw绘制红色凹凸效果的艺术字教程
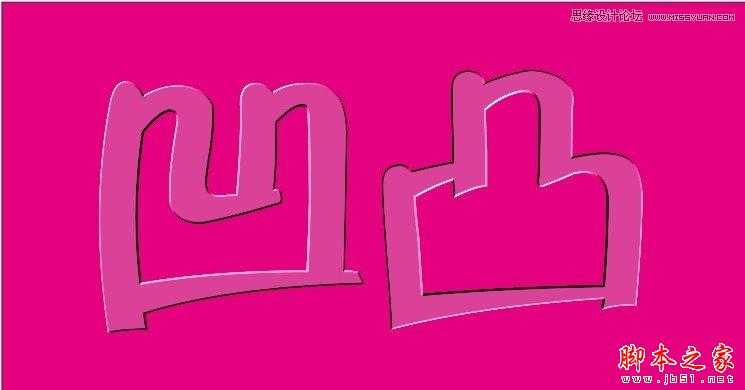
先来看看最终的效果图吧:
用cdr那么久,还不知道凹凸字,原来总以为人家填充颜色成凹凸效果,原来不是。
原来只是运用了cdr里面的《斜角》功能。
晓溪特地上来分享给大家,嘿嘿。
当然,凹凸只是实例说明,希望大家灵活运用到实际操作中
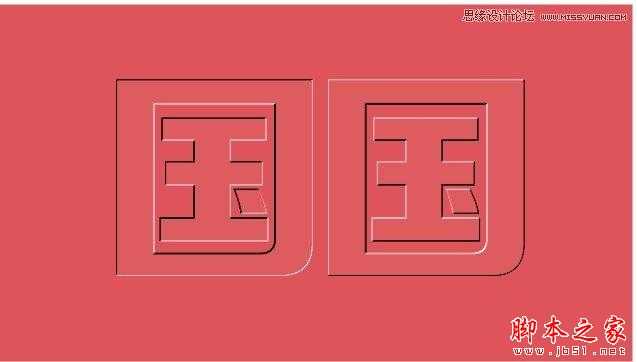
效果图:

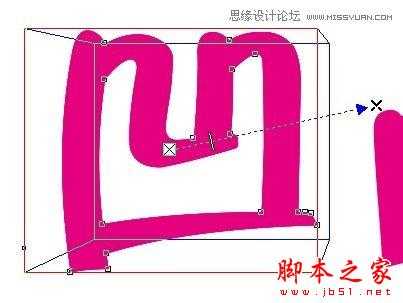
首先输入文字 选择字体 然后ctrl+k打散文字

填充一个颜色,随意
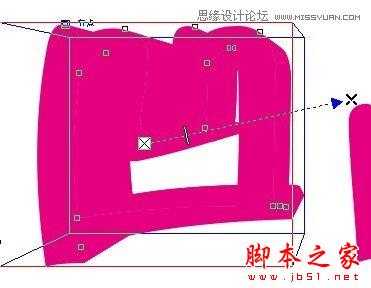
选择立体工具,随意拉,让它产生立体效果
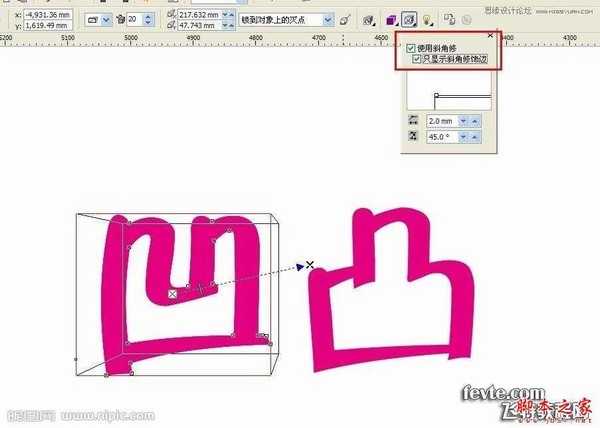
属性上面勾选使用斜角修,只显示斜角修饰边
此时还看不出效果,因为我们没有设置光
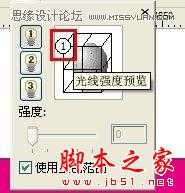
咋们把光源改一下
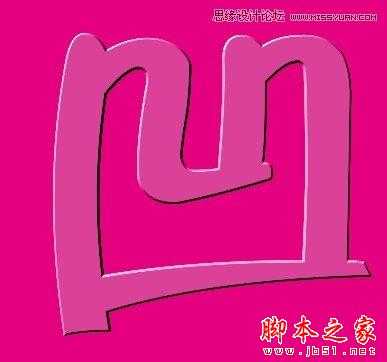
添加一个粉色背景,此时效果就出来了
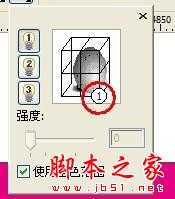
这是凸字的光源设置
效果出来了