用AI制作3D镂空效果的教程
平面设计 发布日期:2025/12/30 浏览次数:1
正在浏览:用AI制作3D镂空效果的教程
如何用AI制作3D镂空效果?不少小伙伴对3D效果的应用感兴趣,想学习用AI制作3D镂空效果,小编今天为大家整理了详细的图文教程让我们一起来看看吧。
- 软件名称:
- Adobe Illustrator(AI矢量图片制作软件) 2020 v24.3.0.569 安装版
- 软件大小:
- 1.46GB
- 更新时间:
- 2020-08-25立即下载
用AI制作3D镂空效果的教程:
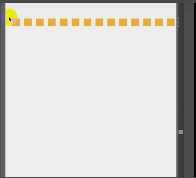
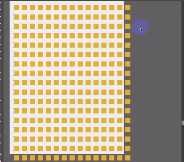
第一步:用AI独特的特性画矩形
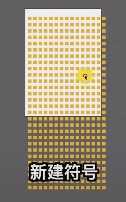
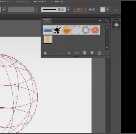
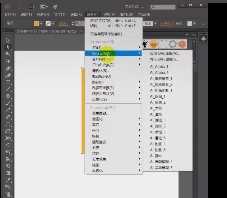
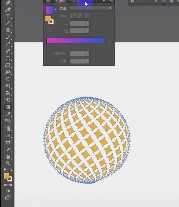
第二步:新建符号
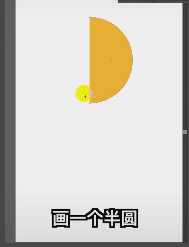
第三步:画一个半圆
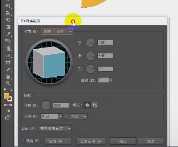
第四步:3D绕转
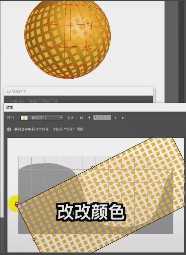
第五步:换上贴图,改一下自己喜欢的颜色
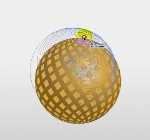
第六步:在背景加一些渐变,使其更加炫酷

以上就是小编给大家带来的用AI制作3D镂空效果的教程,更多精彩内容请关注网站。
上一篇:如何用AI快速制作3D苹果造型?
下一篇:怎么用AI制作圆锥效果海报?