photoshop制作出逼真的摄像头图像效果
平面设计 发布日期:2026/6/28 浏览次数:1
正在浏览:photoshop制作出逼真的摄像头图像效果
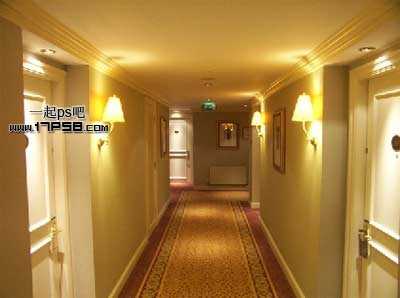
效果如下

首先打开屋子图片。
复制一层,滤镜>镜头校正。
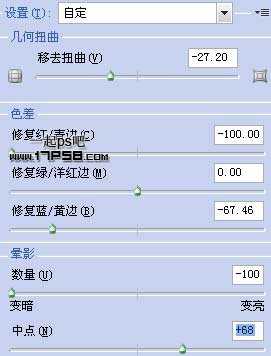
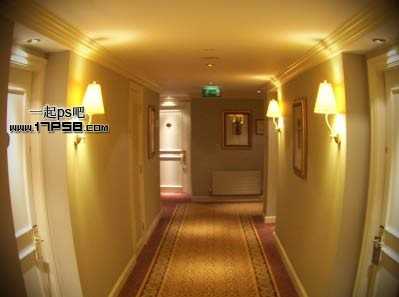
效果如下。
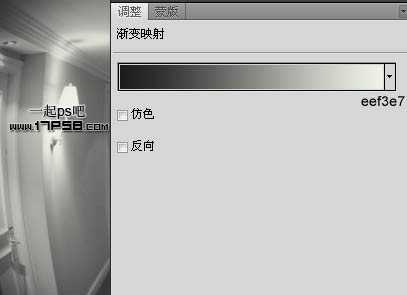
添加渐变映射调整层。
建新层填充白色,滤镜>渲染>云彩。
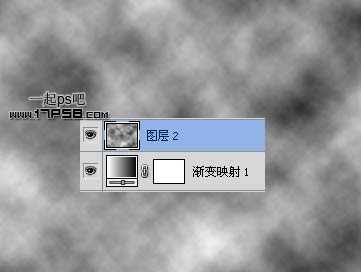
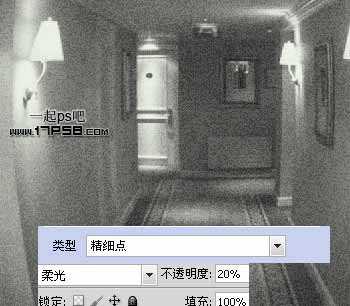
滤镜>像素化>铜版雕刻,类型选择精细点。图层模式改为柔光,不透明度20%。
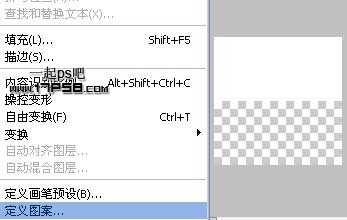
下面我们自定义图案,新建文档4x4像素,背景透明,做一矩形选区填充白色,编辑>定义图案。
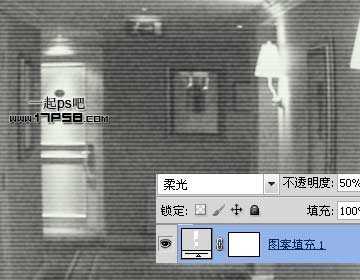
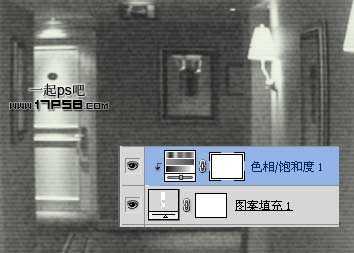
回到原文档,新建图案调整层,选择刚才定义的图案,图层模式柔光,不透明度50%,这就是扫描线效果。
添加色相/饱和度调整层为扫描线加点绿色,形成剪贴蒙版。
输入一些像素字体文字,添加装饰图形,如果嫌亮,可以添加曲线调整层加暗图像,最终效果如下。