Photoshop制作超酷的暗调蓝光非主流照片
平面设计 发布日期:2026/4/6 浏览次数:1
正在浏览:Photoshop制作超酷的暗调蓝光非主流照片
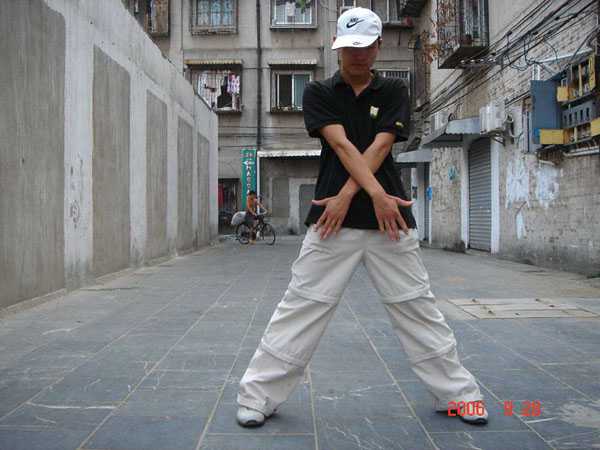
原图
最终效果

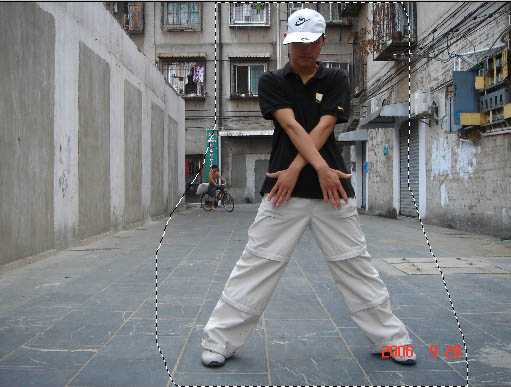
1、打开原图素材全选再按CTRL+C复制背景层,等下会用到。 2、把人物选出来,羽化100左右,(自己根据情调节)选区如图:
3、按Ctrl + Shift + I反选,用色阶调暗一点,参数设置如下图。

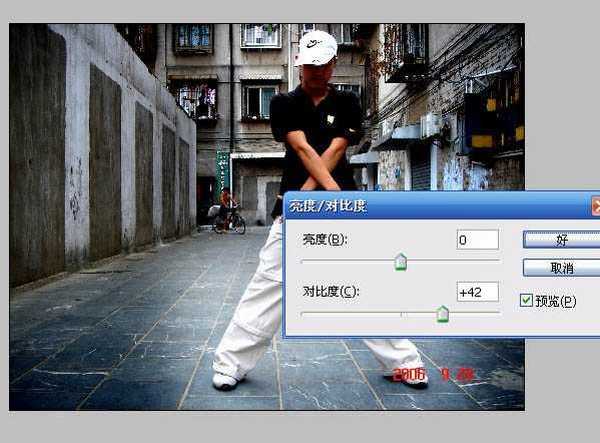
4、取消选区。加大对比度(图像 > 调整 > 亮度/对比度),参数设置如下图。
5、新建一层纯色调整层颜色的RGB值为7、112、108,图层模式为“柔光”,再新建一层纯色调整层颜色的RGB值为16、42、62图层模式为“柔光”。

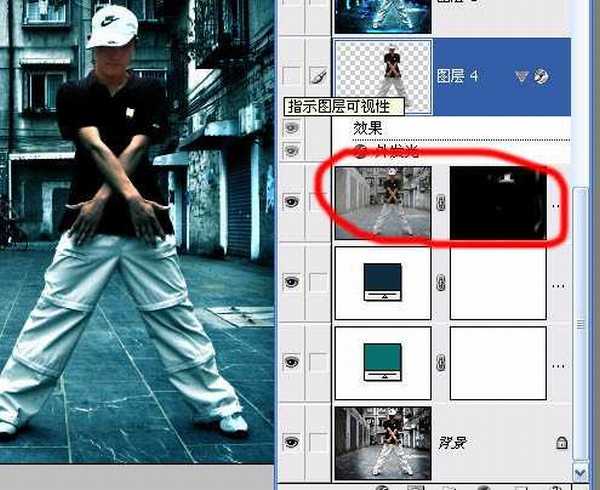
6、CTRL+V粘贴第一步复制好的原图,添加蒙板把脸擦出来(如果你觉得人物太丑。这步可以省略。)
上一页12 下一页 阅读全文
最终效果
1、打开原图素材全选再按CTRL+C复制背景层,等下会用到。 2、把人物选出来,羽化100左右,(自己根据情调节)选区如图:
3、按Ctrl + Shift + I反选,用色阶调暗一点,参数设置如下图。
4、取消选区。加大对比度(图像 > 调整 > 亮度/对比度),参数设置如下图。
5、新建一层纯色调整层颜色的RGB值为7、112、108,图层模式为“柔光”,再新建一层纯色调整层颜色的RGB值为16、42、62图层模式为“柔光”。
6、CTRL+V粘贴第一步复制好的原图,添加蒙板把脸擦出来(如果你觉得人物太丑。这步可以省略。)
上一页12 下一页 阅读全文