Photoshop设计制作蓝色发光效果的艺术字
平面设计 发布日期:2026/6/4 浏览次数:1
正在浏览:Photoshop设计制作蓝色发光效果的艺术字
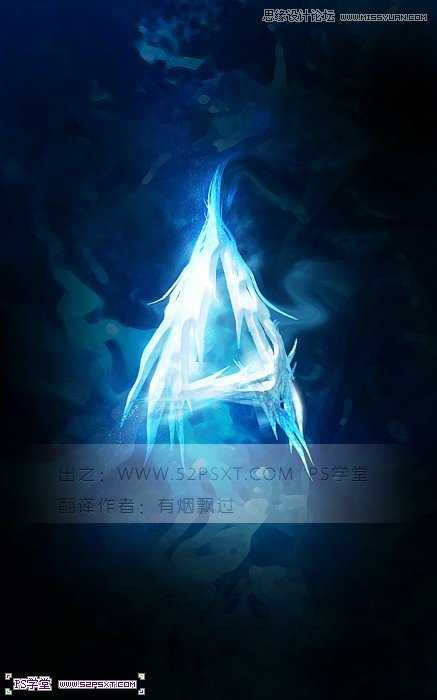
效果图:
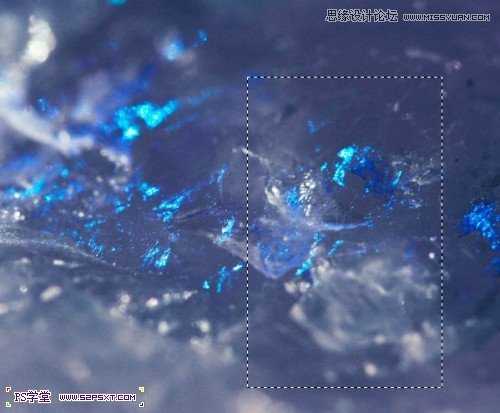
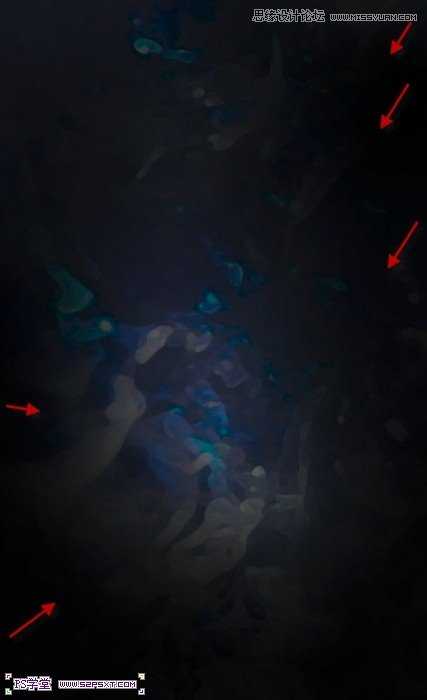
1.新建700*1120px大小的文档,编辑填充黑色。我们打开素材图,用矩形选框工具选区一部分,粘贴到我们的文档中
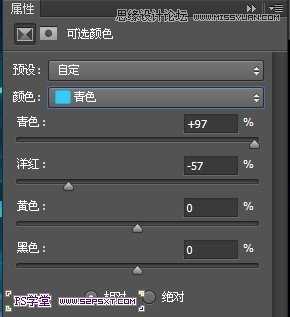
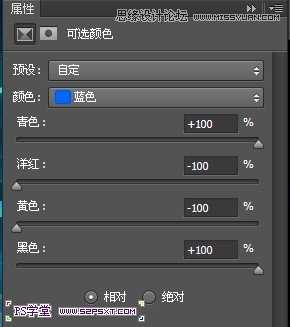
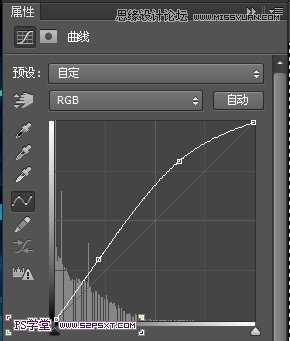
调整图层--可选颜色:
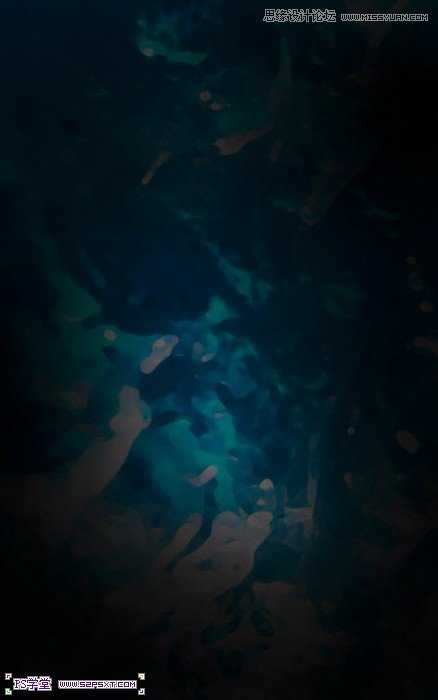


1.新建700*1120px大小的文档,编辑填充黑色。我们打开素材图,用矩形选框工具选区一部分,粘贴到我们的文档中
调整图层--可选颜色: