Photoshop 文字特效 晶莹的损边的玻璃字
平面设计 发布日期:2026/6/5 浏览次数:1
正在浏览:Photoshop 文字特效 晶莹的损边的玻璃字
效果图

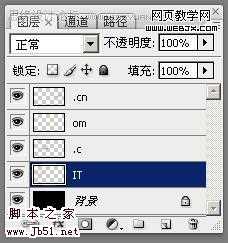
1、首先创建一个背景为黑色的新文档,然后输入文字,如图所示。

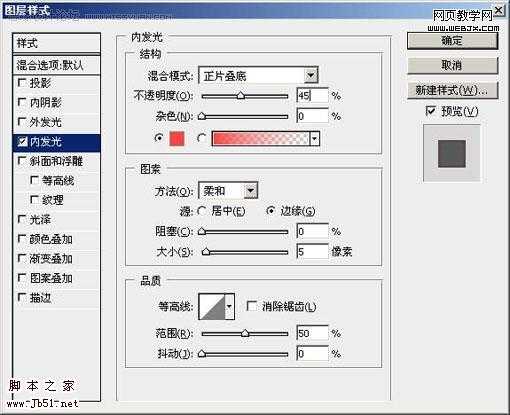
2、选择“IT”图层,然后在菜单栏中选择“图层—图层样式—内发光”命令,并对其进行设置,如图所示。
效果:

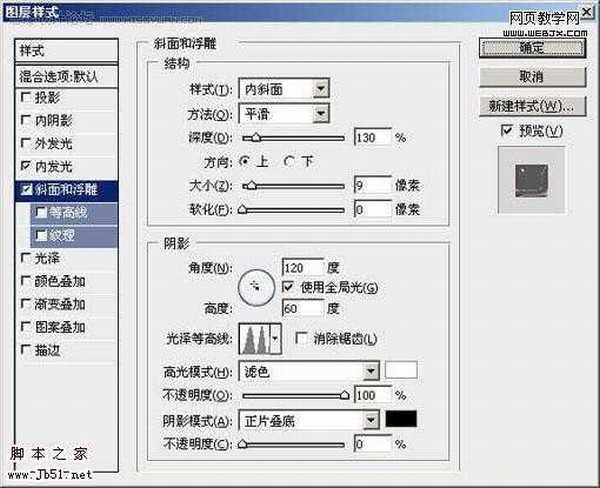
3、在“图层样式”对话枉的左边选择“斜面和浮雕”选项,然后设置斜面浮雕效果,如图所示。

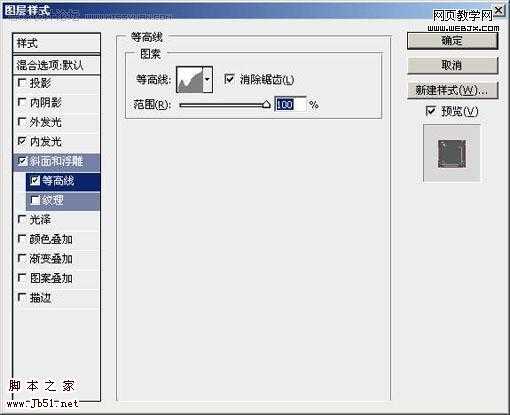
4、在“图层样式”对话框的左边选择“等高线”选项,然后进行设置,如图所示。

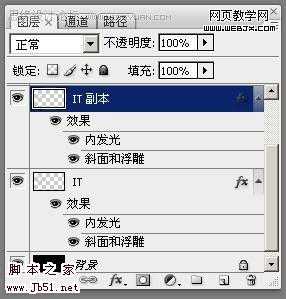
5、按下 “Ctrl+J”快捷键,复制出“IT副本”图层,如图所示。
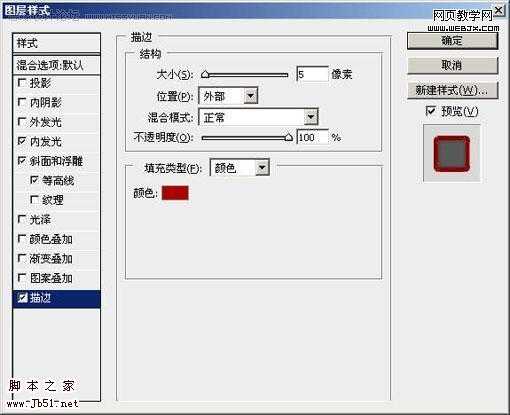
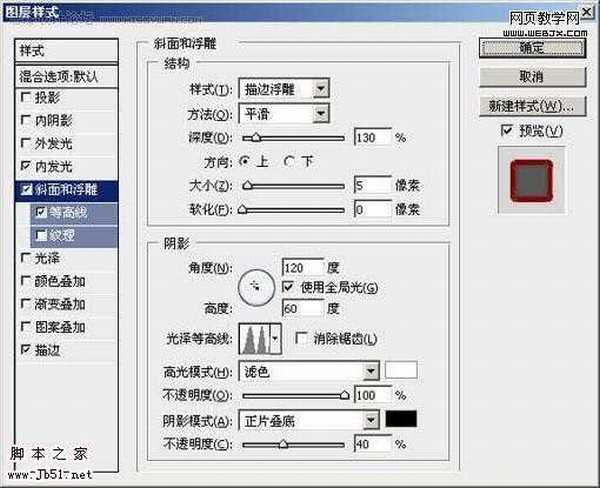
6、选择“IT副本”图层,然后设置“描边”和“全面浮雕”图层样式,如图所示。

7、选择“IT”图层,接着单击“创建新图层按钮”,然后选择“IT副本”图层,按下Ctrl+E快捷,向下合并图层,
如图所示。
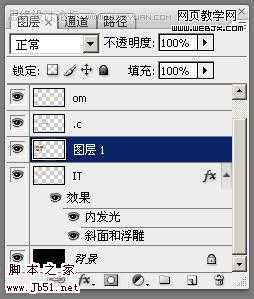
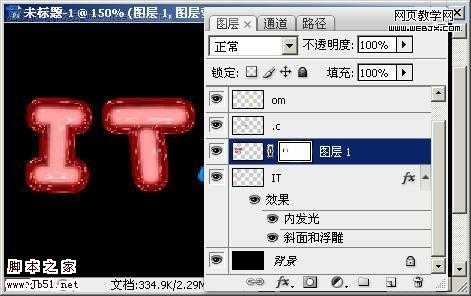
8、选择“图层1”,单击“添加图层模版”按钮,然后使用黑色的“画笔工具”涂抹图层中“IT”两个字符,
如图所示。
9、使用前面步骤的方法,调整其余的文字,然后加上背景,最终效果如下图所示。
1、首先创建一个背景为黑色的新文档,然后输入文字,如图所示。
2、选择“IT”图层,然后在菜单栏中选择“图层—图层样式—内发光”命令,并对其进行设置,如图所示。
效果:
3、在“图层样式”对话枉的左边选择“斜面和浮雕”选项,然后设置斜面浮雕效果,如图所示。
4、在“图层样式”对话框的左边选择“等高线”选项,然后进行设置,如图所示。
5、按下 “Ctrl+J”快捷键,复制出“IT副本”图层,如图所示。
6、选择“IT副本”图层,然后设置“描边”和“全面浮雕”图层样式,如图所示。
7、选择“IT”图层,接着单击“创建新图层按钮”,然后选择“IT副本”图层,按下Ctrl+E快捷,向下合并图层,
如图所示。
8、选择“图层1”,单击“添加图层模版”按钮,然后使用黑色的“画笔工具”涂抹图层中“IT”两个字符,
如图所示。
9、使用前面步骤的方法,调整其余的文字,然后加上背景,最终效果如下图所示。